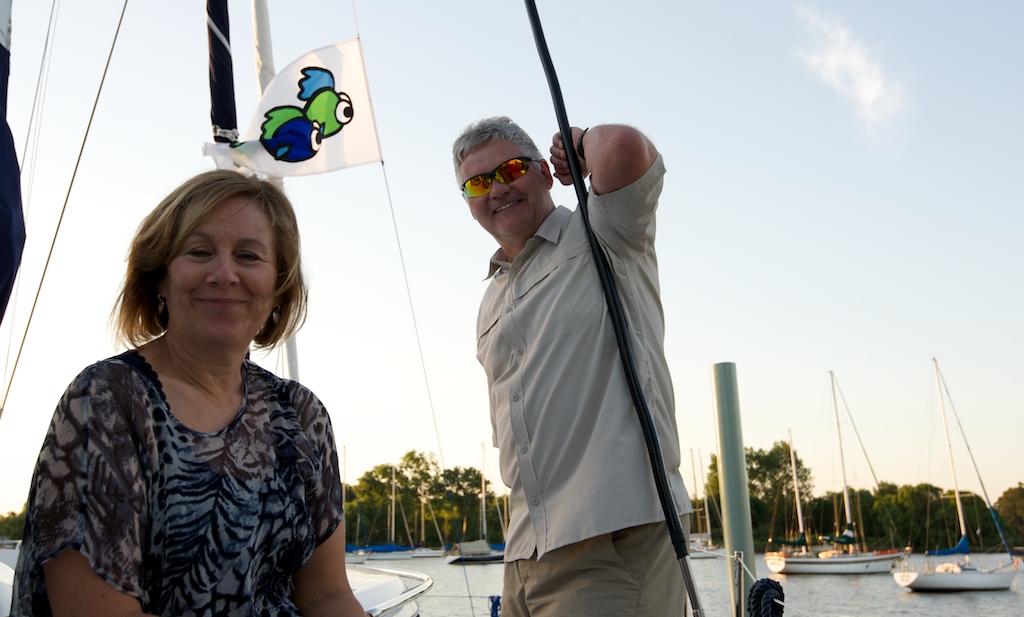
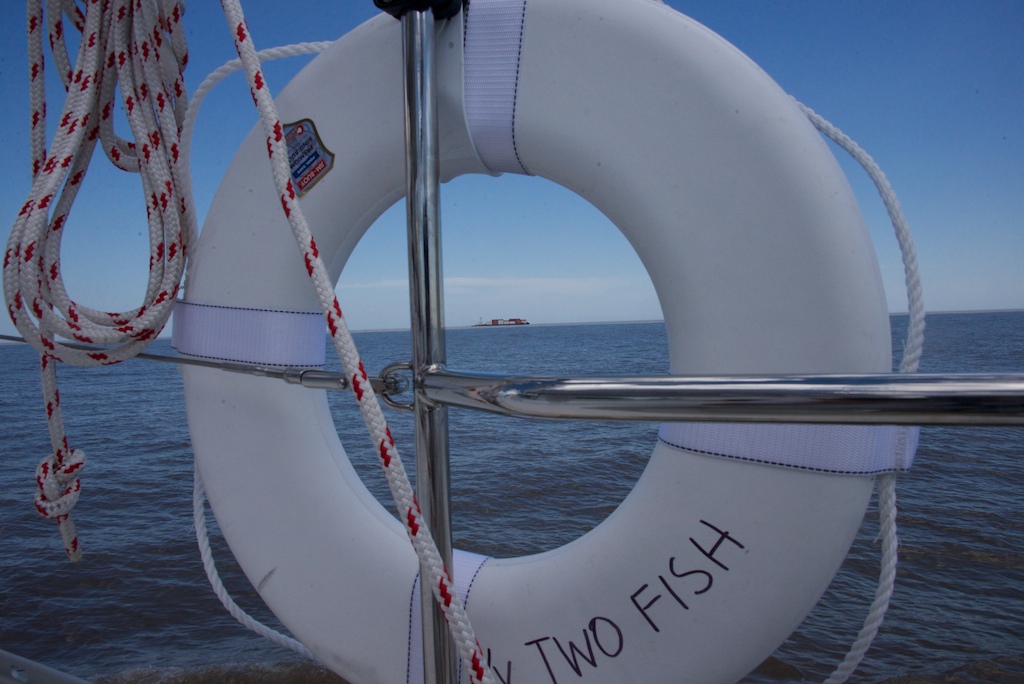
In a sailing log book, one records a destination as something you are sailing towards, not sailing to. Sailors try to get somewhere, but they do not have to absolutely, positively be there. Plans can be scuppered by winds, waves and a lack of rum. We were sailing towards the end of Uruguay – Punta del Este, but only managed to sail half the distance. The adventures of the three person crew (Jason, Gail and our friend Michael who is also a sailing instructor) begin here.

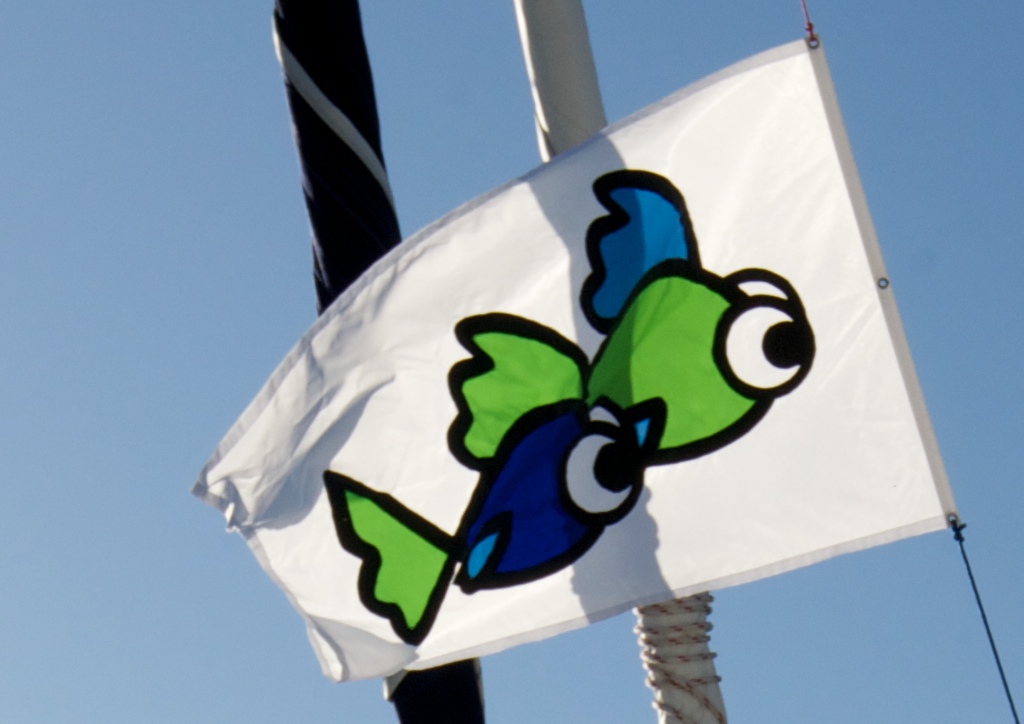
Uruguayan Flag
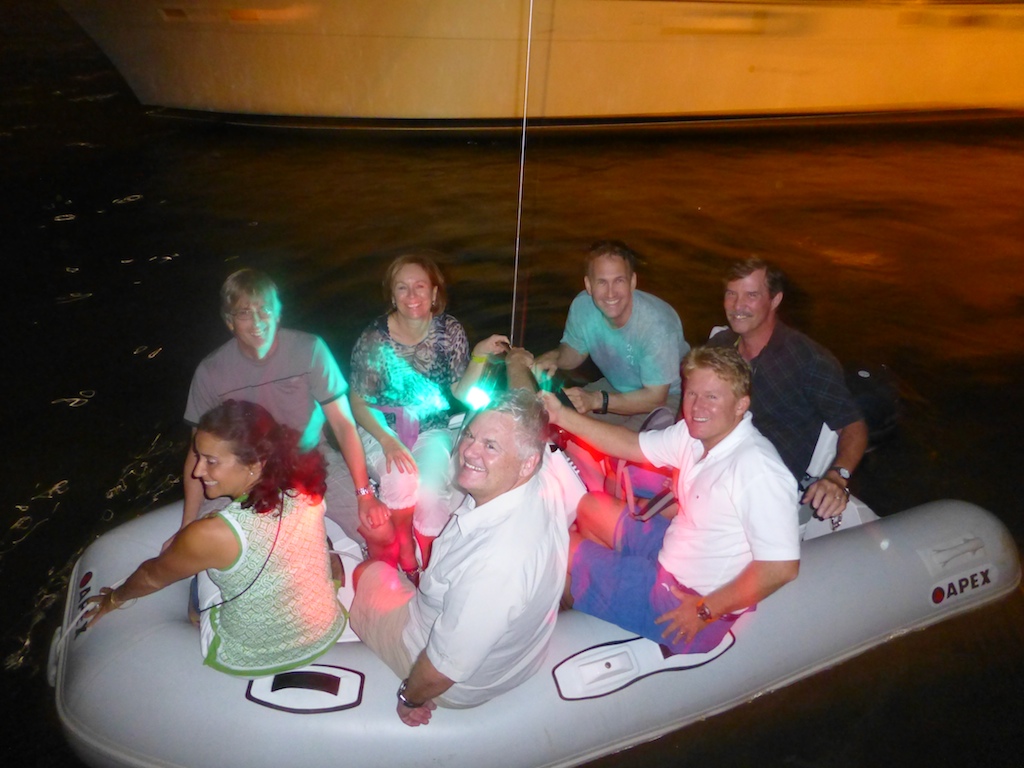
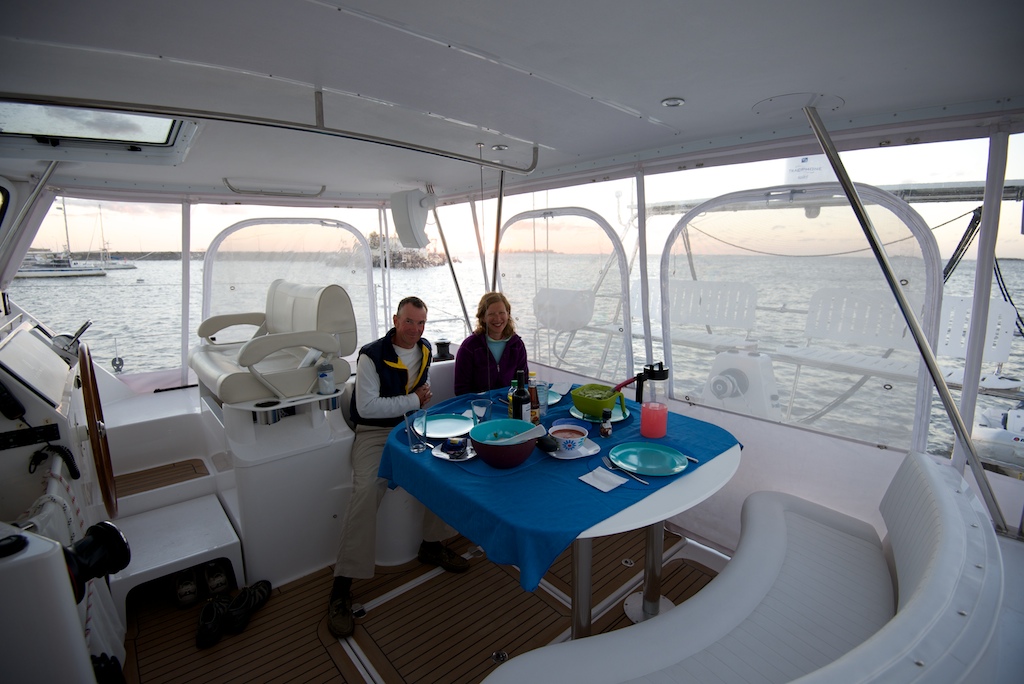
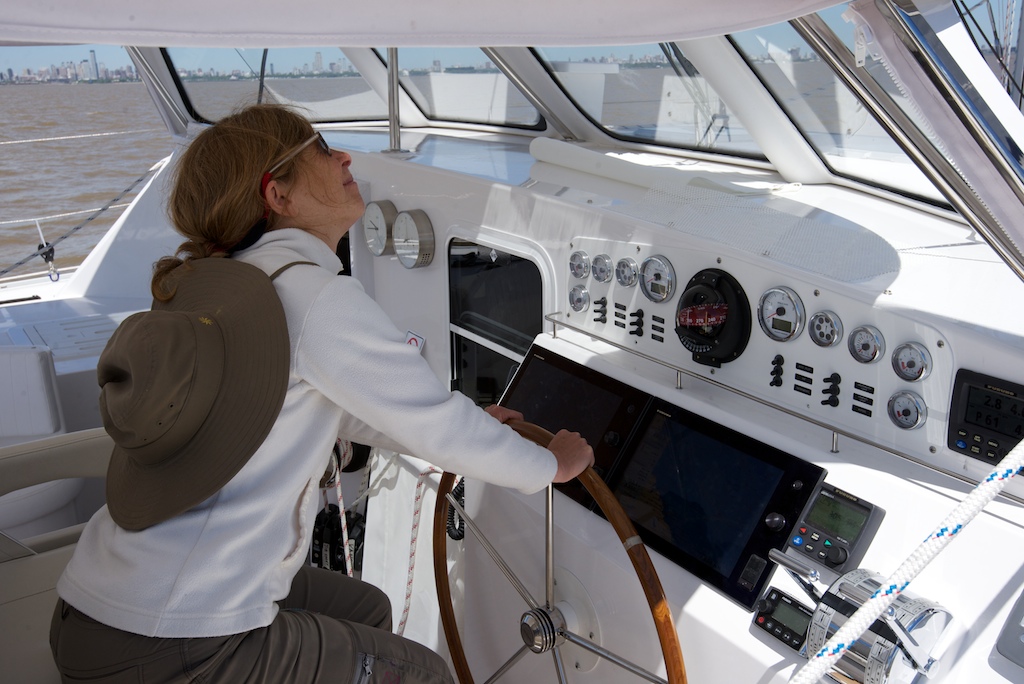
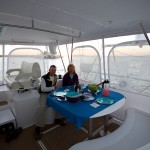
Sailing voyage posts can be as exciting as the shipping news. “Wind was North North East at 17 knots with gusts up to 24 knots. …” The wind and the waves affect the comfort and performance of the boat and its crew in every possible way. Cooking in large waves can resemble a knife tossing act from the second ring of the circus. Bouncy nights at anchorages can leave the crew cantankerous in the morning. So please excuse sailors for looking like they are on a casting call for the Weather Chanel.

Memo and Domican w/ tea
We left San Fernando, Argentina for Colonia, Uruguay. The night before, Memo, our boat builder, helped me create a route on the chartplotter. As it is an active delta estuary, the Rio Plata is not a straightforward place to sail. The 3,000 miles of rivers empty tons of mud into the Plata each year, creating shallow spots miles from land. Our boat draws a very thin 1.2 meters yet we had to be diligent to avoid running aground. A straight shot to Colonia would have put Two Fish on the muc. We opted instead to head south towards Buenos Aires, followed by a Memo-prescribed 90 degrees turn towards Colonia. All of this was done under the iron genoa (old sailing nickname for the engine). If we had not had our heads buried in the excitement of the day and our new electronic toys, we might have sensed this as an omen for our 2 week cruise.
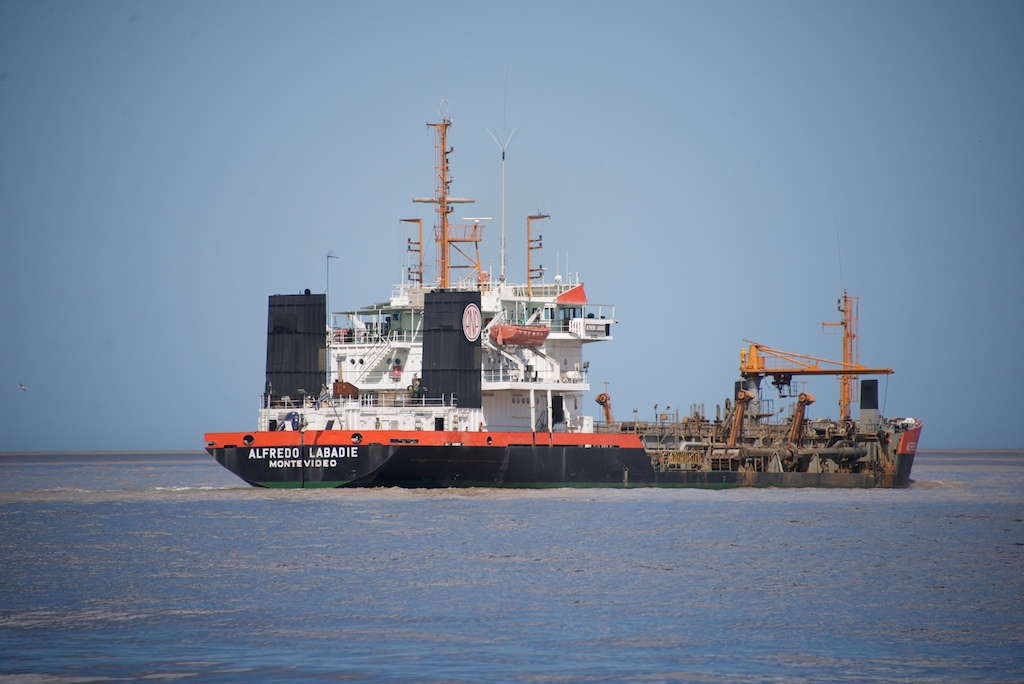
The Plata has may wrecks which are littered across the chartplotter display. The Maria Lisa, the Juan Jose and many others were created when the flat waters turned nasty. One of the exports from Uruguay to Argentina is rocks. You will not be surprised to find out that the rock business is not high-margin. If you work at Google, do not take that job at the Uruguayan Rocks Corporation. To be competitive in the rock business you have to buy a cheap barge and overload it to the point that the gunnels are 3 centimeters above the water. On a calm crossing of the Plata, the barge full of rocks arrives in Argentina without an issue. However, an unexpected breeze will allow the rocks to follow their natural instinct and sink below the waves. Fortunately, this typically does not result in a loss of life, since it often occurs in 2 meters of water and the newly formed rock pile is a great place to wait for rescue.
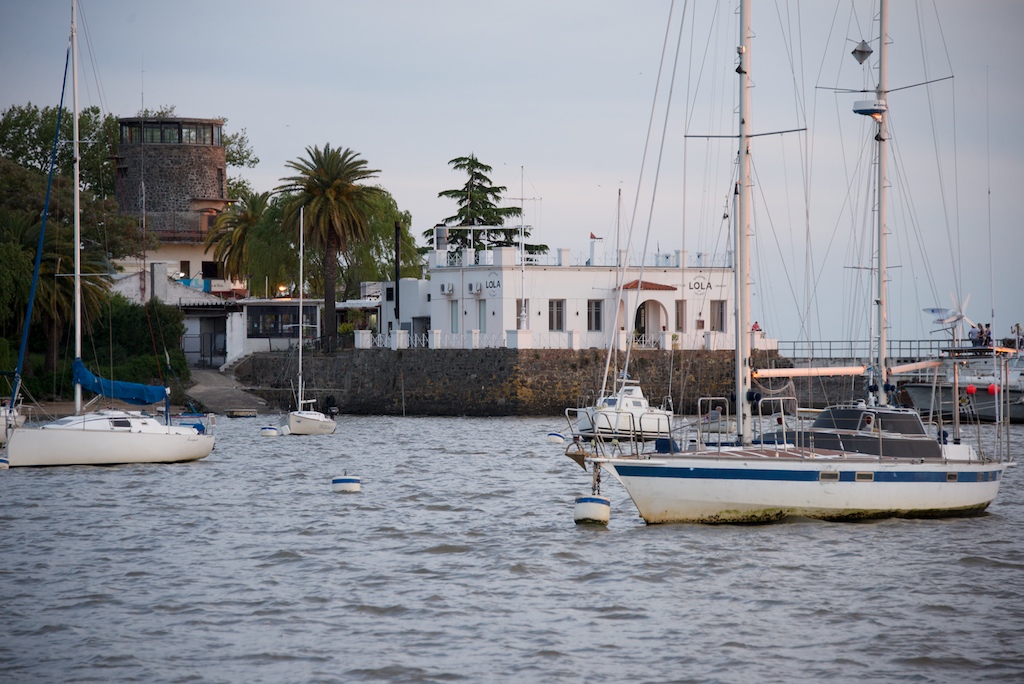
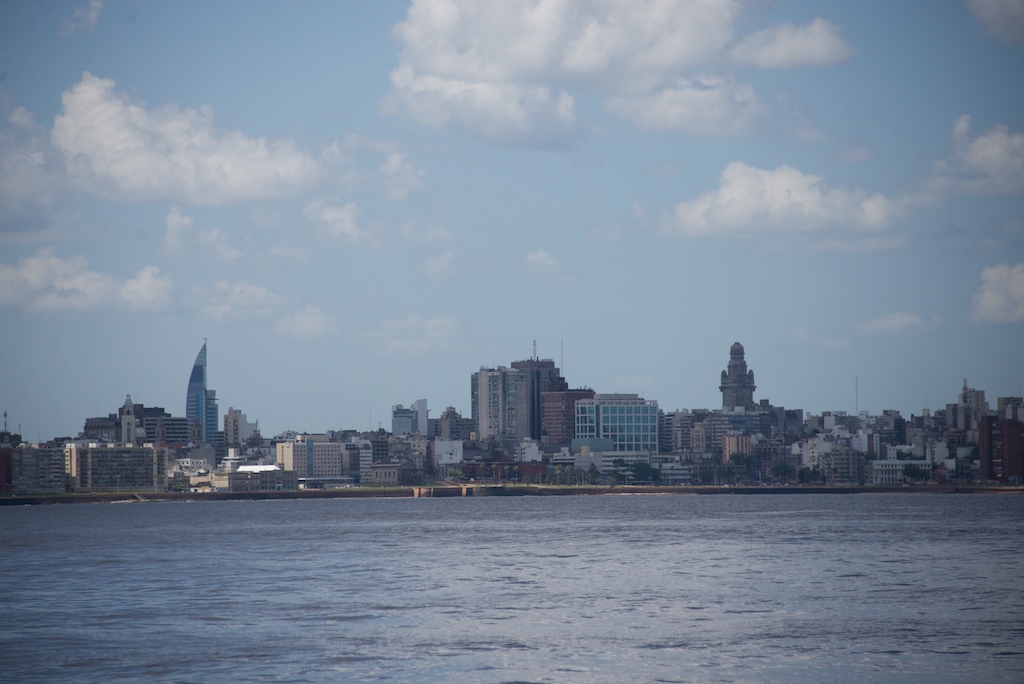
Colonia
-
-
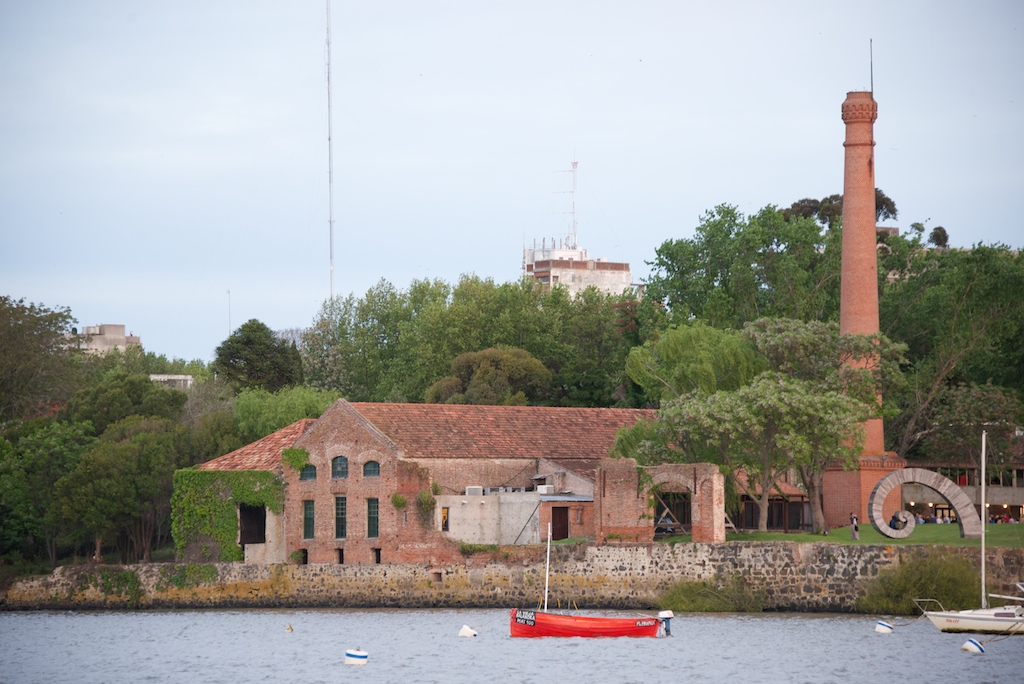
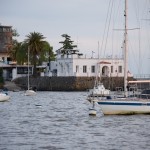
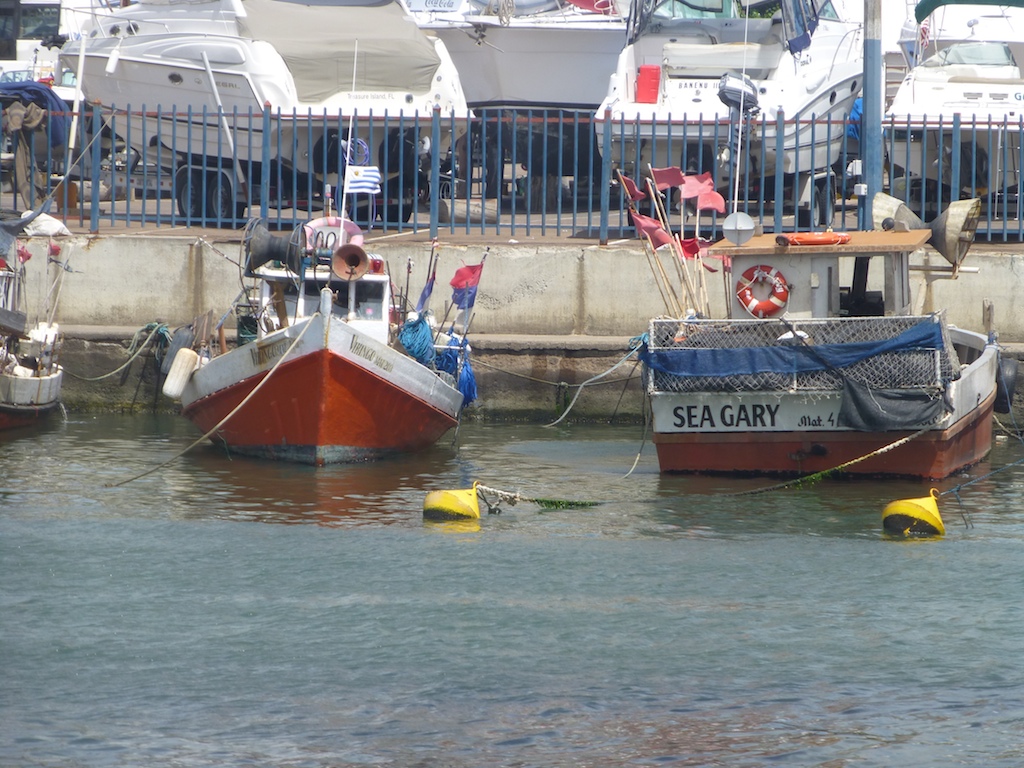
Colonia Harbor
-
-
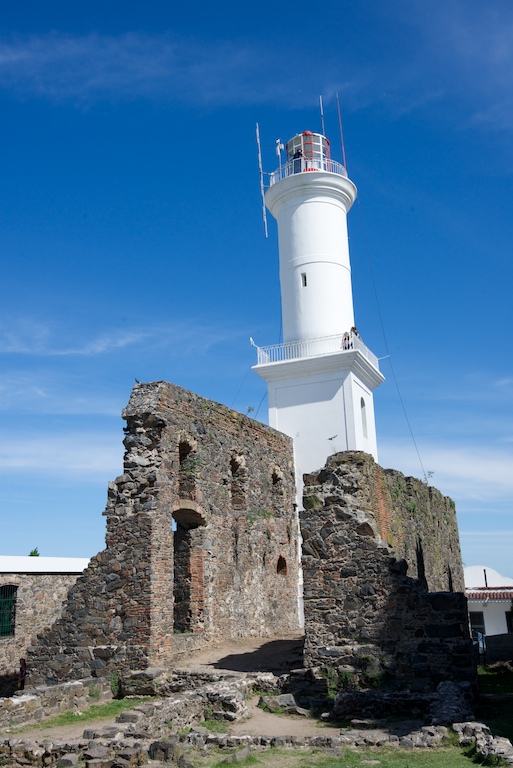
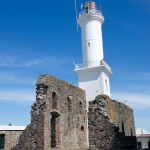
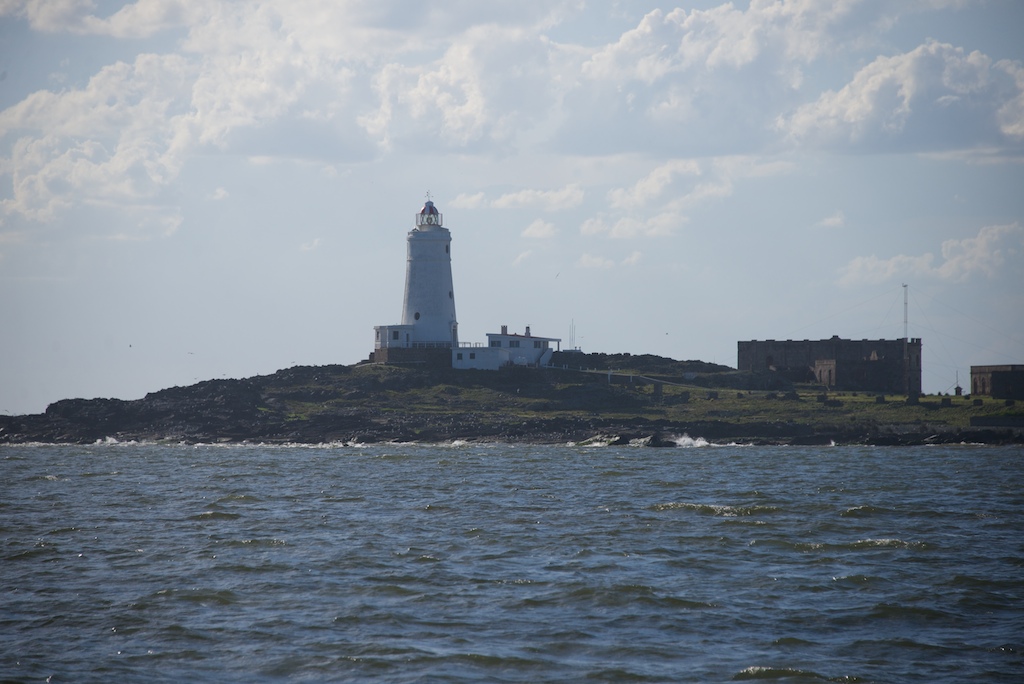
Lighthouse in Colonia
-
-
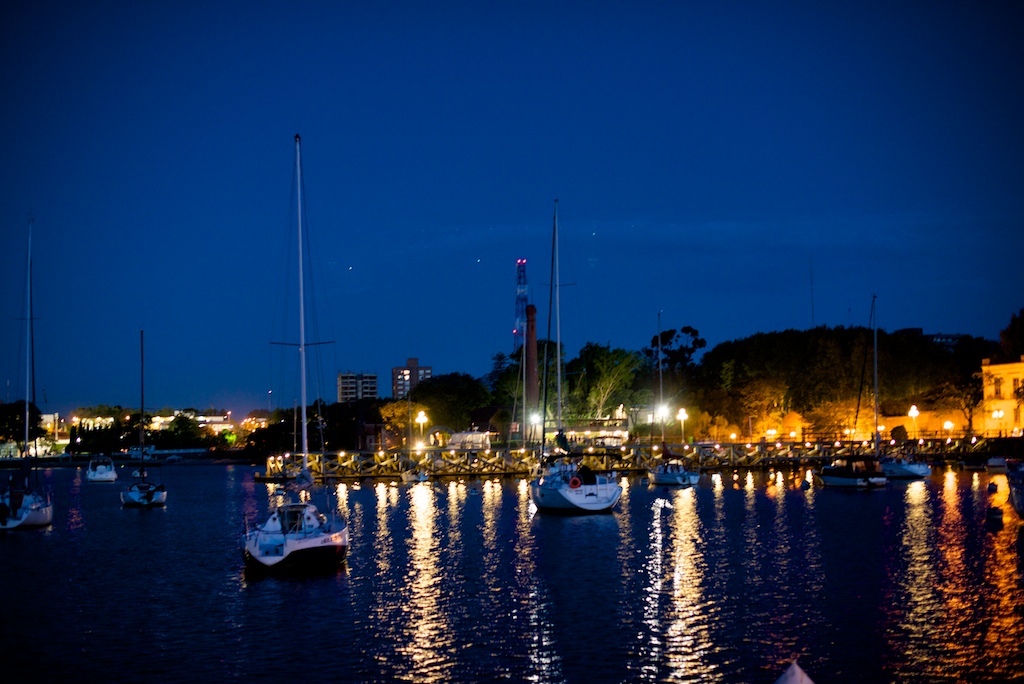
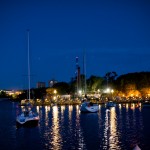
Colonia at night
-
-
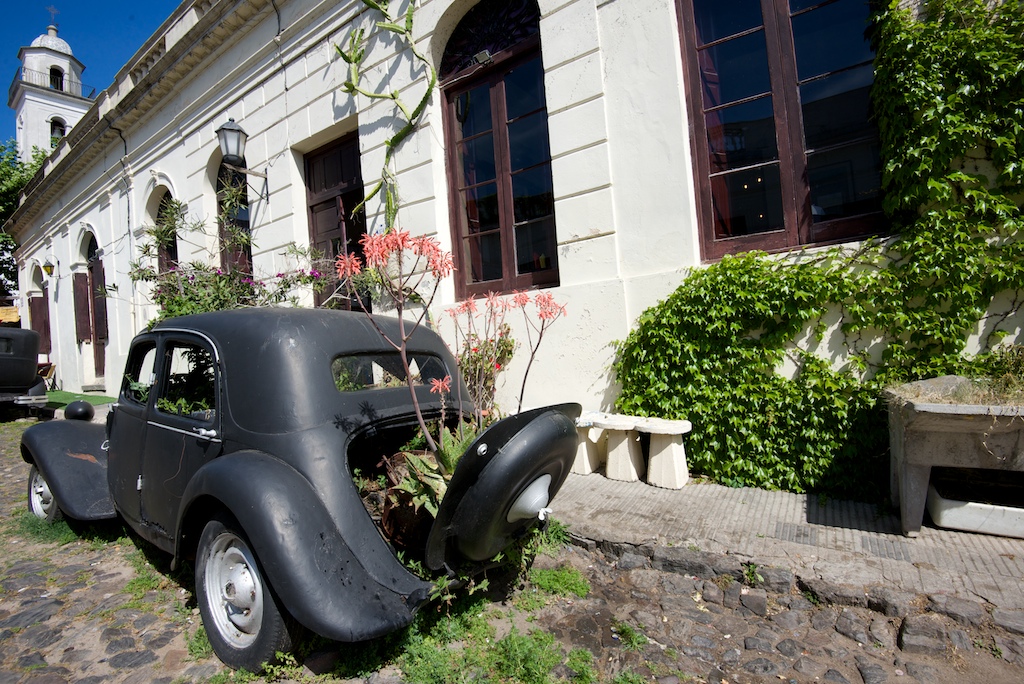
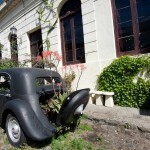
This car has been parked for a while
-
-
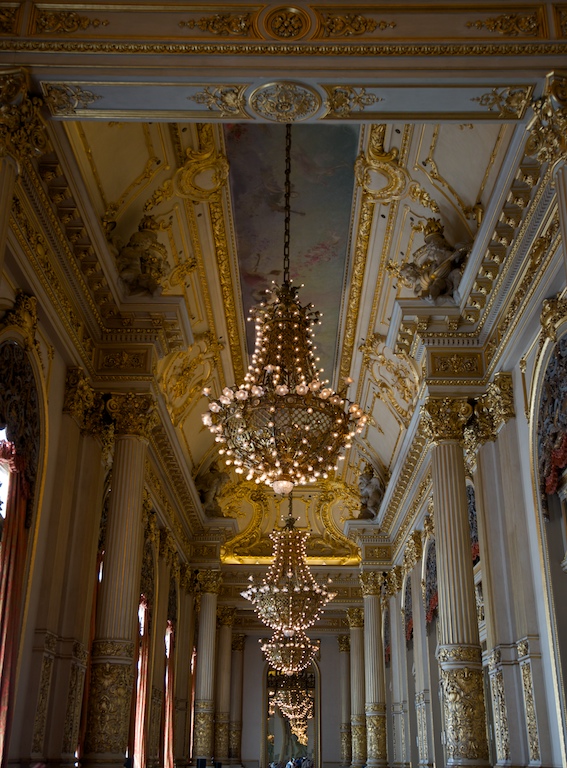
Colonia Cultural center
-
-
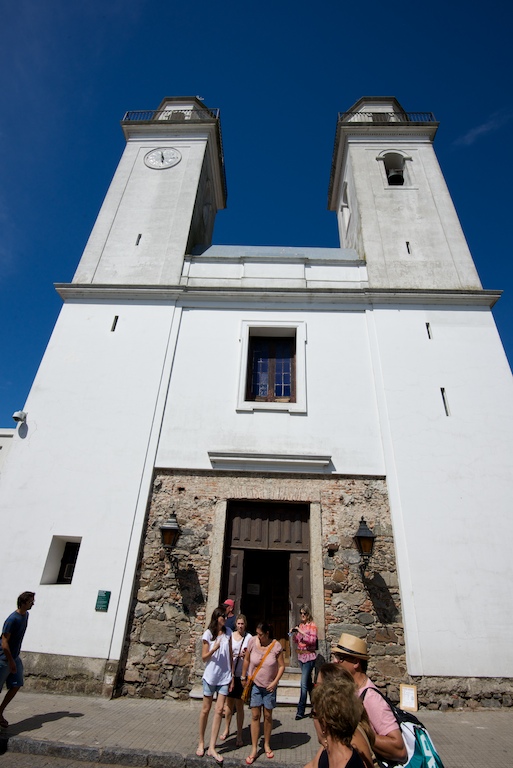
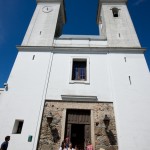
Main Colonia Church
-

-
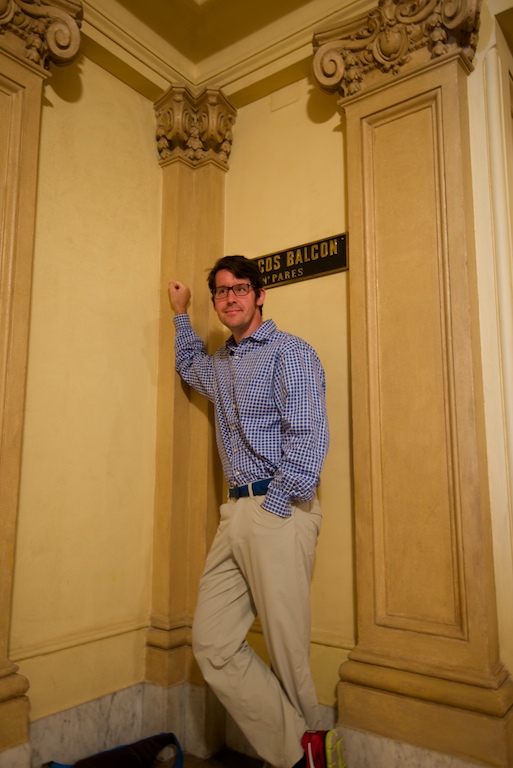
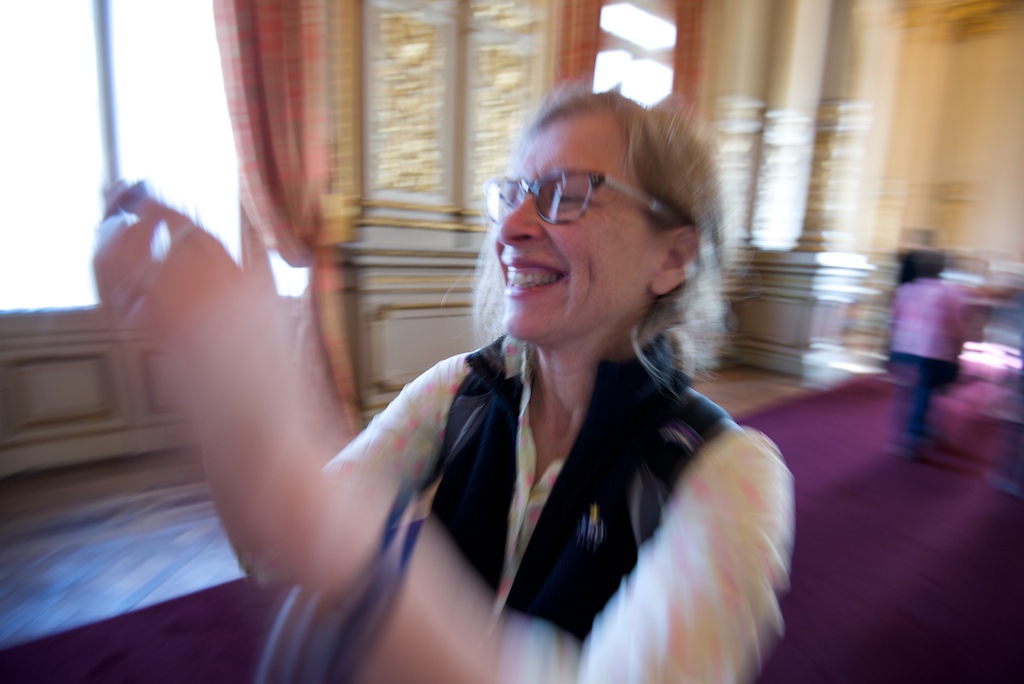
Touring Colonia
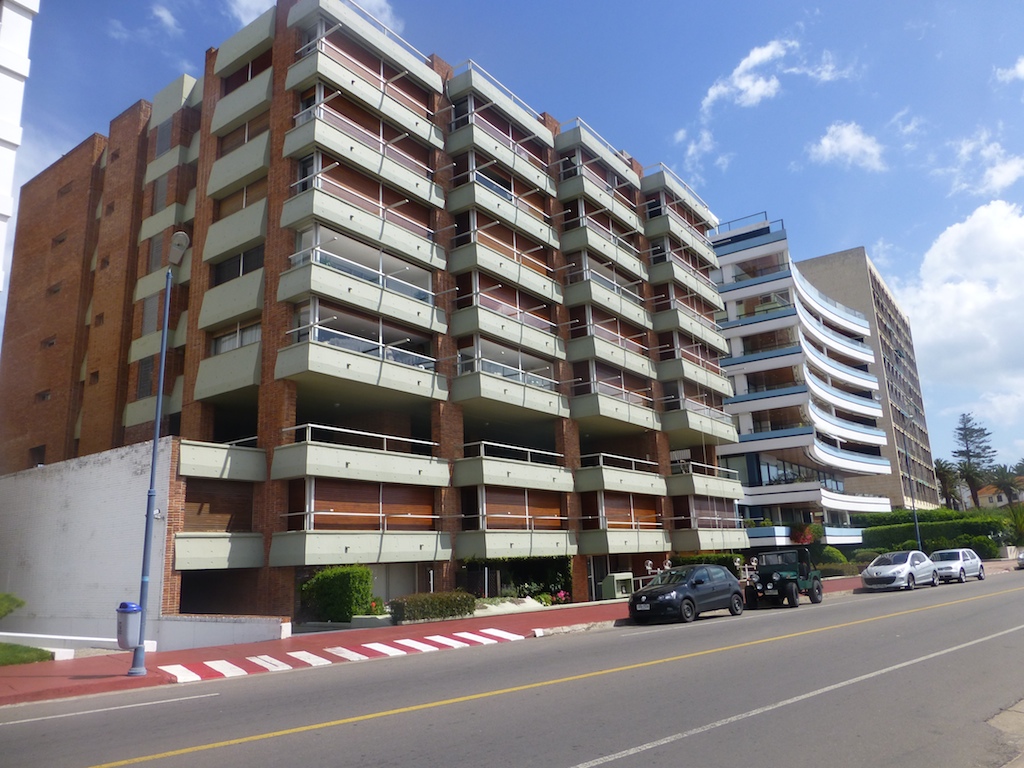
Colonia was traded back and forth between the Portuguese and the Spanish more times than an on the run 5 year treasury. Here is the history in a few run on sentences. It was founded in 1680 by the Portuguese, conquered by the Spanish the same year, then returned to the Portugese in 1681. In 1705, it was snatched again by the Spanish but returned as part of the treaty of Utrecht. The Spanish failed to take it in 1735. A blur of changes in 1750 and 1777. In 1816, it becomes part of Brazil. Then part of the country Banda Oriental. A few more changes and now Colonia del Sacremento of Uruguay.
I got the feeling the people in the town were not confused as to whether they were Spanish or Portugese. Instead they are focused on being great stewards to a world heritage site. The original downtown is Portuguese colonial style which is an ideal backdrop during an after sail stroll. Be sure to stop by the Tourist center near the Buquebus terminal to pick up a walking tour map and learn some more history.
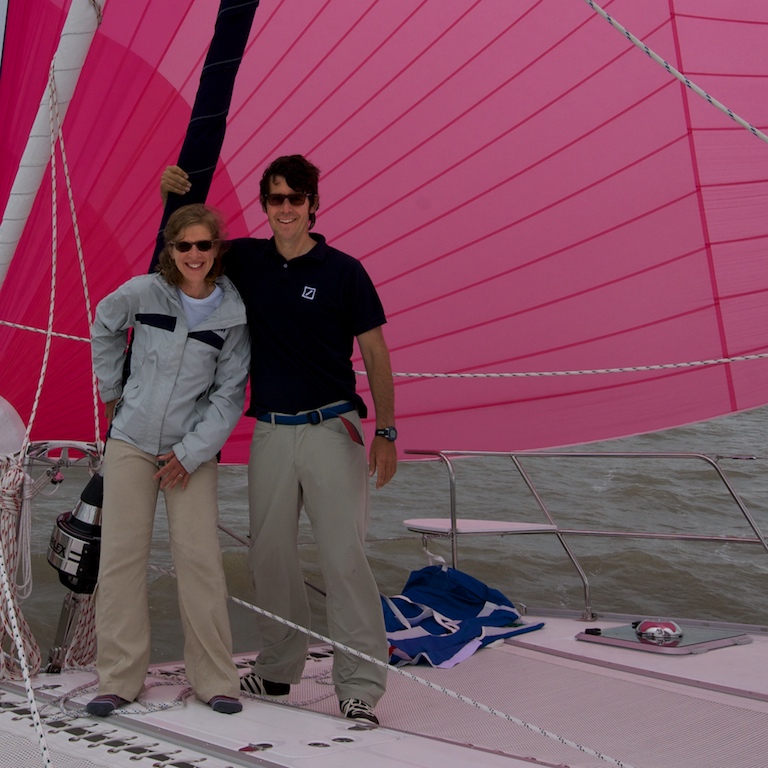
Keeping up with the Jones

Crew of Momo

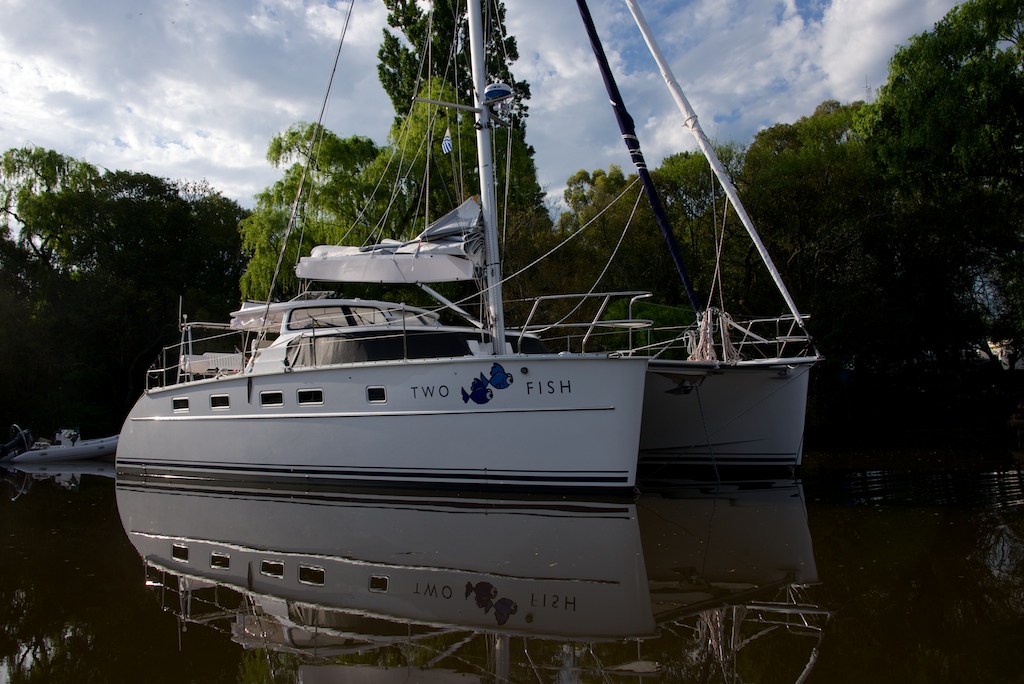
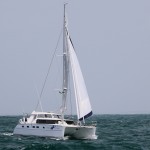
s/v Momo
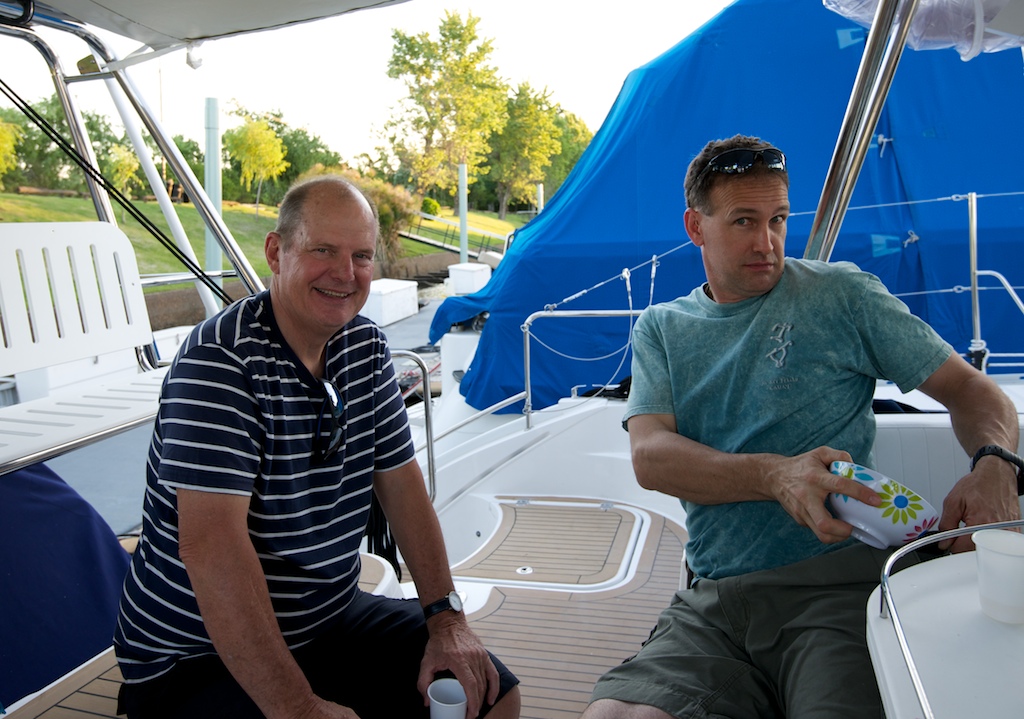
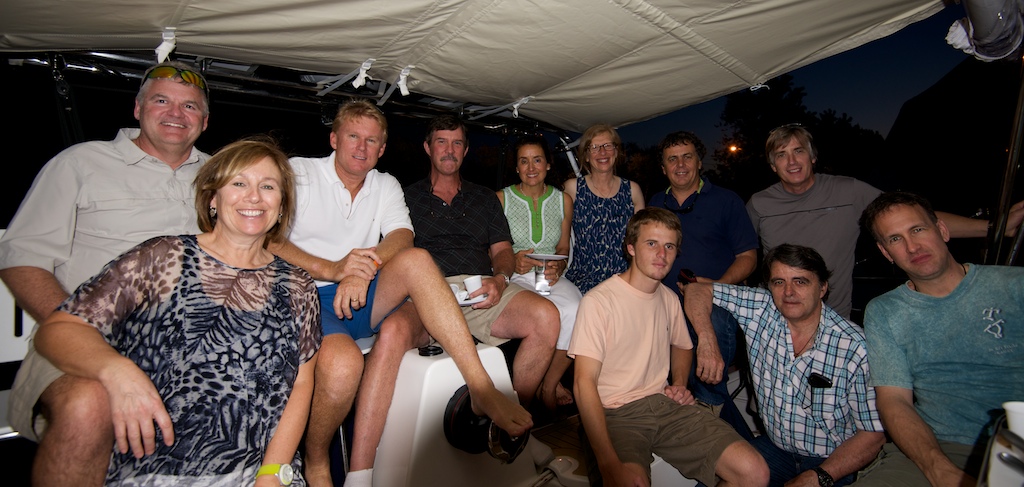
We have joined a new, very social group – cruising sailors. Our induction started out in grand fashion when we met the crew of Momo. Momo is crewed by a German captain who has been living aboard his boat for 18 years. His first mate, an American named Jenny, split her youth between the two noncontiguous states: Alaska and Hawaii. That is the real estate equivalent of sweet and sour pork. She also once worked as a trucker. They were very kind and invited us over for homemade delicious beef and spaetzle. People do such nice things for you when cruising. We are not in New York City anymore.
The highlight of the evening was Gerald’s stories of his sea dog and other sailing adventures. Years ago while he was in the French Caribbean he would walk his dog on the beach every night past a group of French-speaking 12 years olds. Gerarld spoke to his dog in his native German. On the last evening, he overheard the French 12 year old tell his parents “Mom, that dog is the smartest. He also speaks German!”.
During the New Zealand America’s cup, Gerald stayed at the Royal New Zealand Yacht Squadron. As the formal name implies they held the America’s Cup. Gerald had been at sea for a decade and had not kept up with the current Cup defender. As he came to the yacht club bar, he asked some old salts “Why do you guys have a copy of the America’s cup. The Australians have the real one, right?”. A few jaws hit the floor.
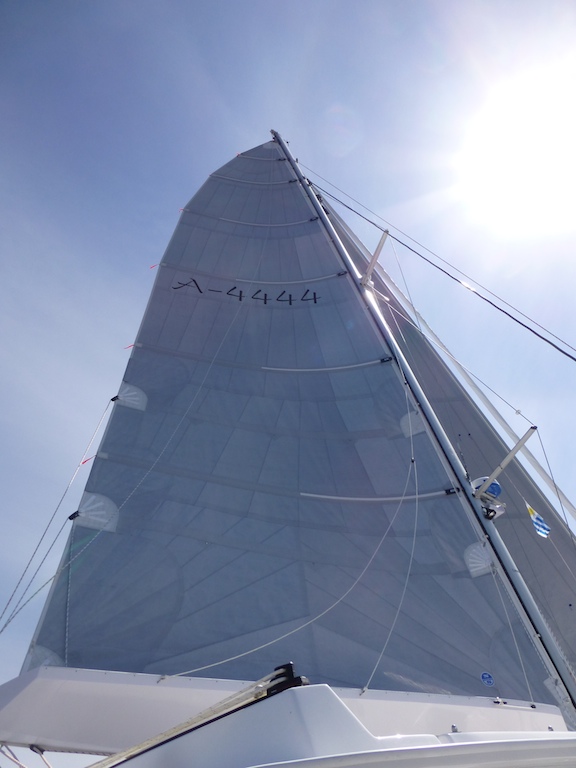
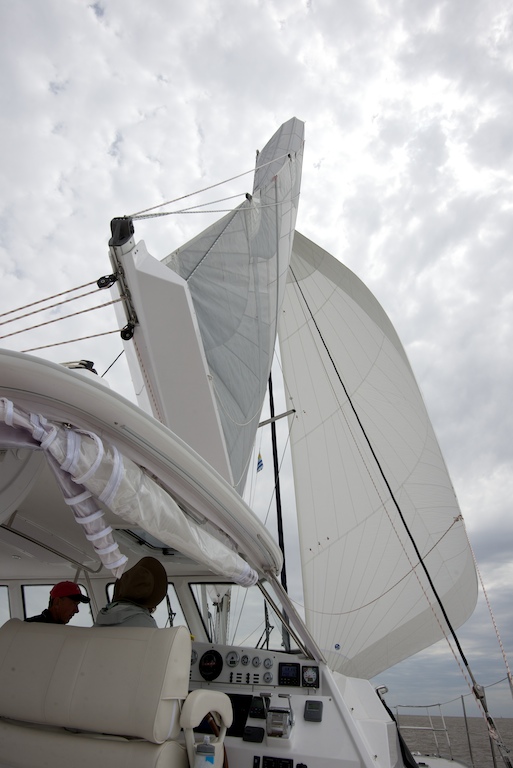
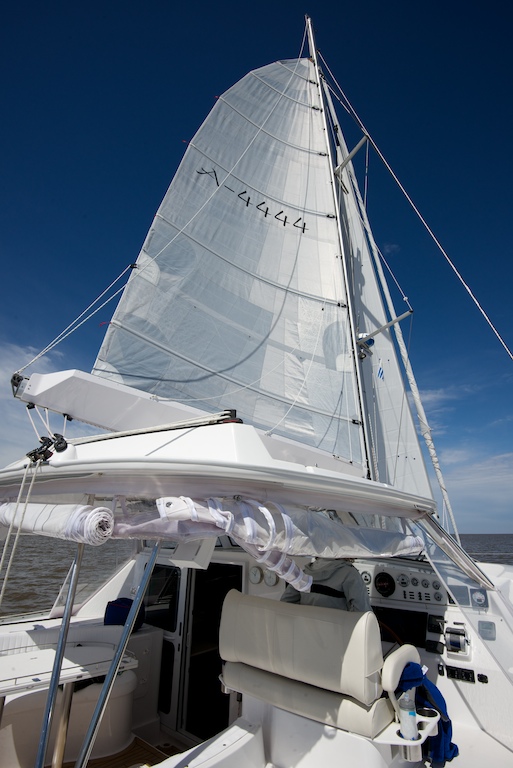
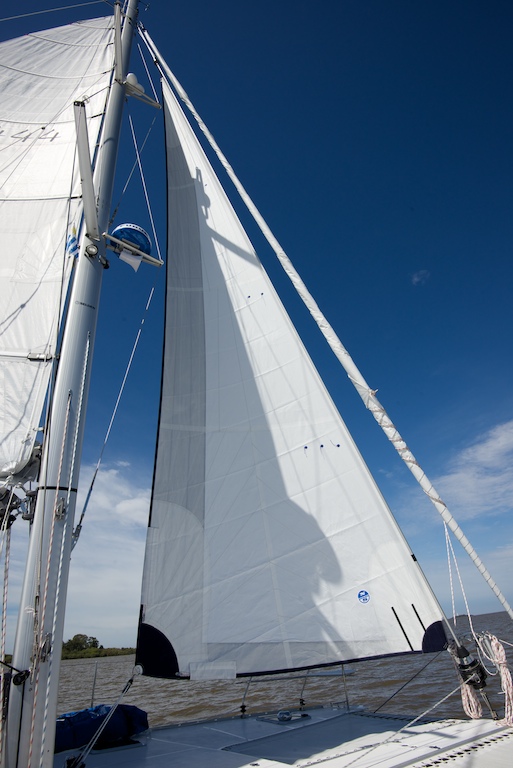
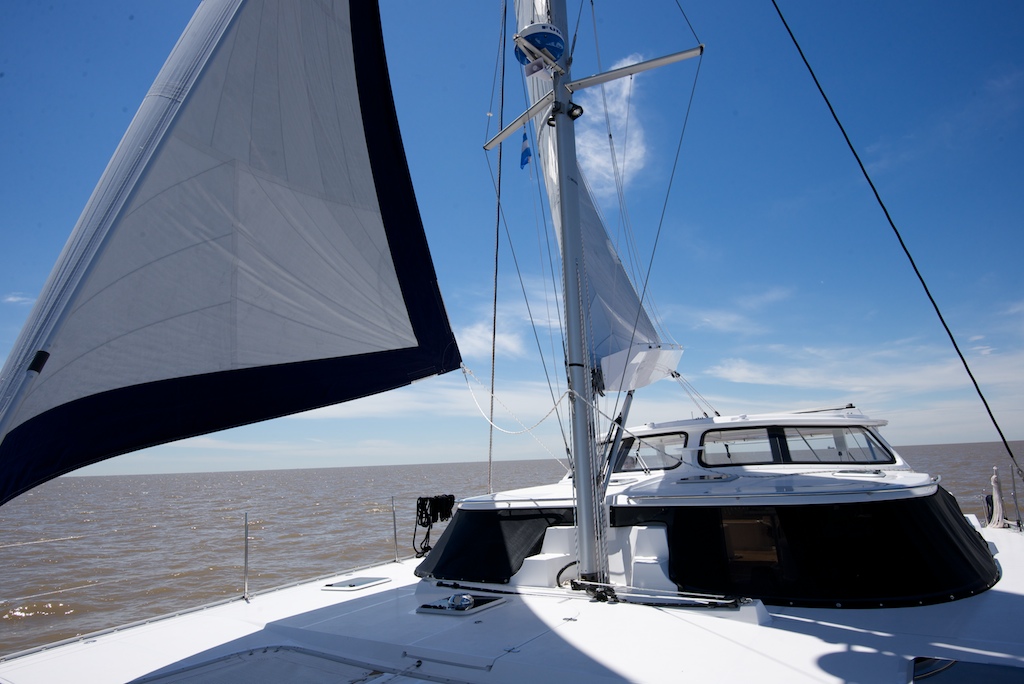
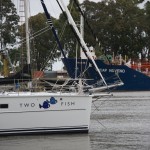
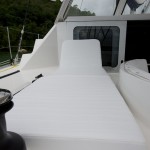
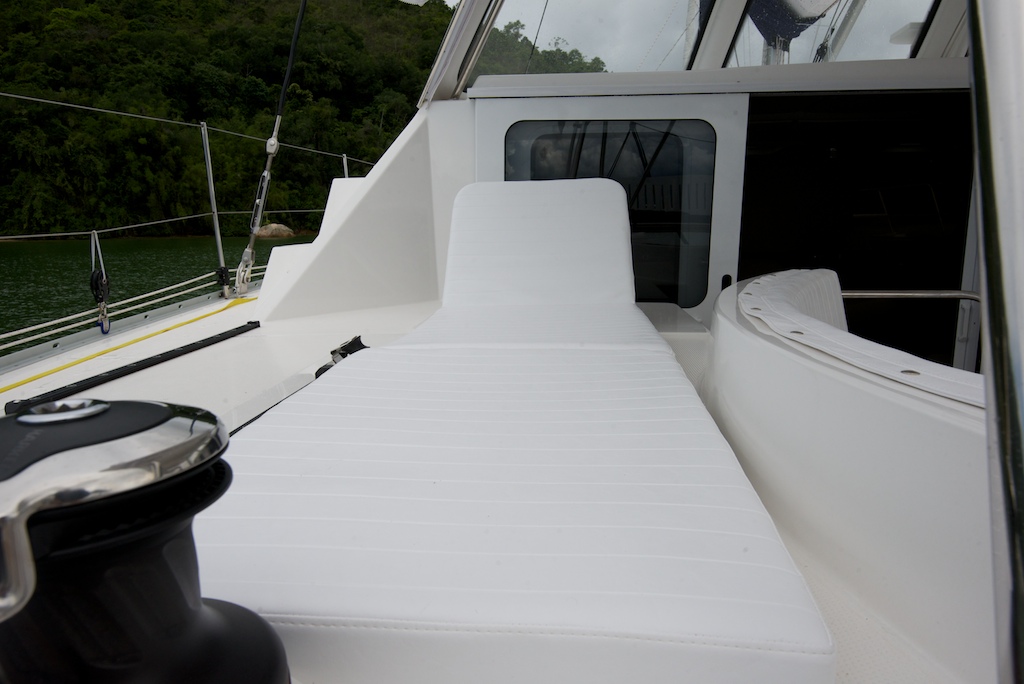
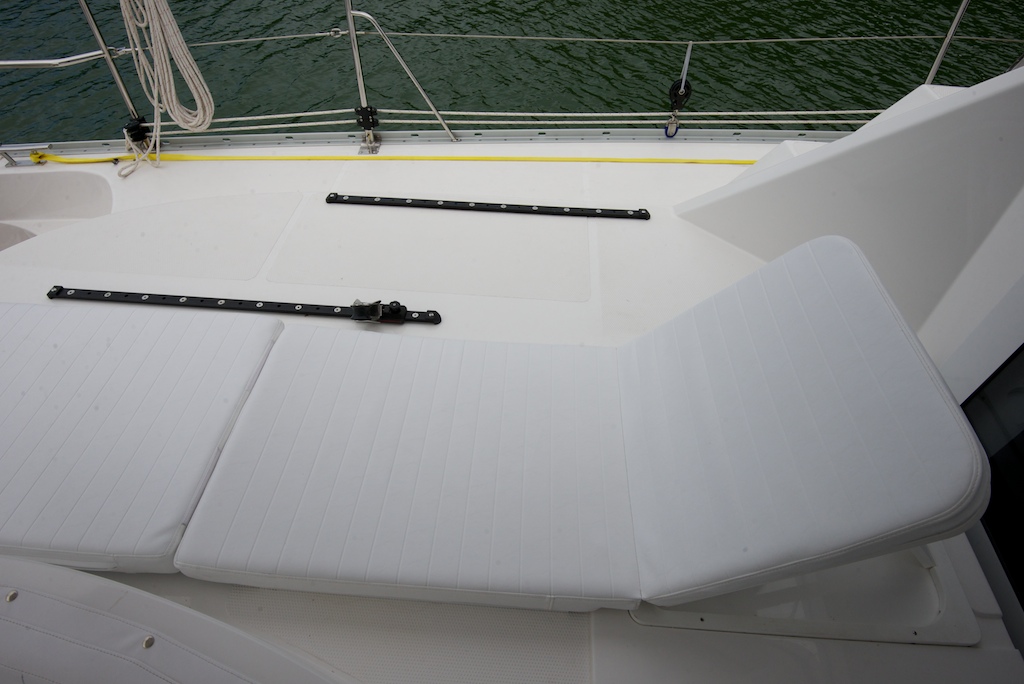
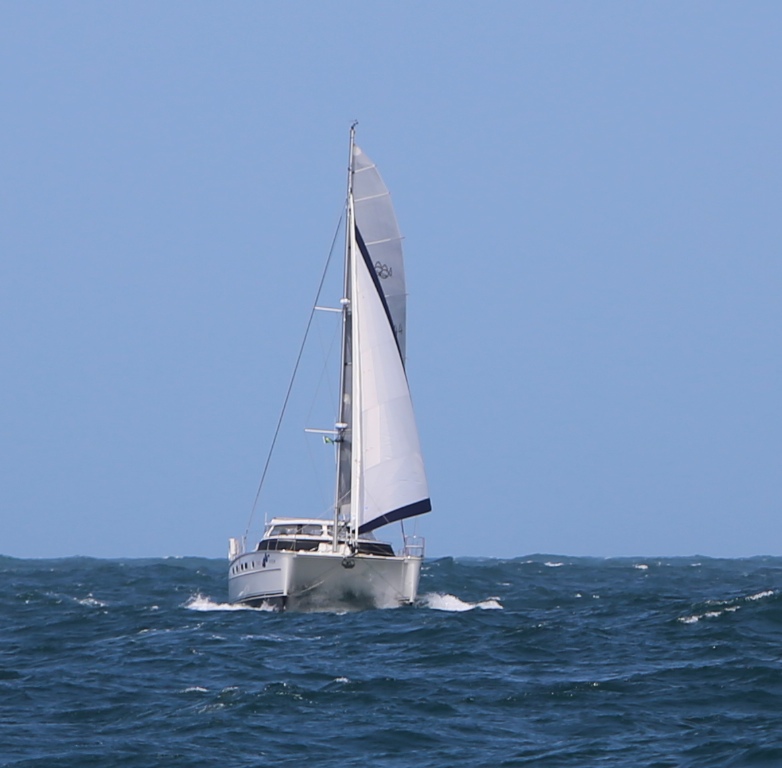
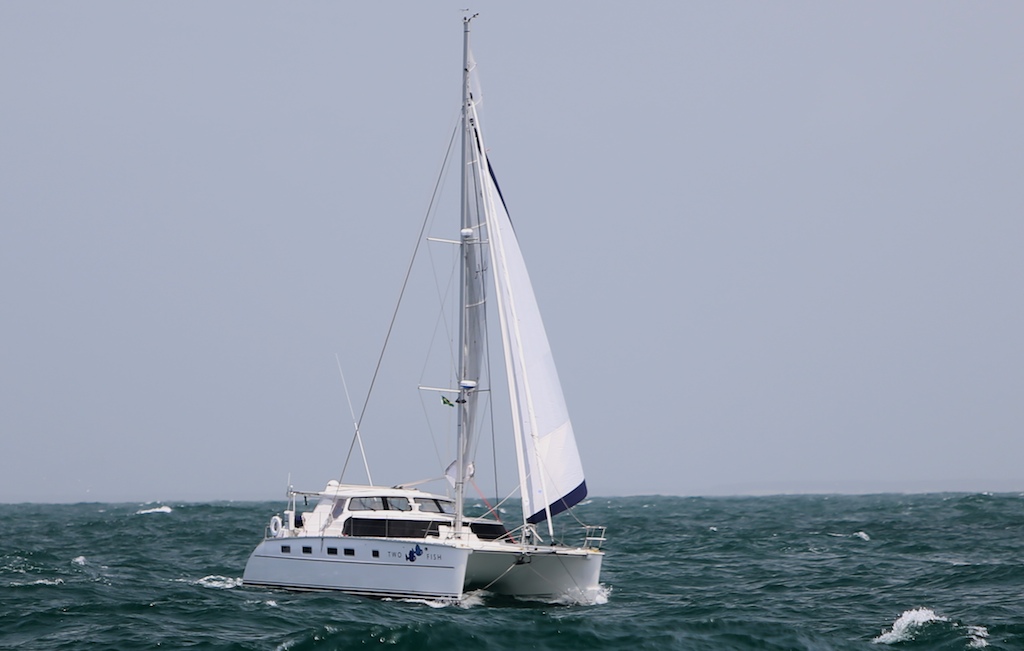
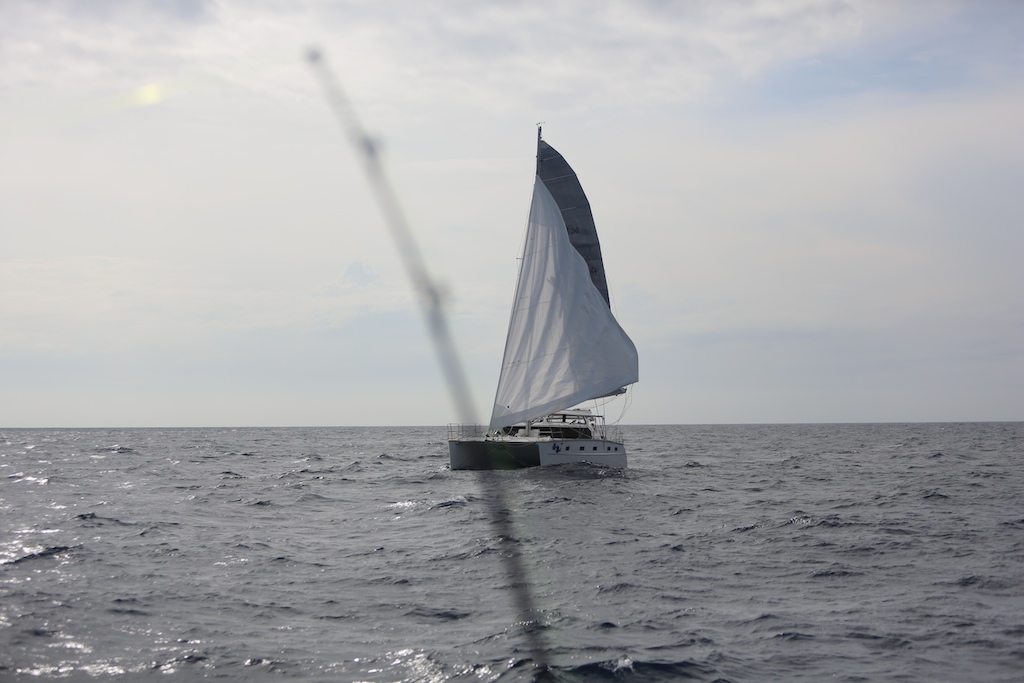
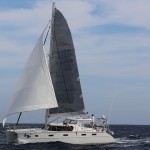
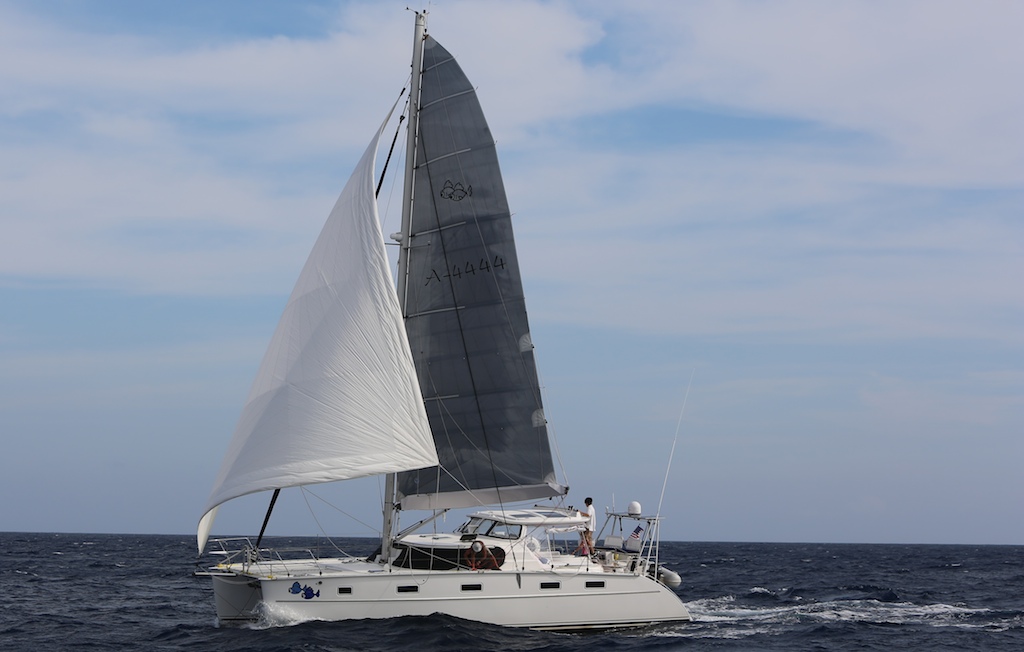
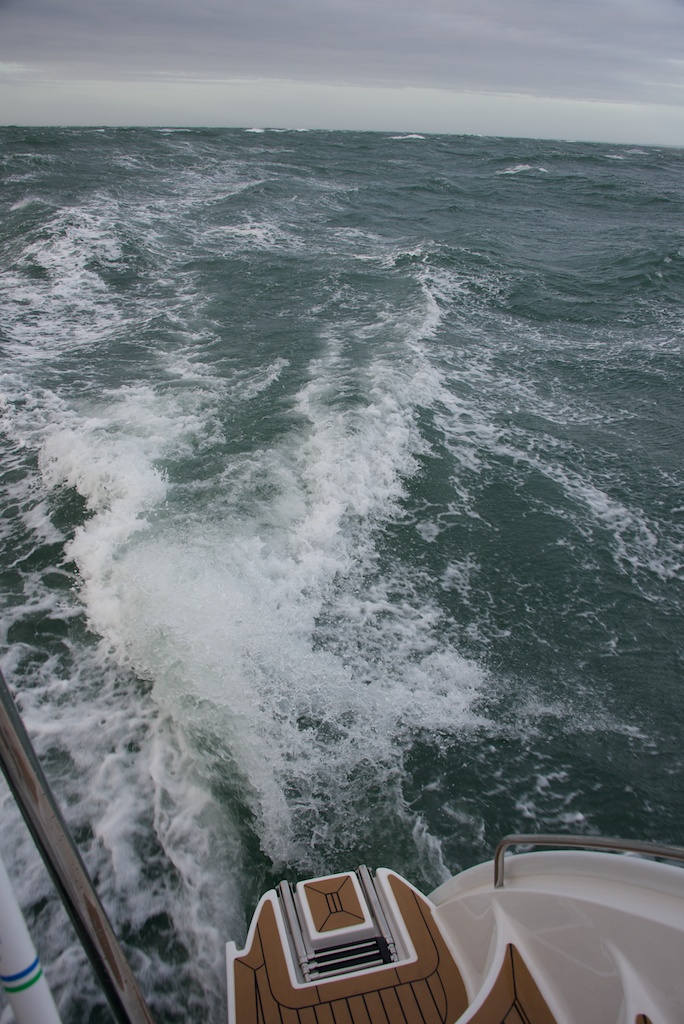
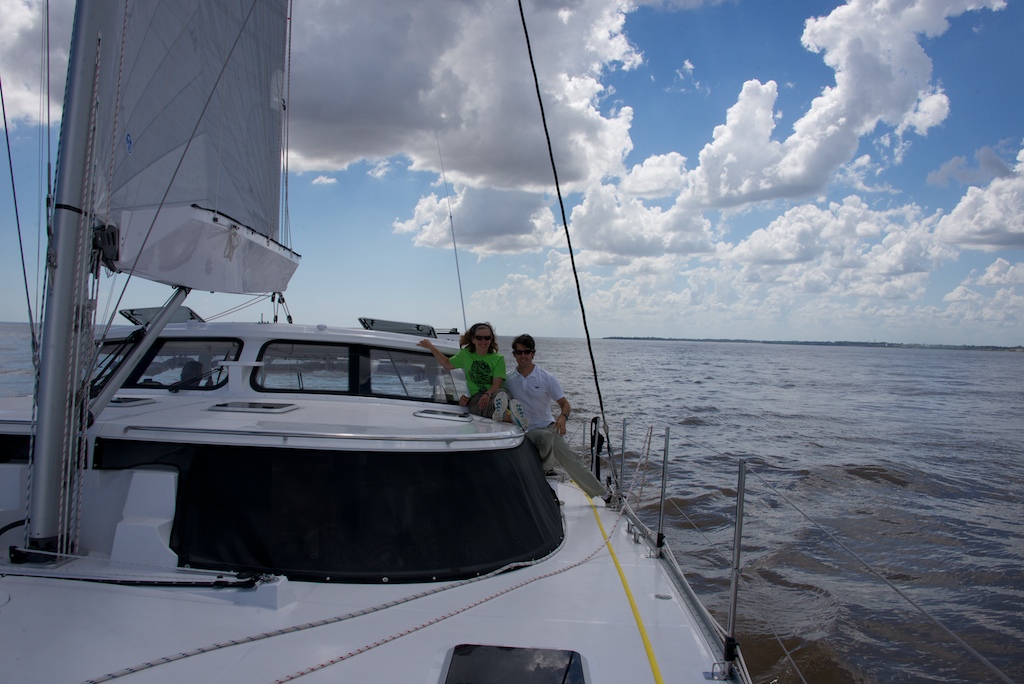
Two Fish Sails in a Breeze

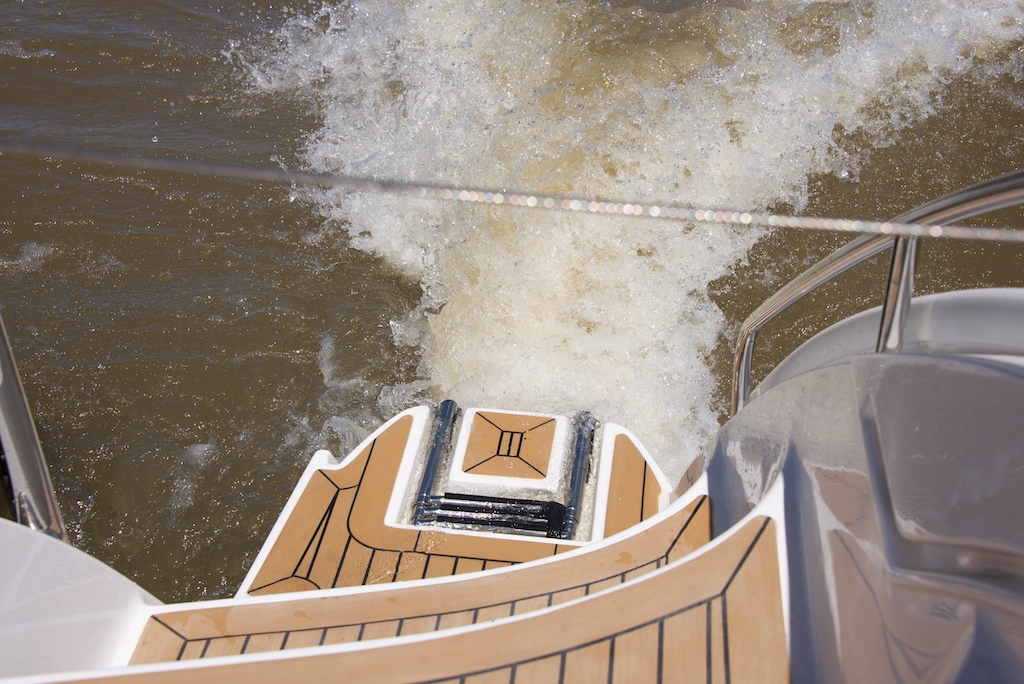
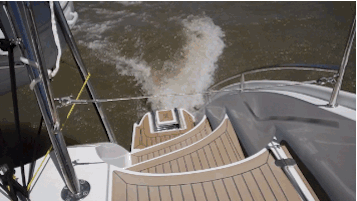
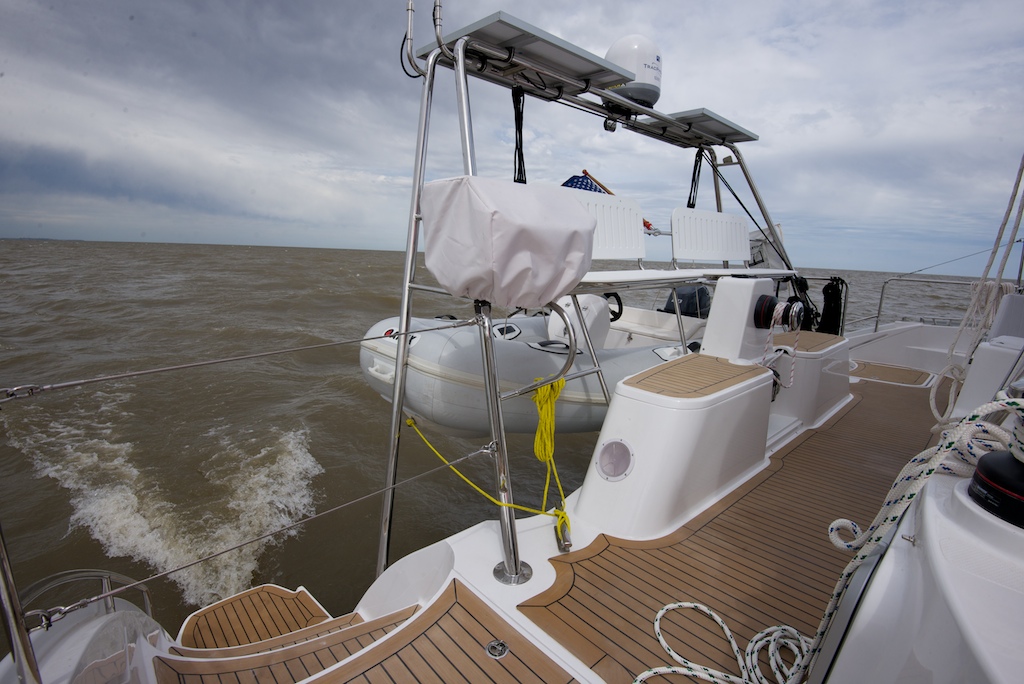
Wake made in the Plata
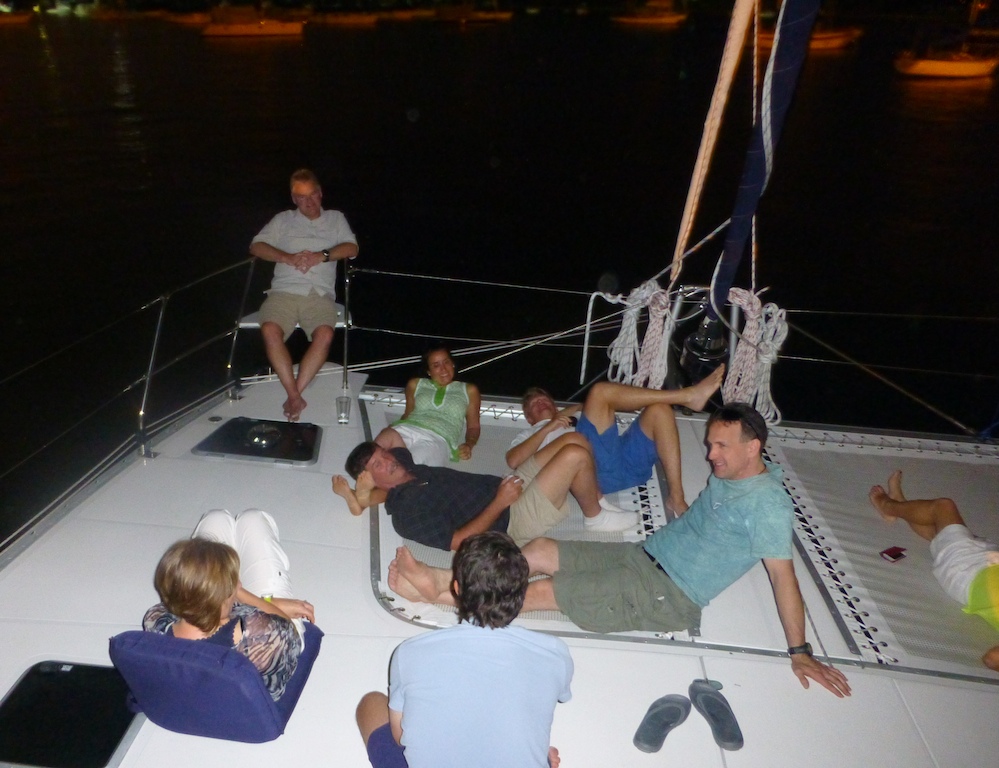
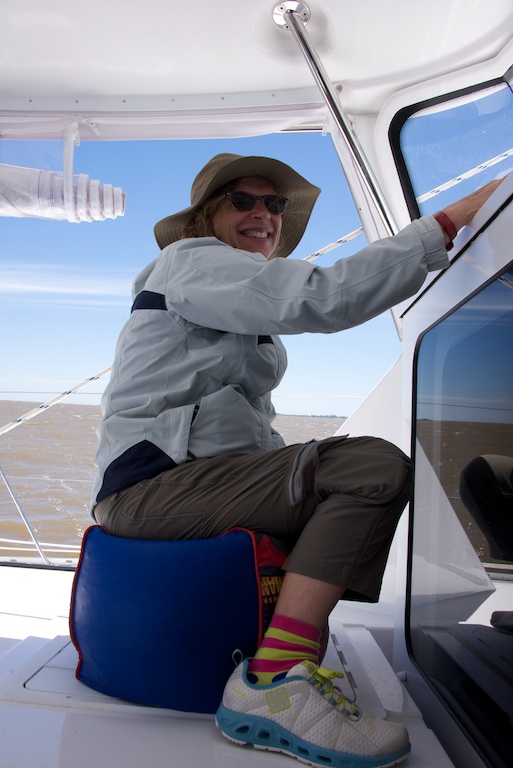
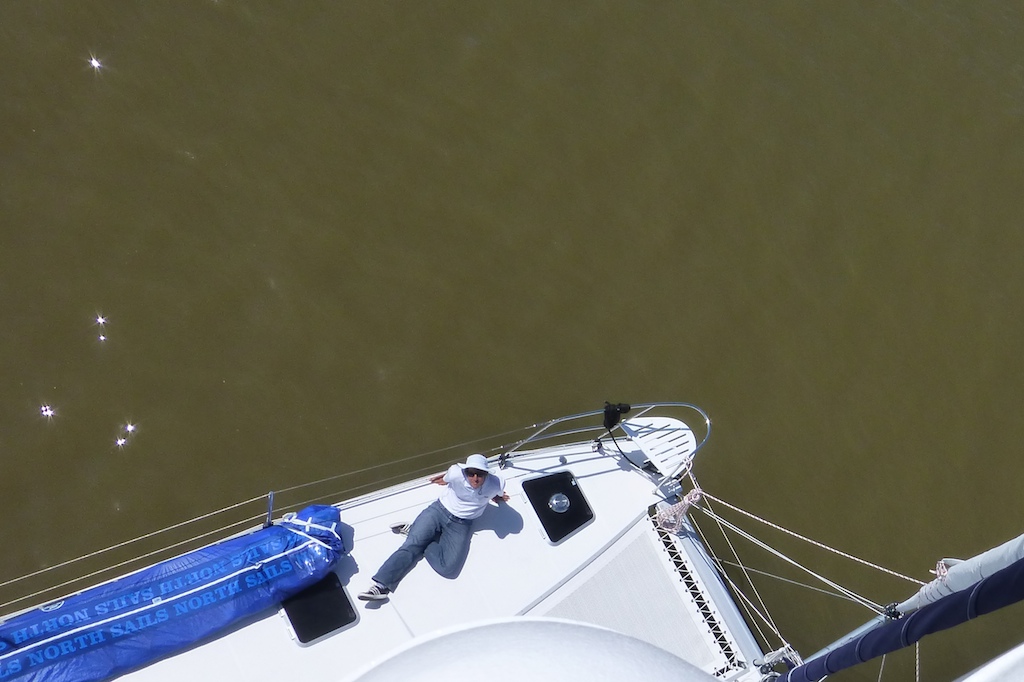
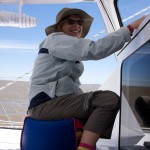
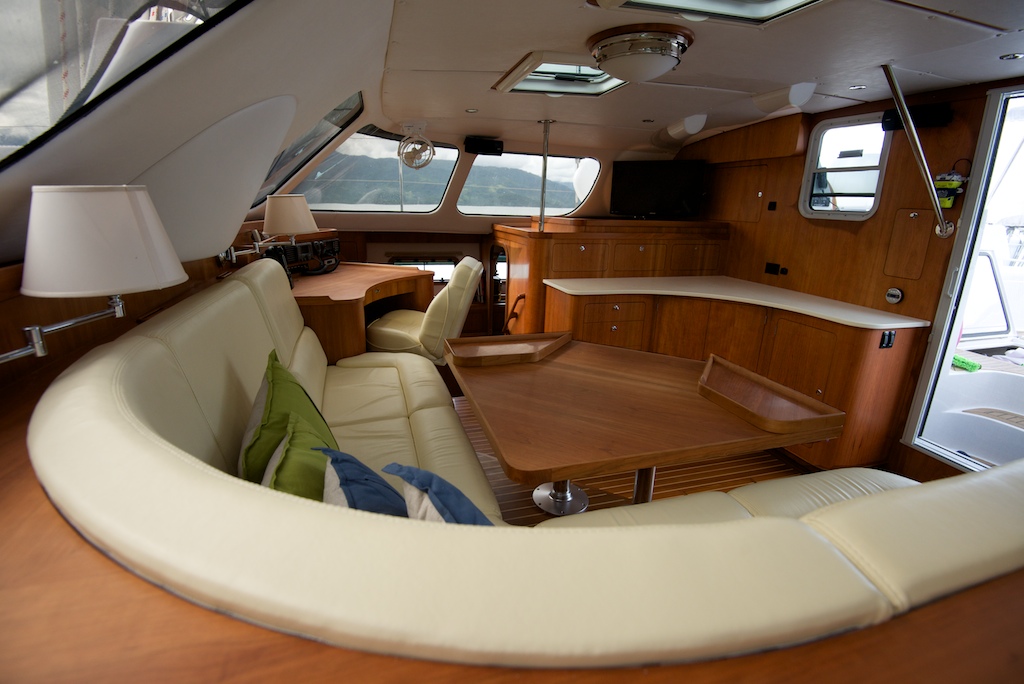
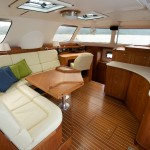
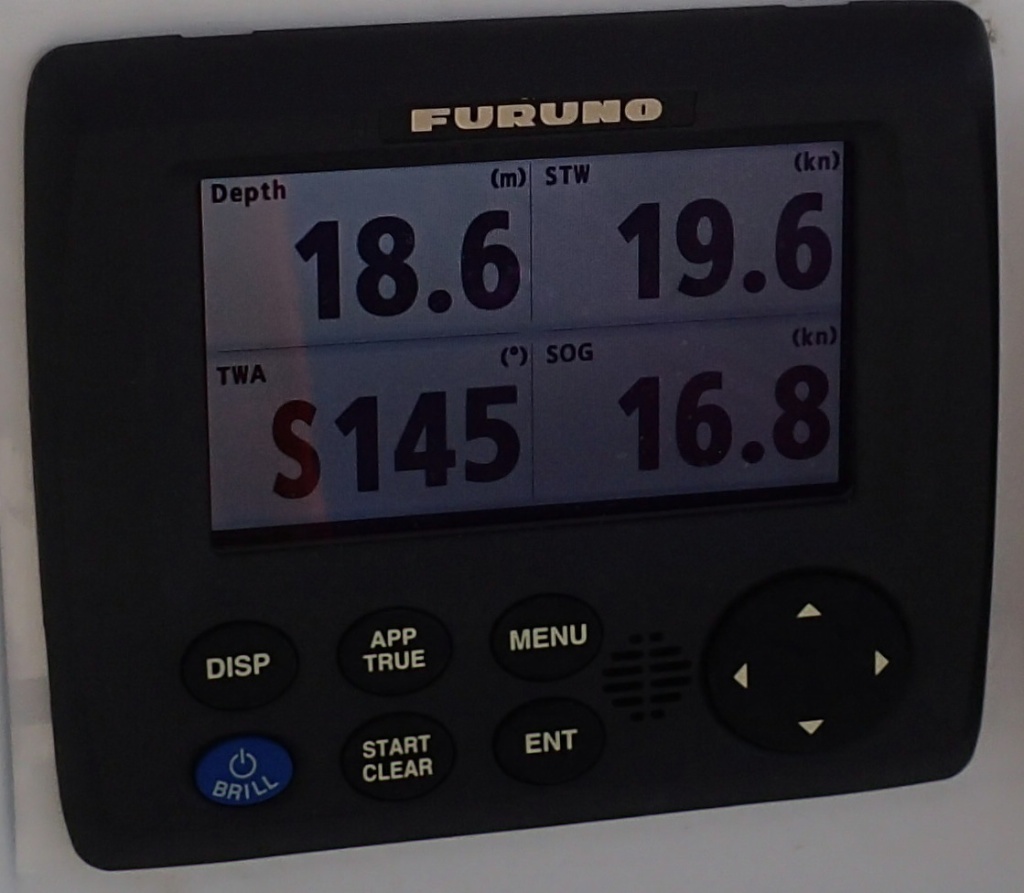
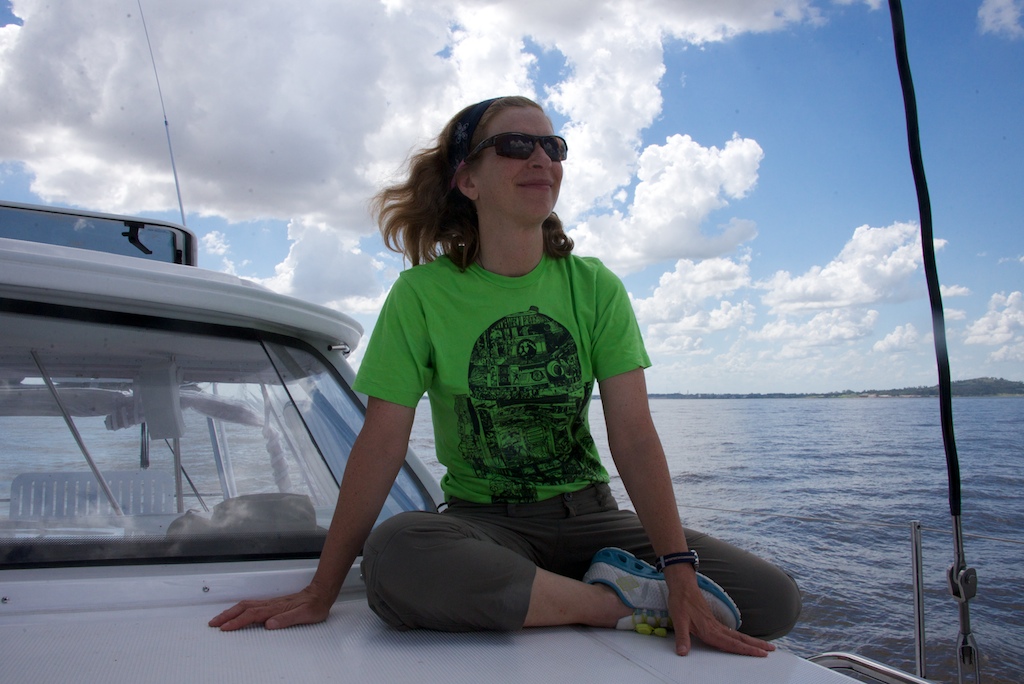
Twice during the 14-day cruise, we experienced 30 knot sustained breezes. No pictures of this since I was busy sailing and wind never shows up in my photos anyway. The big breeze was a great workout for the rig and a nice test of the crew. The boat was easy to sail both into the wind and off the wind. She tracks nicely and responds well to a stable hand at the helm. Into the wind, we had two reefs in the main and genoa; this left us with a balanced helm of only 5 degrees of weather helm. In strong winds, the boat can be enjoyable to sail for new sailors veterans alike. I kept turning off the autopilot to better understand the boat’s tendencies. Gail discovered that in the big breeze, she has a favorite position to sit when off watch – her Spiderman cubic bean bag, that has cost her USD 2. The Argentines wisely call this a “poof”.
-
-
Gail sitting on her bean bag
-
-
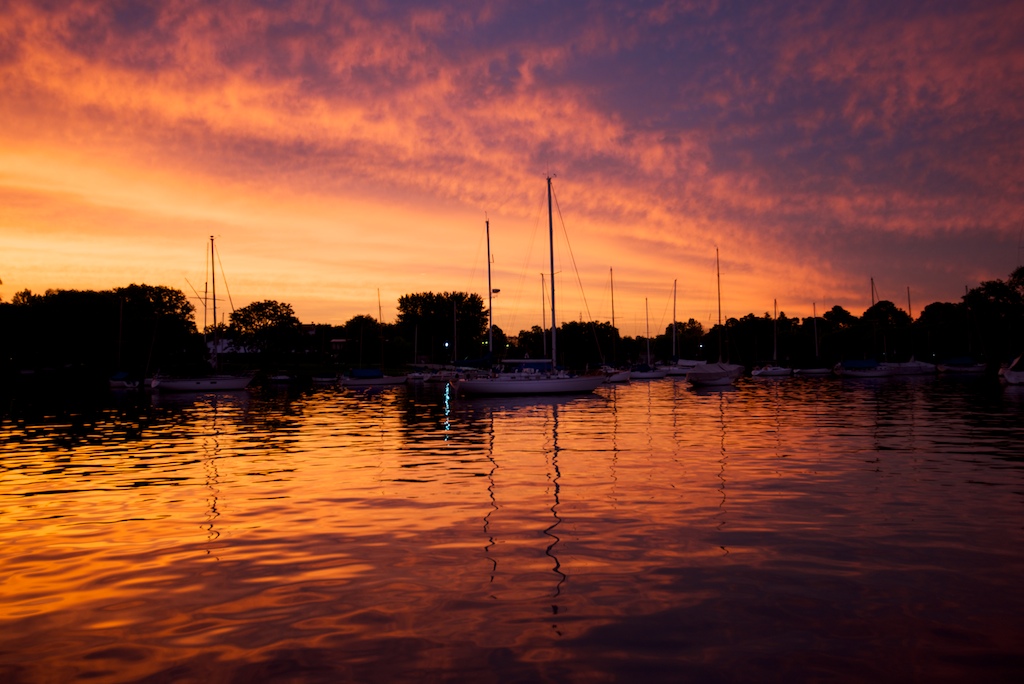
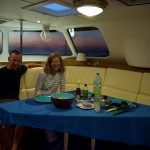
Dinner served with sunset
-

-
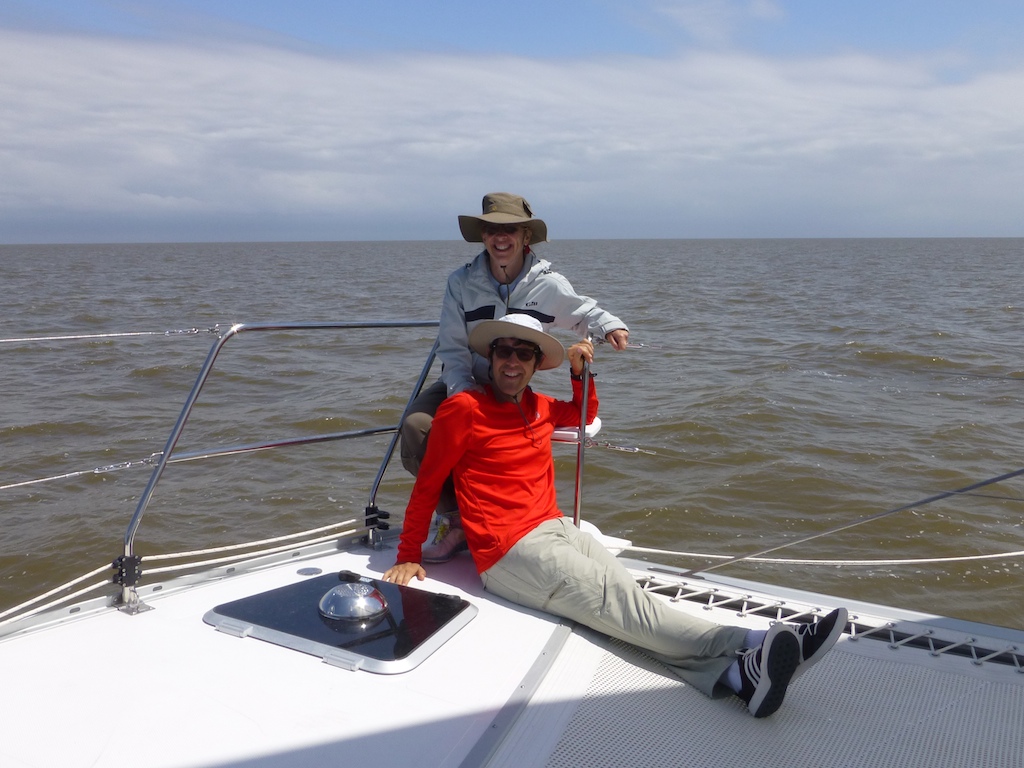
Crew posing during light wind
-
-
One Fish heads to shore with trash
-
-
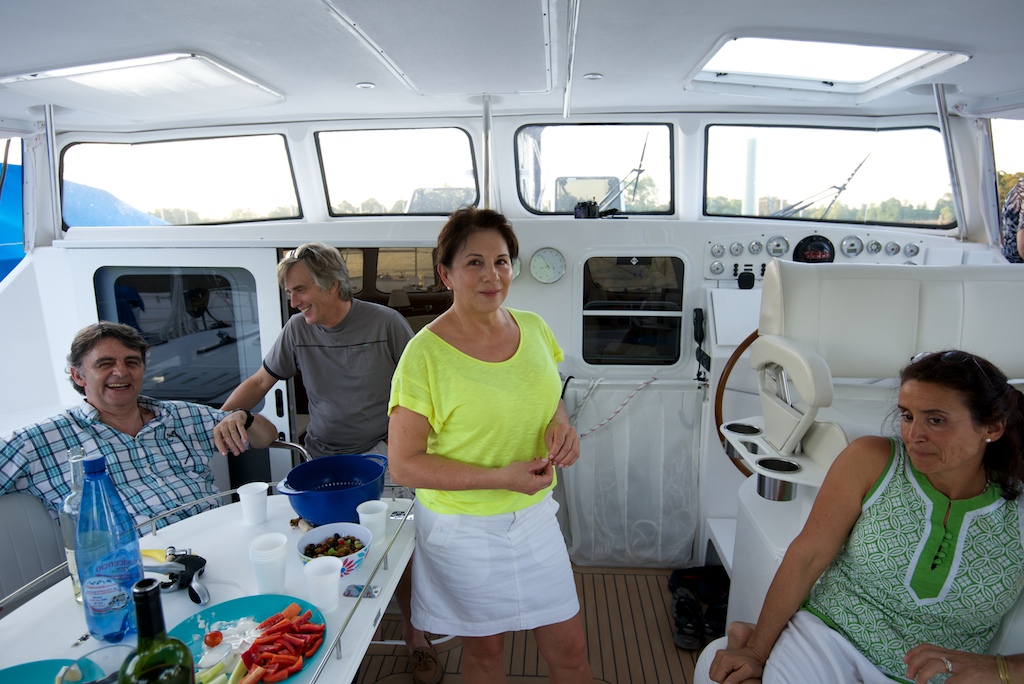
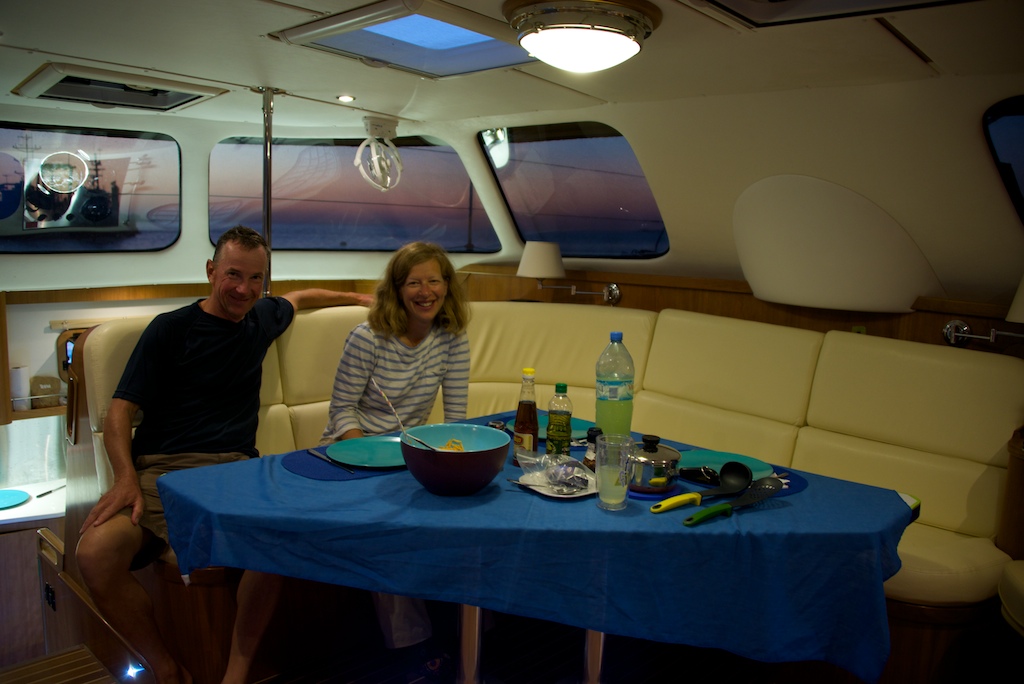
Dinner served outdoors
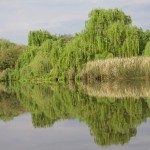
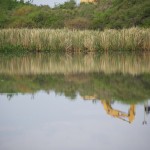
Up a river with a boat (Riachuelo) and Any Puerto in a Storm (Puerto Sauce)
On the fourth night, we chose to anchor up a river that local sailors had recommended. It seemed like a scene from Heart of Darkness. There was much tension on board as we were relying on a Spanish language cruising guide to keep us off hidden rocks and shallows as we sailed up the river. Sailing may not require a sextant anymore, but it does require an iPhone with an English to Spanish dictionary. Columbus had it so easy compared to us!
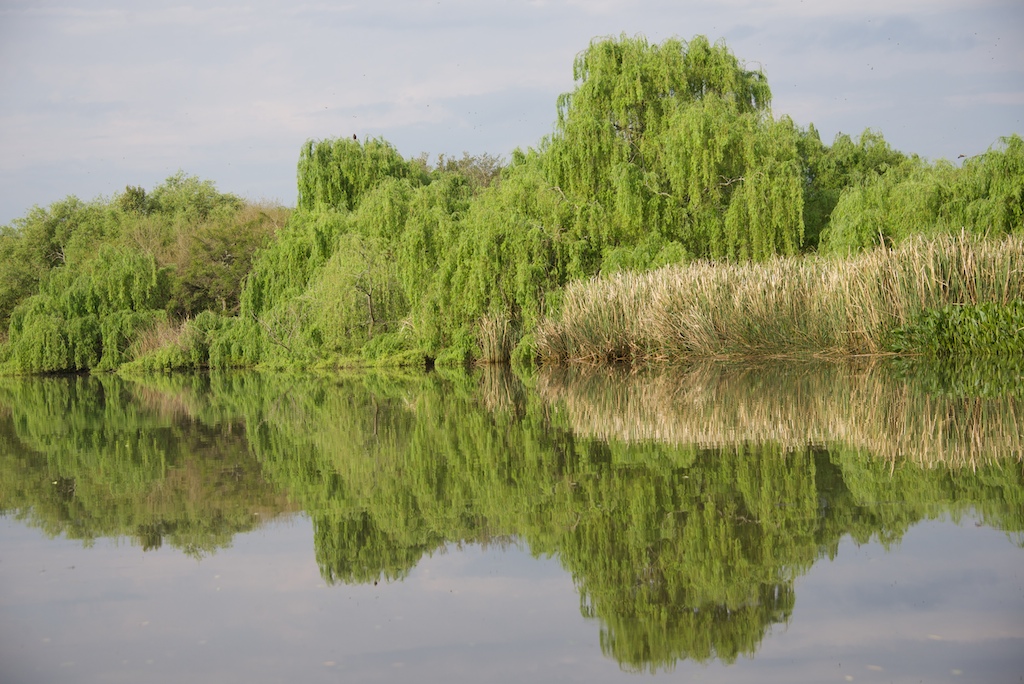
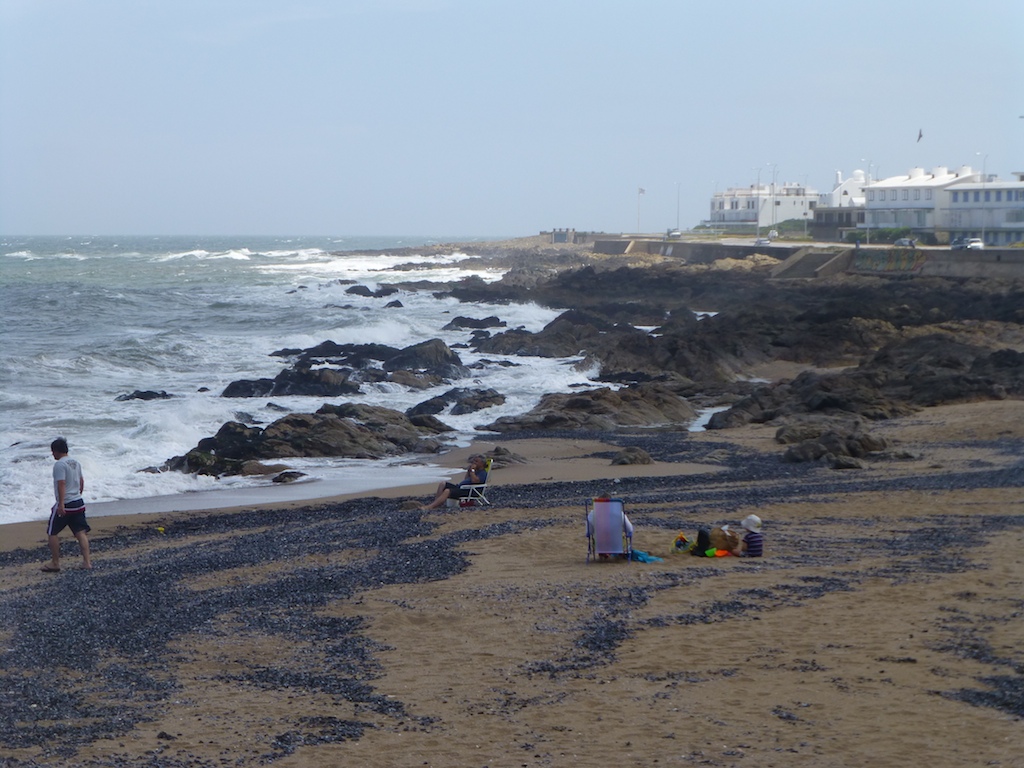
After all the hard work, we were rewarded with a wonderful night anchored in the river. By morning the breeze had increased, testing our simple anchor plus stern tie to the shore system. We had to leave before more branches from the shore side tree came aboard. Anchoring in this river really summed up cruising for me. You find a perfect place that brings you great peace and comfort. But 12 hours later our paradise was becoming windswept and we were forced to move on. We left quickly, as we did not have a stern anchor and were defenseless in the building wind.
-
-
Only one Rio or are there 2?
-

-
Four Fish
-
-
Encroachment
-

-
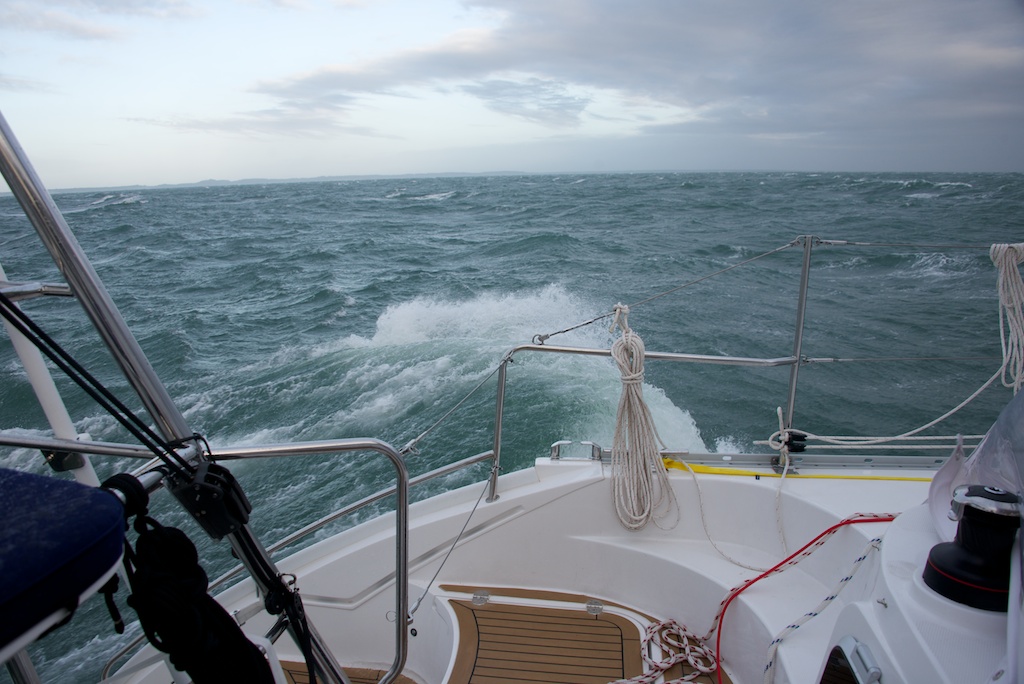
Leaving the river – Get ready for breeze
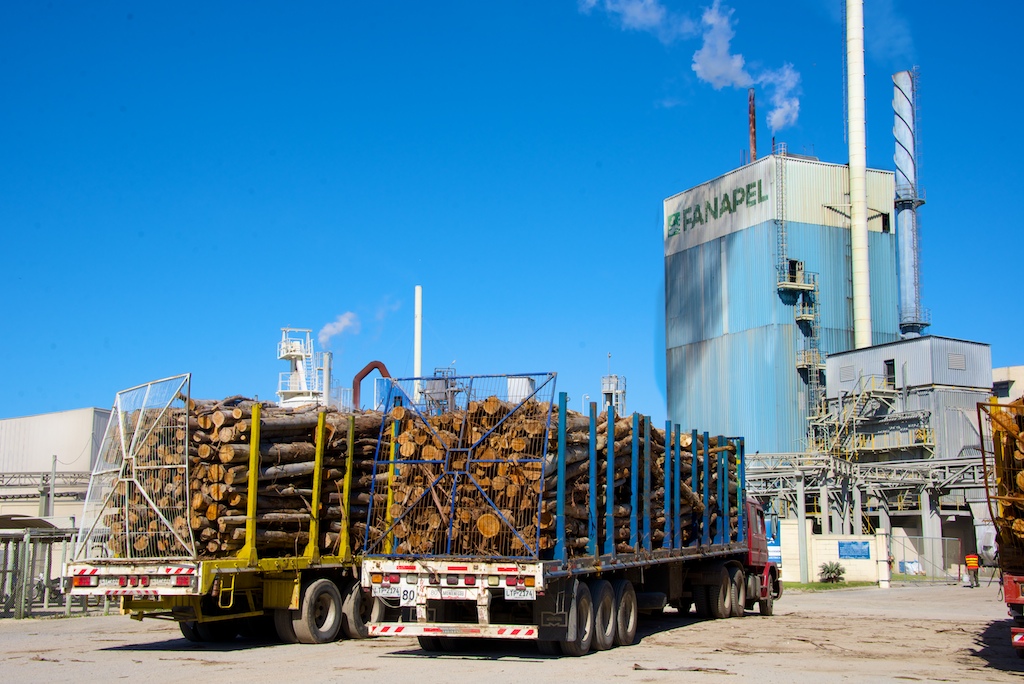
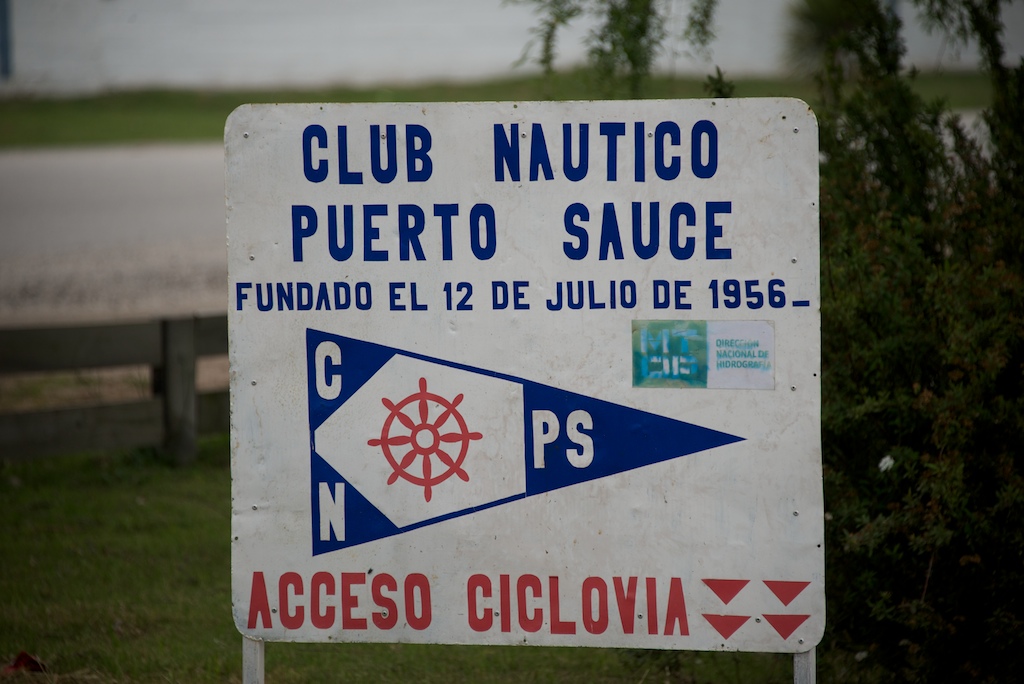
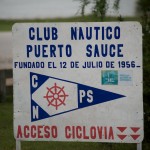
Going to weather in 30 knots becomes annoying for everyone, it is just a matter of how quickly. Gail has adopted the old sailing slogan “Gentlemen do not go to weather (sailing in the direction of the wind)!” After a bit of bouncy sailing, Gail hinted that she had her share of going to weather. We scoured the cruising guide for any port in a storm and found that the nearest was Puerto Sauce. We we so happy to be in a more protected location, that we did notice immediately that the 24 hour-a-day cellulose plant showered the boat in fumes and noise.
We had a small adventure trying to buy a garden hose for filling our water tanks. The hurdles to buying a hose were twofold: I did not know the name for garden hose in Spanish and the modest inventory of retail establishments in Puerto Sauce. I now know the name for garden hose is manguera. After 2 days of visits to severals stores in Puerto Sauce, the closest we got was a storekeeper that said it might be possible that a hose might show up in a few days time. The hose adventure continued into another town and culminated in a fevered over buying of hose when we finally found a seller. Fortunately, an Italian boat lent us their hose in the interim.
-

-
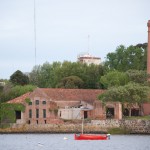
One company town
-
-
Our Port in the Storm
-
-
Downtown P Sauce
-
-
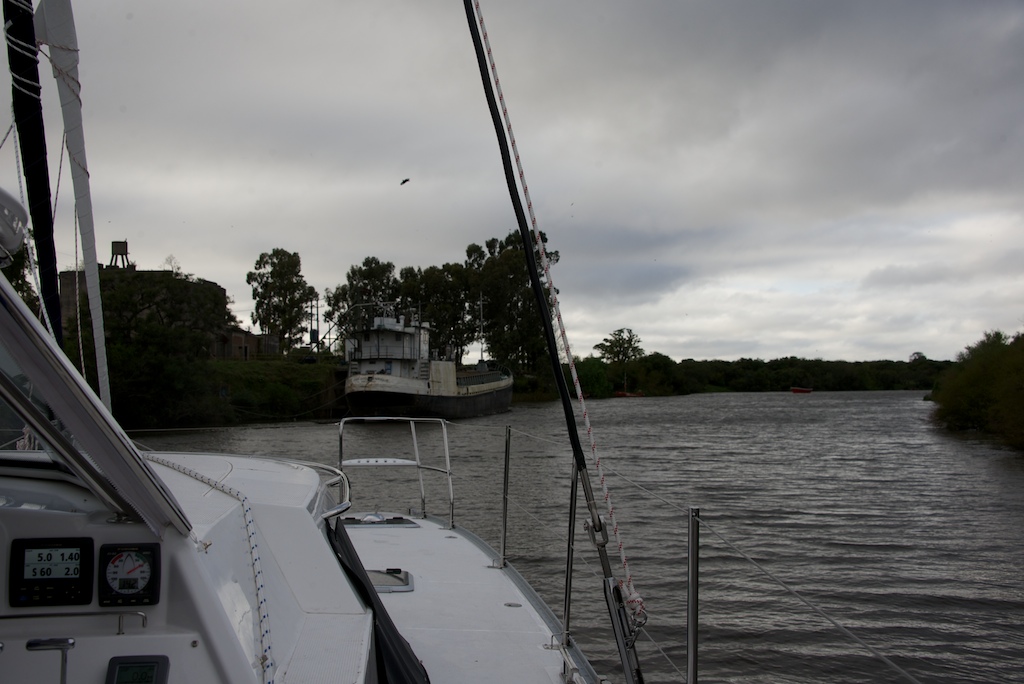
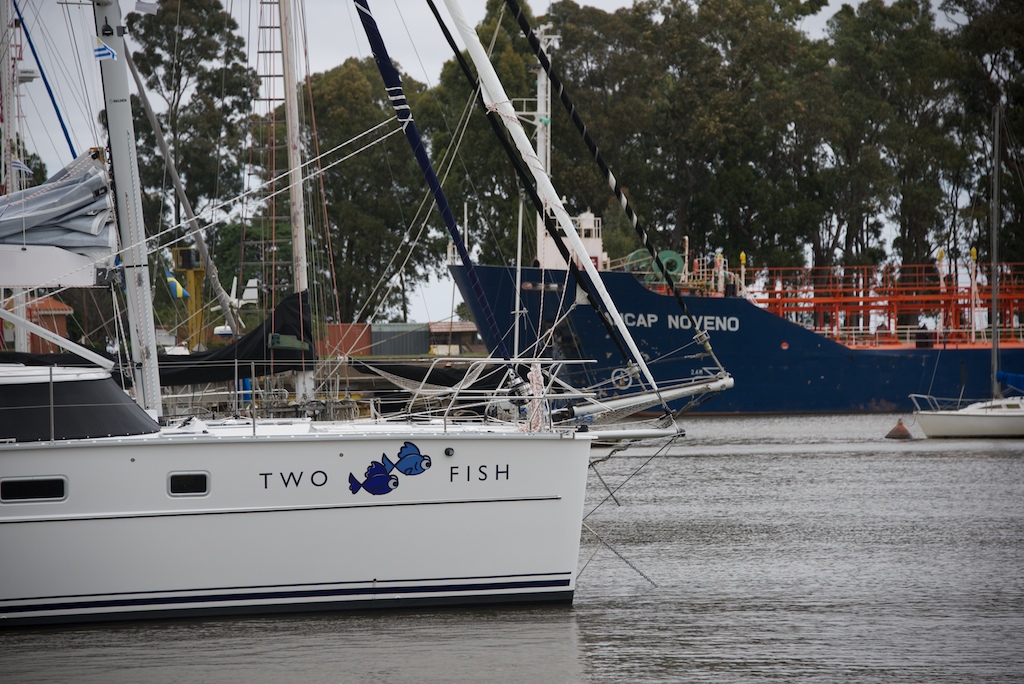
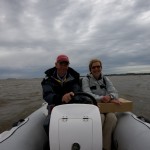
Two Fish near the Bulk Pulp Ship
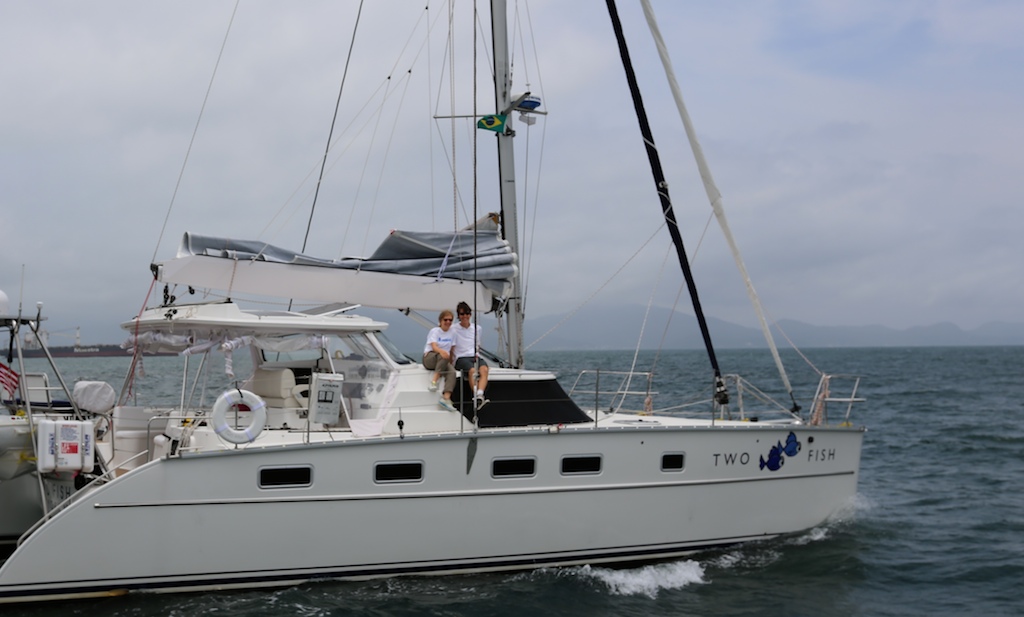
The Po Po (Police or Prefectura) chase down Two Fish
After a week or so in Uruguay we had become regulars of the check in / check out procedures. We would get on the VHF radio to announce our departure. “Control, Control esta barque two fish salida para cinco horas”. This proclamation that we were leaving for 5 hours was greeted with silence. During one of our departures, Gail and Michael (without asking me) decided that they would forgo the radio check out. They were emboldened by comments from more seasoned cruisers. The breeze was blowing over 15 knots and we were marching nicely to windward. Not as nicely as the mono hull that was out pointing, but nice enough from my purposes. Gail put up the alert first. “Jason, that Zodiac is on a collision course with Two Fish!” I momentarily dismissed the warning until I noticed that the Zodiac was flashing a blue light and chasing us down. Tensions rose as they were shepherding us to shore on a path that was too close to hazards for my taste. I was about to turn away when I realized what their concern was. They thought we had done the yachting equivalent of the dine and ditch. I yelled over the breeze in my poor Spanish that we were only out for a day sail. Gail resumed check out procedures the next day, and from then on Control responded with “OK Two Fish”.

Prefectura Chase boat is faster than Two Fish (Notice the Blue light)
Final Cruise Thoughts
We had a lot on our minds while testing and learning the boat, so I am not sure a review of Uruguayan cruising grounds is fair. What I did like was the people, the facilities and the food onshore. The paperwork and somewhat up and down breeze were not perfect. But any of the shortfalls were made up by the enjoyable crew aboard.
Tips for Uruguay Paper work (skip if you are not sailing to Uruguay)
1) You need to fill out 3 copies of the official crew list.
2) Your first port of call will take one copy forever and return 2 copies when you check out of the port.
3) On arrival in your first town you need to visit a) Prefectura, b) Immigration (bring 67 pesos in exact change, about 3 USD), c) Marina billing office, d) Prefecture again. In Colonia, Immigration is a 15 minute walk from the pleasure yachts.
4) On departure, visit only the prefectura to get your 2 crew lists back
5) For each new town, repeat 3 and 4 but skip Immigration.
6) On departure from your final Uruguayan town repeat 3 but now surrender your second crew list leaving you with one for your next country.
Budget a few hours for this process. All friendly and helpful, but a bit slow.


")