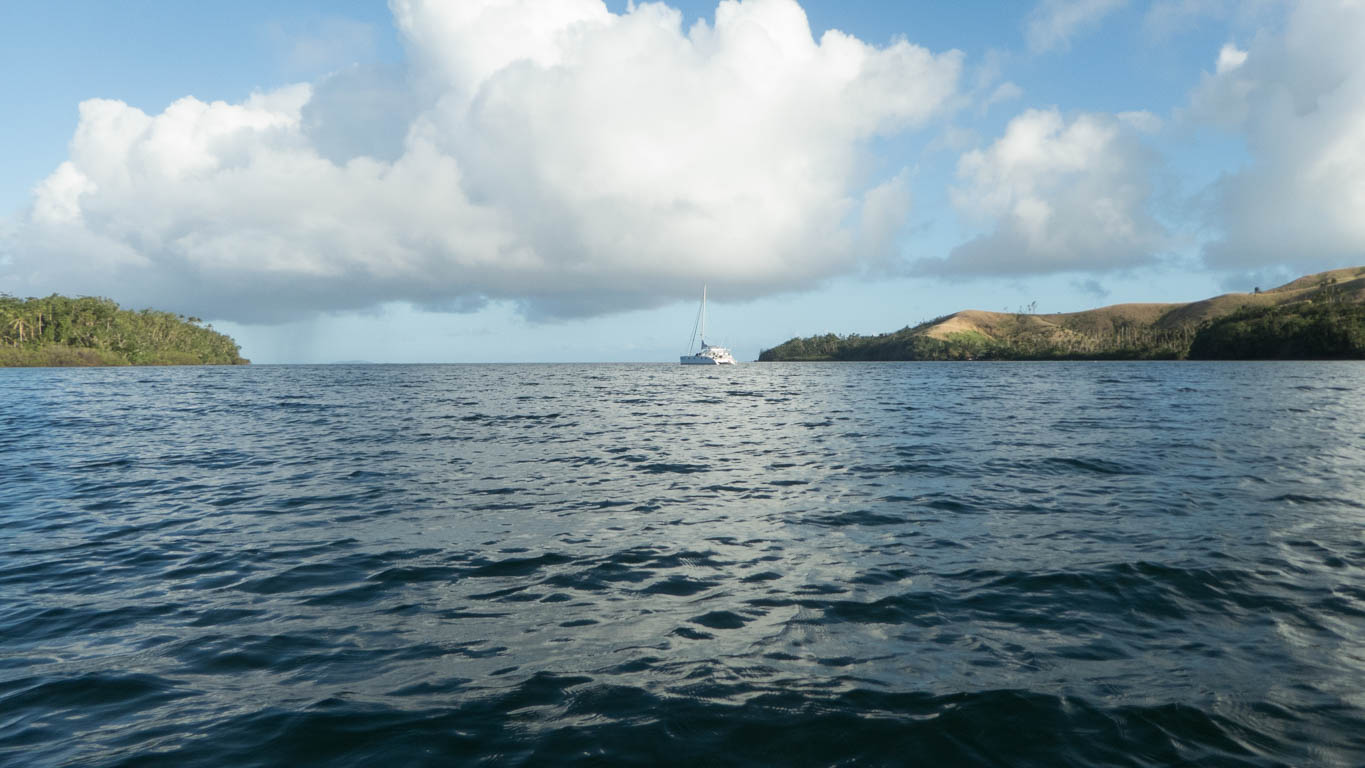
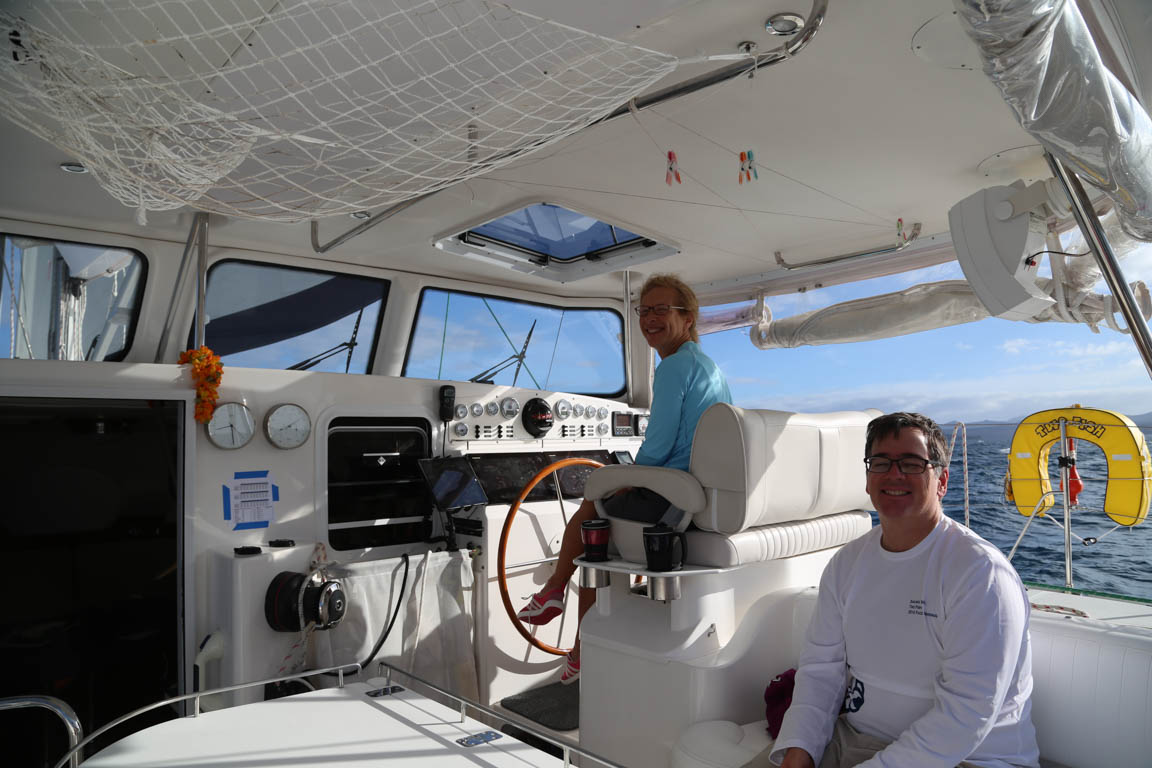
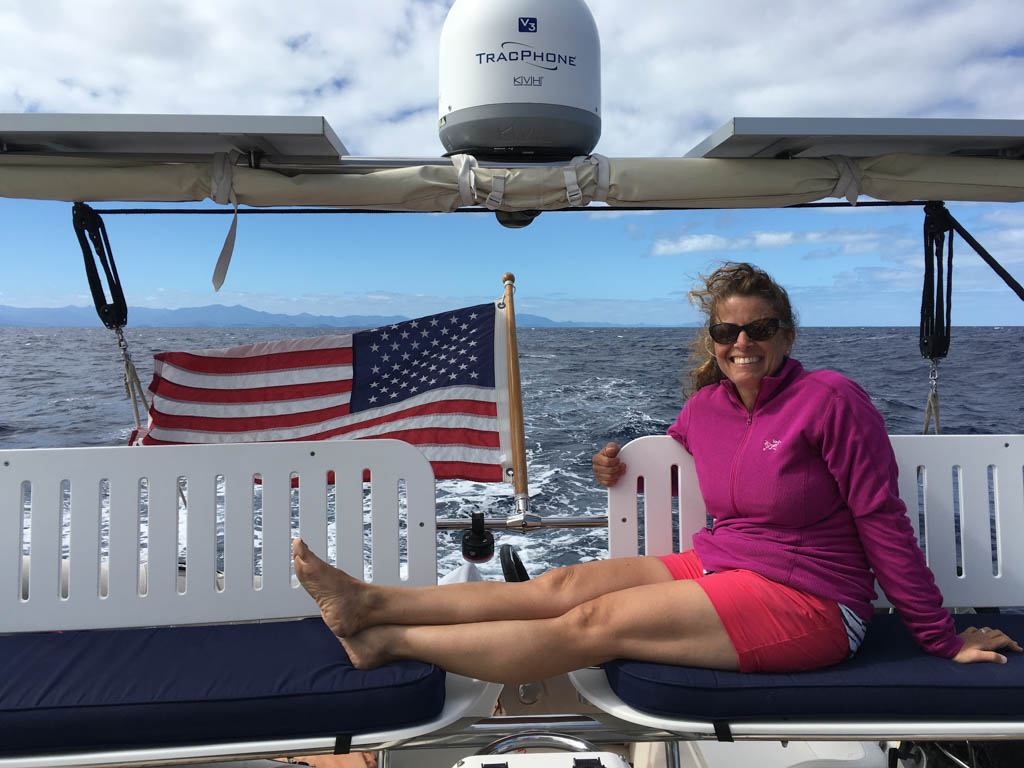
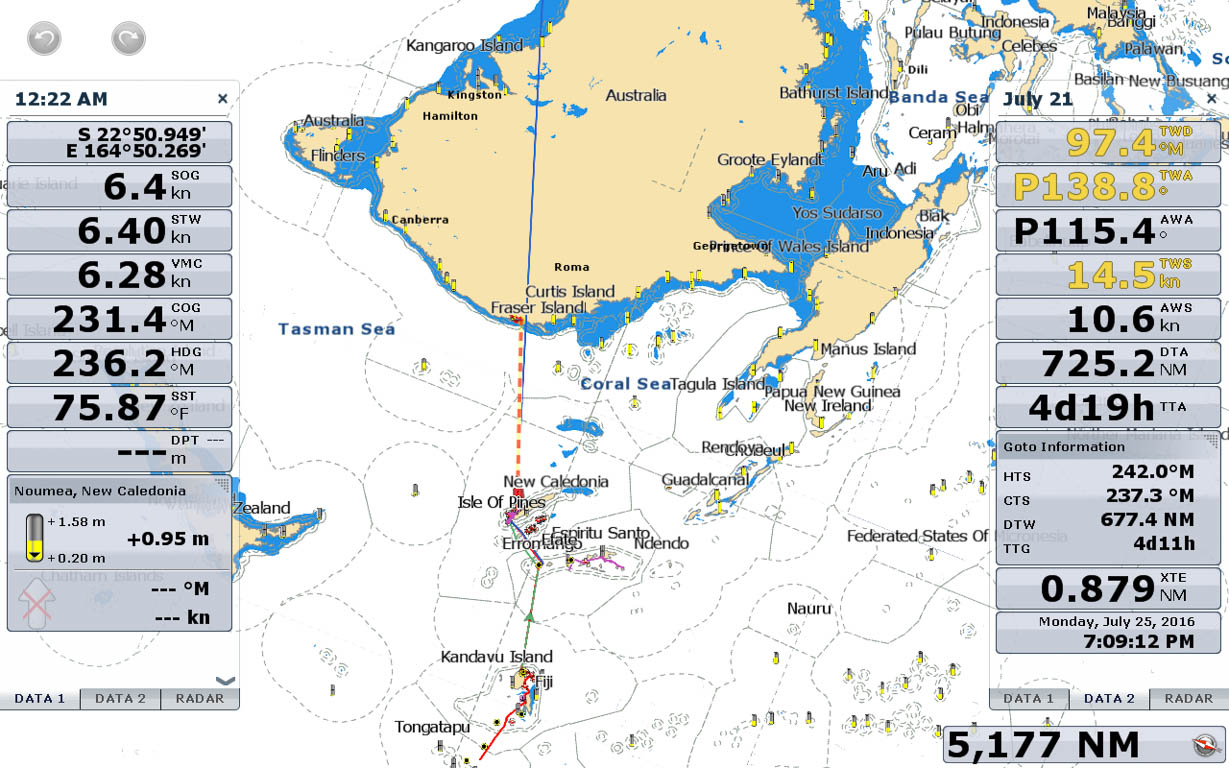
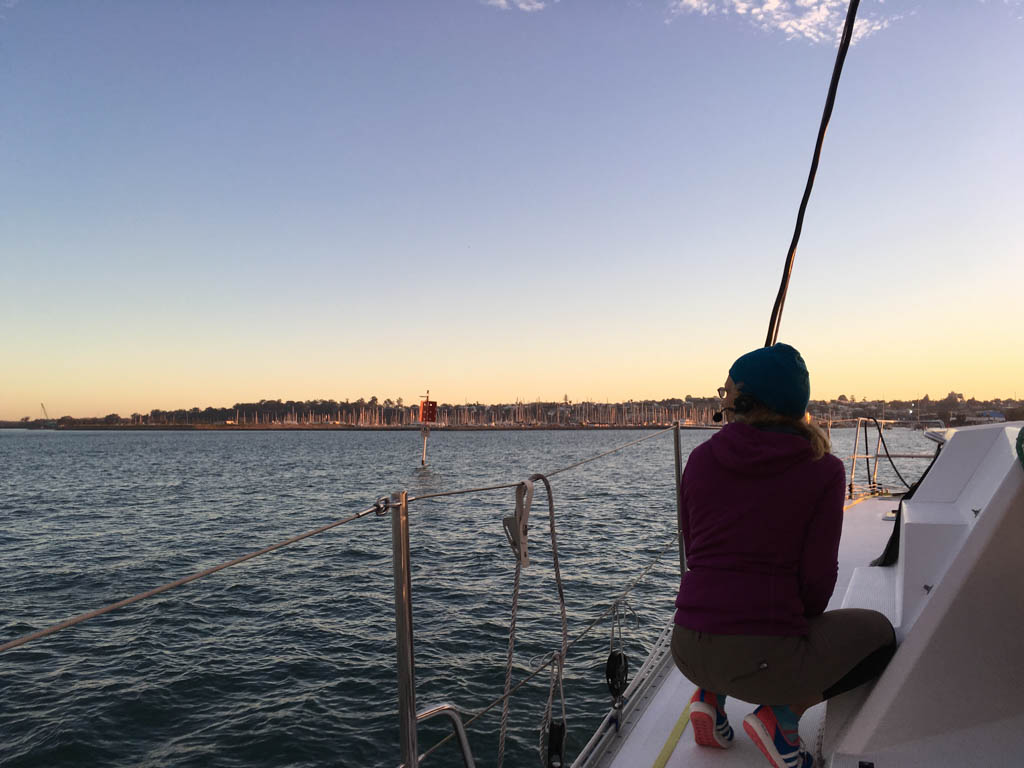
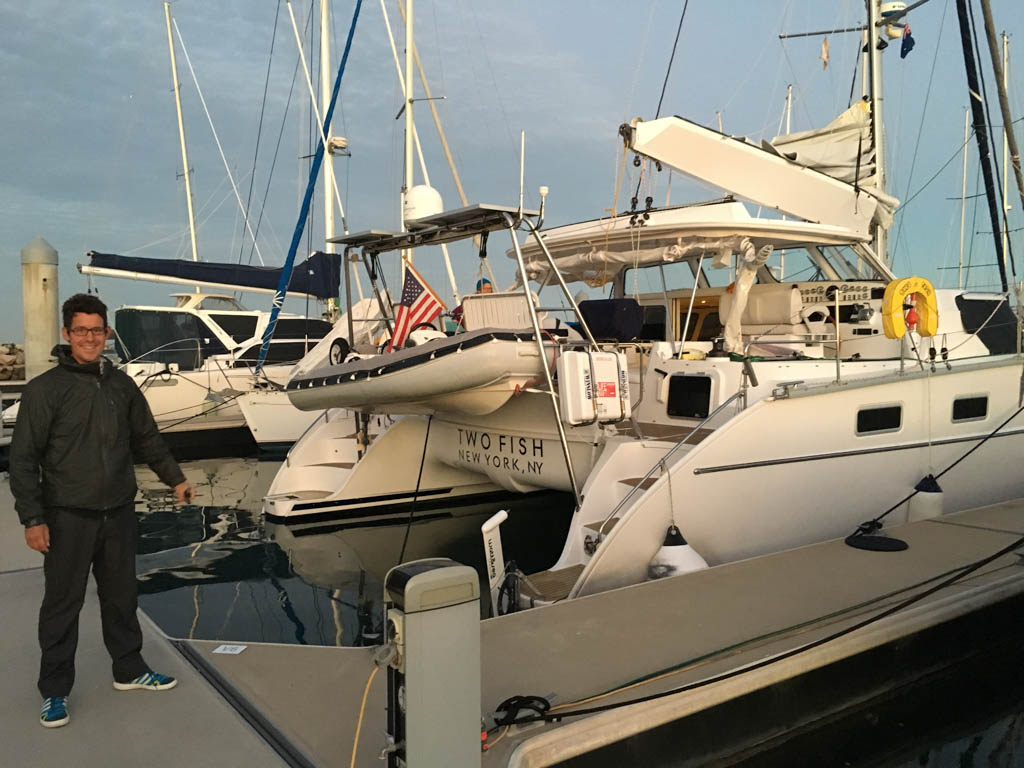
It has been a while since I have written a dry blog about Two Fish’s parts and set-up along with lots of numbers and photos. I can not post many photos because my bandwidth is limited, but I still can write long technical sentences to satisfy my mechanical friends.
Anchor Set-Up
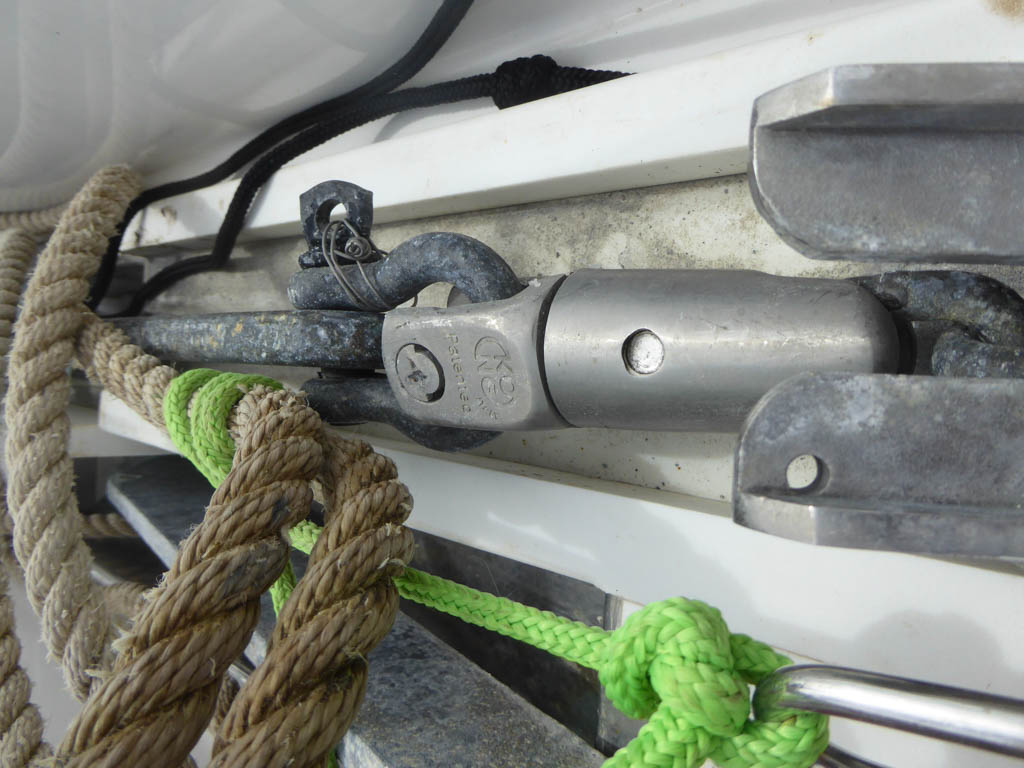
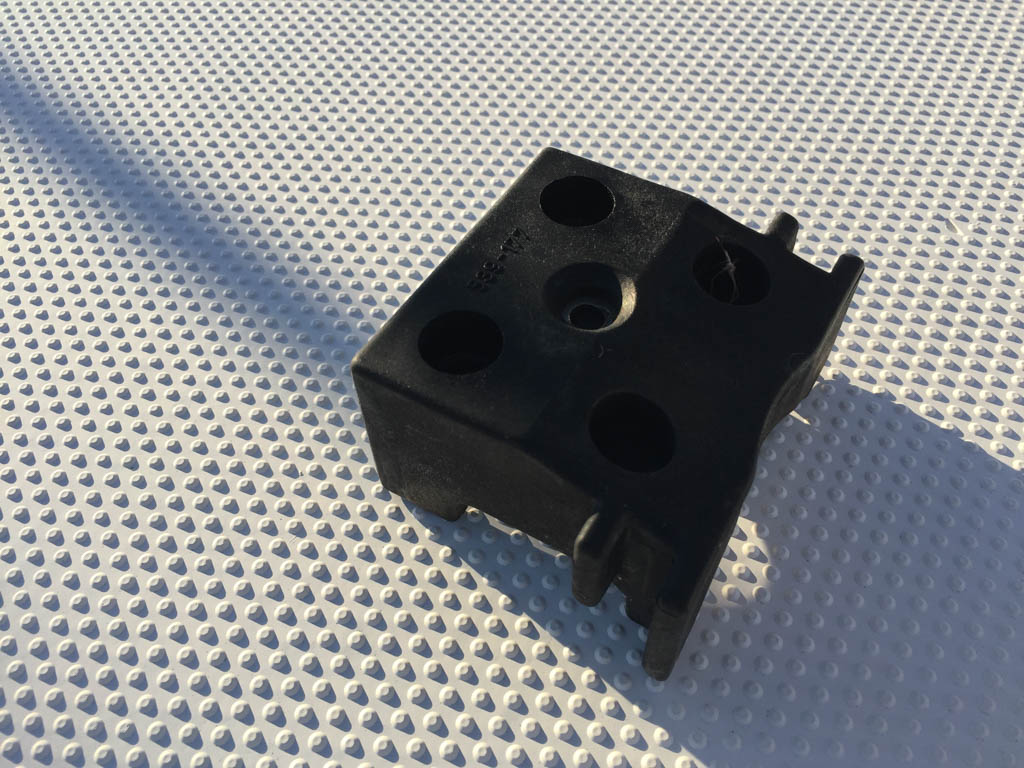
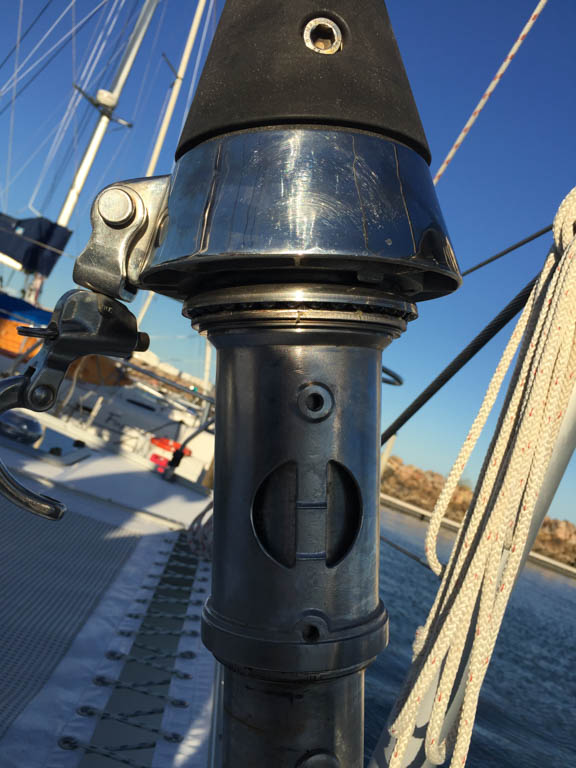
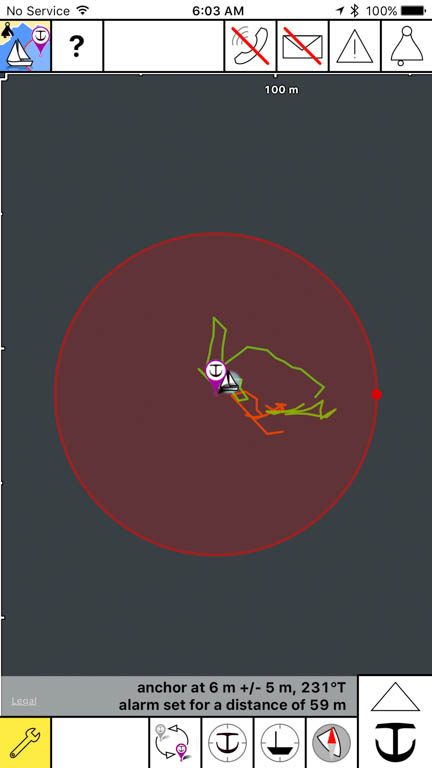
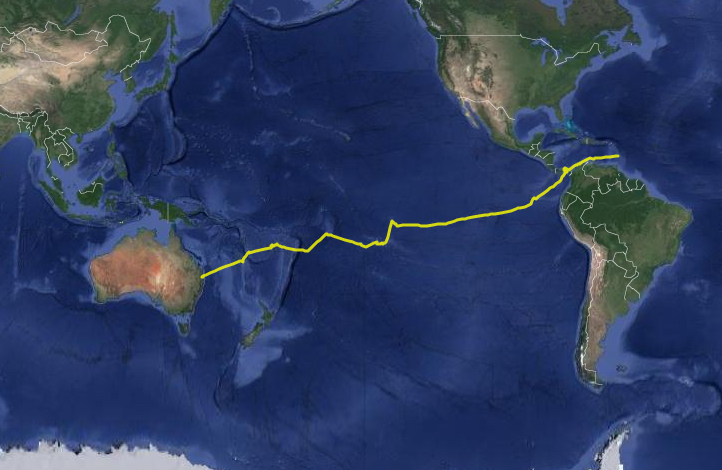
The boat came with an okay, but not perfect rode for our needs. We upgraded the system for the Pacific with the goal of being able to anchor in 30 meters with 5 to 1 scope. We have already anchored in 26 meters. The old set-up was 35 meters of chain and 30 meters of nylon rode. The new set-up is 70 meters of chain and 80 meters of nylon rode. The old chain was unrated, unstamped, heavy but not strong. Our new chain, G43 5/16th (WLL 3,900 pounds, 8 mm), received the highest rating from Practical Sailor. By the foot, it is lighter and stronger than the old chain; this keeps weight out of the bow. Our anchor is a 33 kg Rocna and we worship at the Rocna altar as it has done a good job of resetting in shifty breezes and swift changing tidal currents. Attached to the anchor we have a Kong anchor swivel, another upgrade from the Antares standard. It allows twist to come out of the chain when weighing anchor but some consider this a weak point. Our Kong is rated for more load than the chain and is also tested for horizontal load. We have a large shackle after the swivel to prevent horizontal loads on the swivel that occur when the chain moves to the side of the anchor . The shackle is stamped and rated number one by Practical Sailor magazine (1/2 inch Titan WLL=4,000 pound). The shackle is moused with Monel wire. Next is the chain and then the nylon rode. To accommodate the smaller but stronger chain we had to change the gypsy on our windlass from a 10mm to an 8mm gypsy. This size gypsy has the added benefit that it can handle 3/8′ nylon rode much better than the larger 10mm gypsy.
We sleep very well at night on this combination and check the gear regularly.
Floating the rode
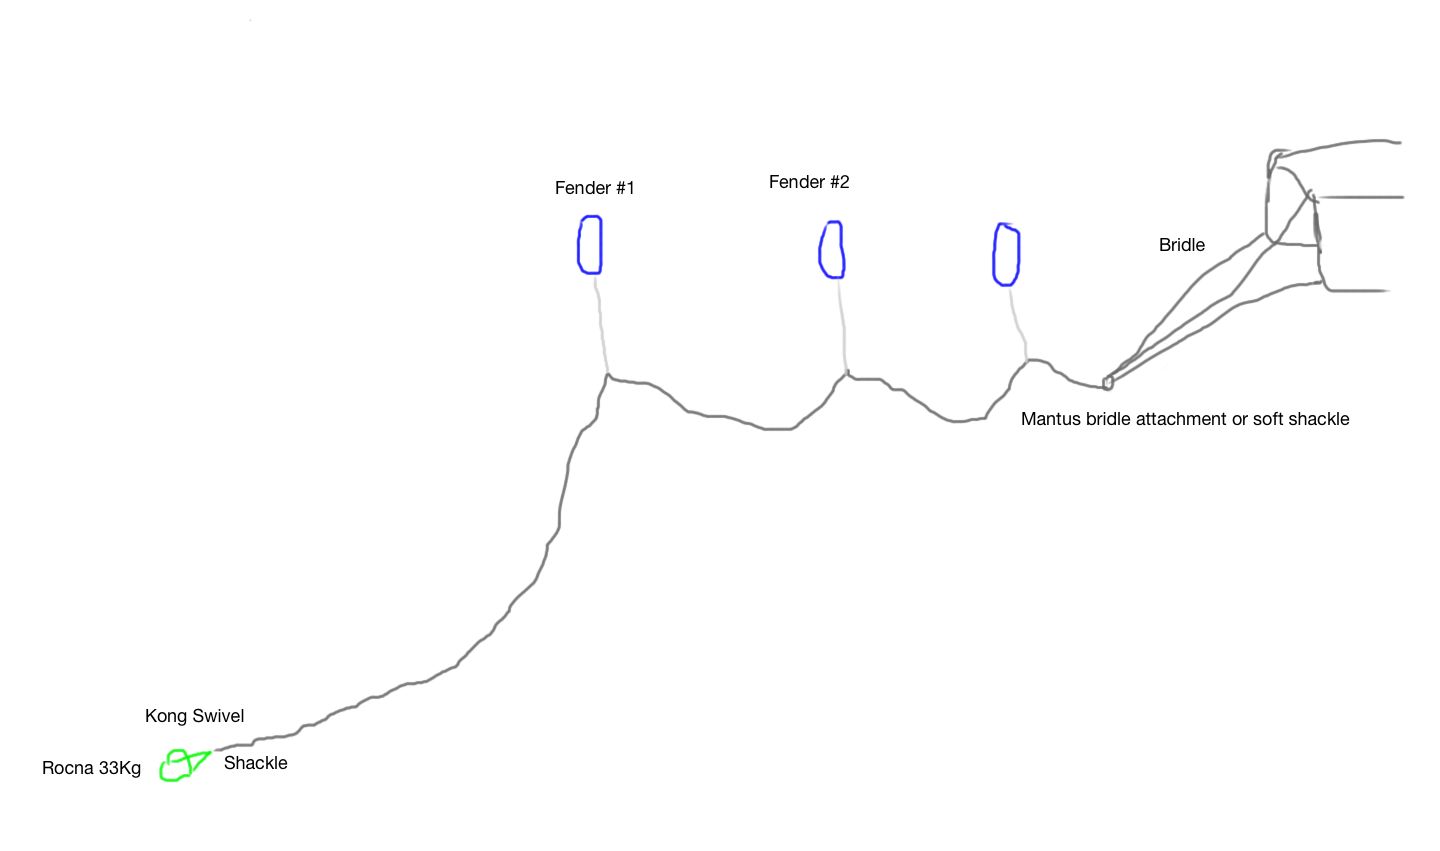
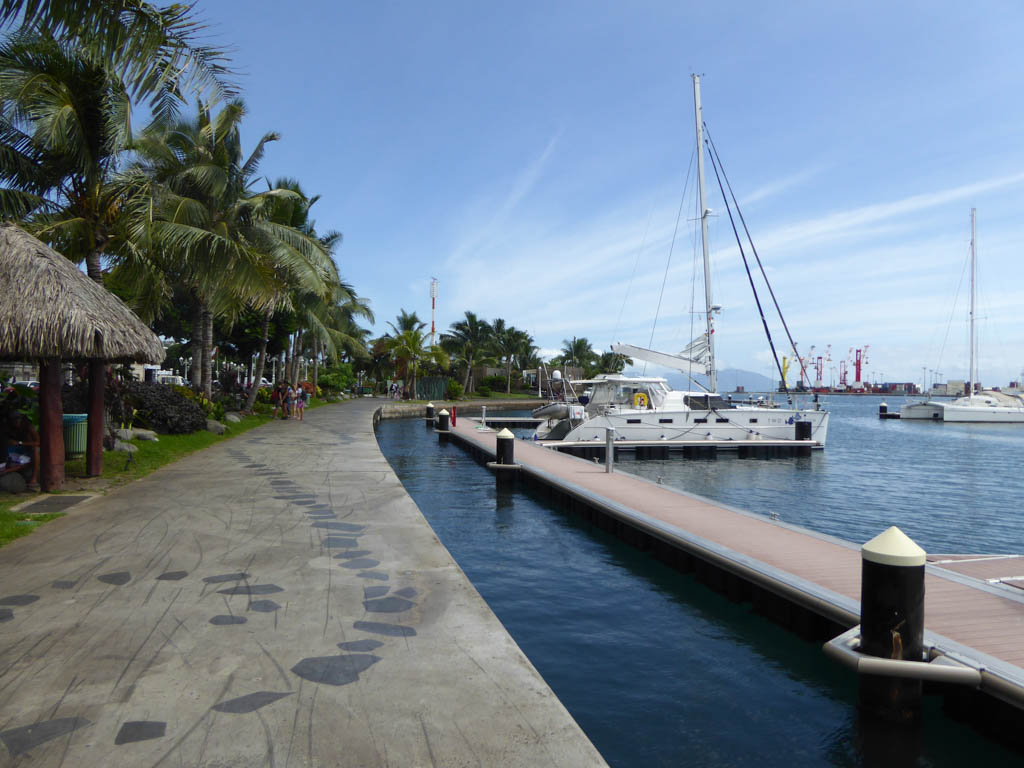
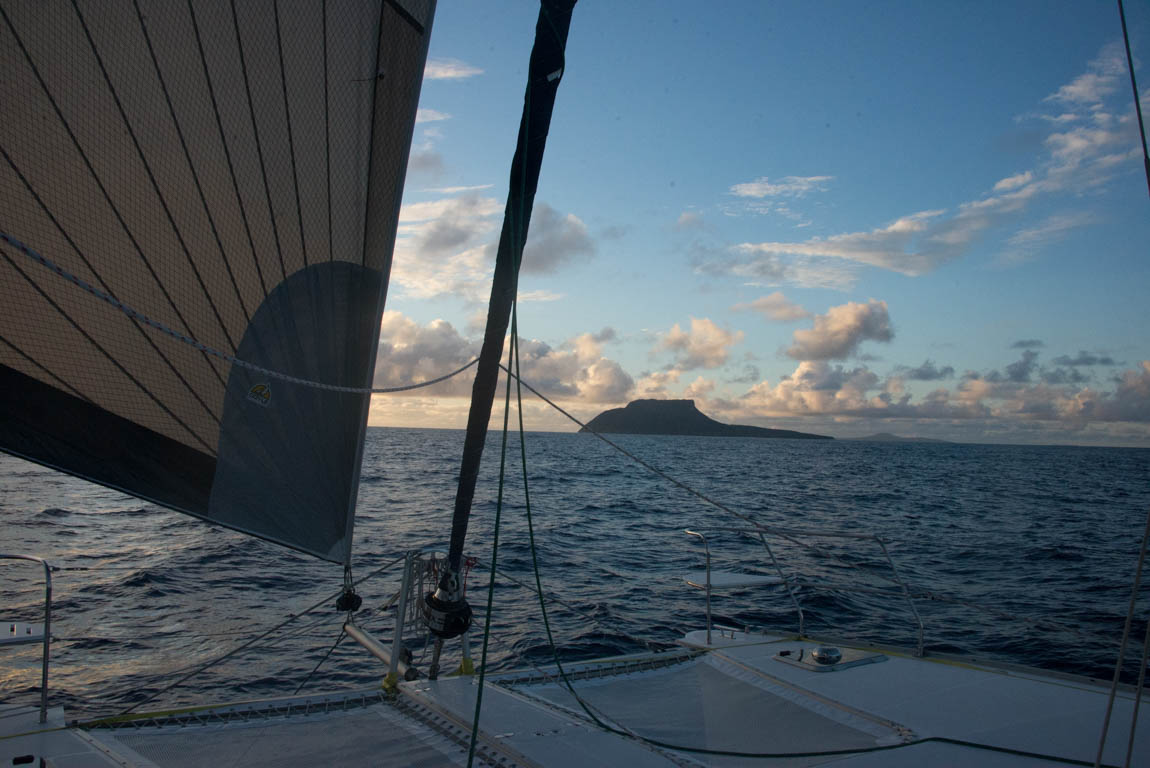
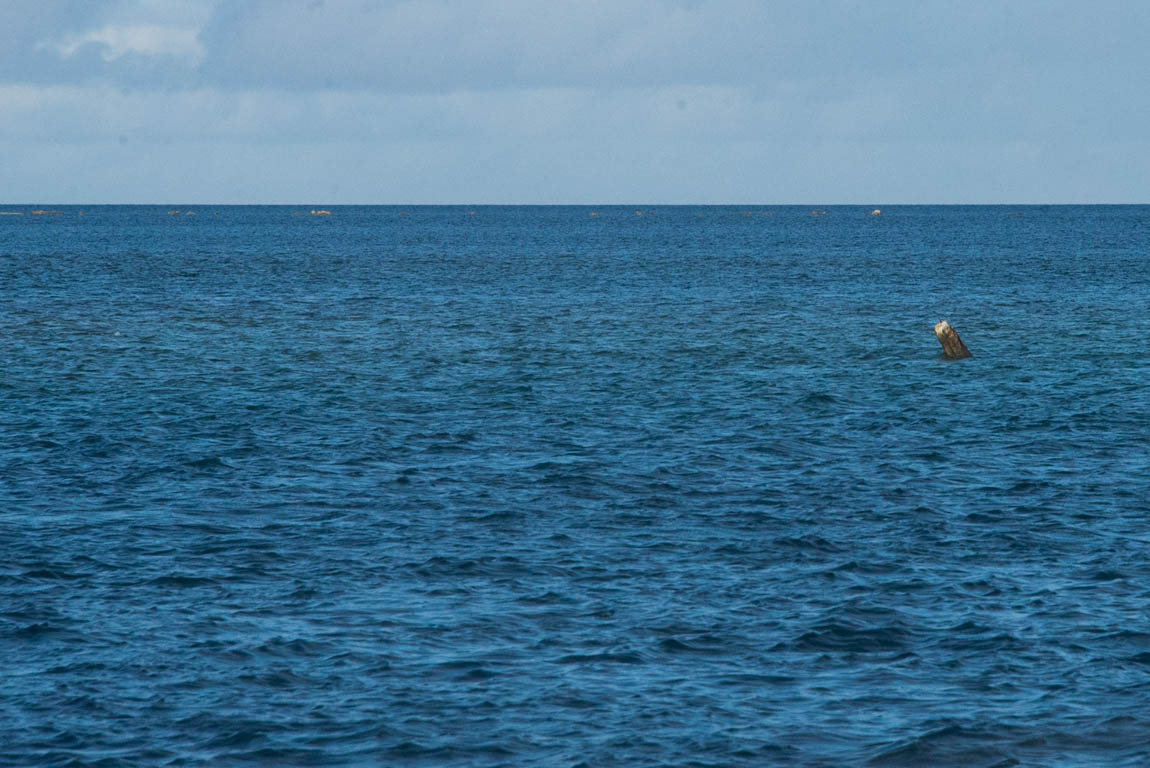
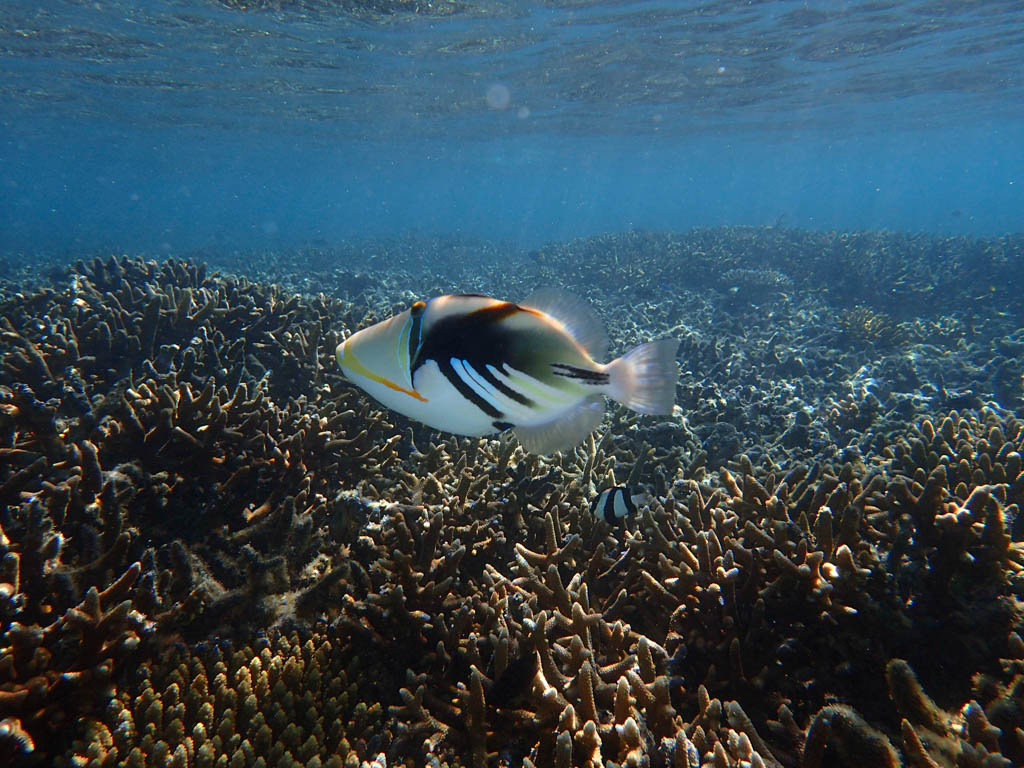
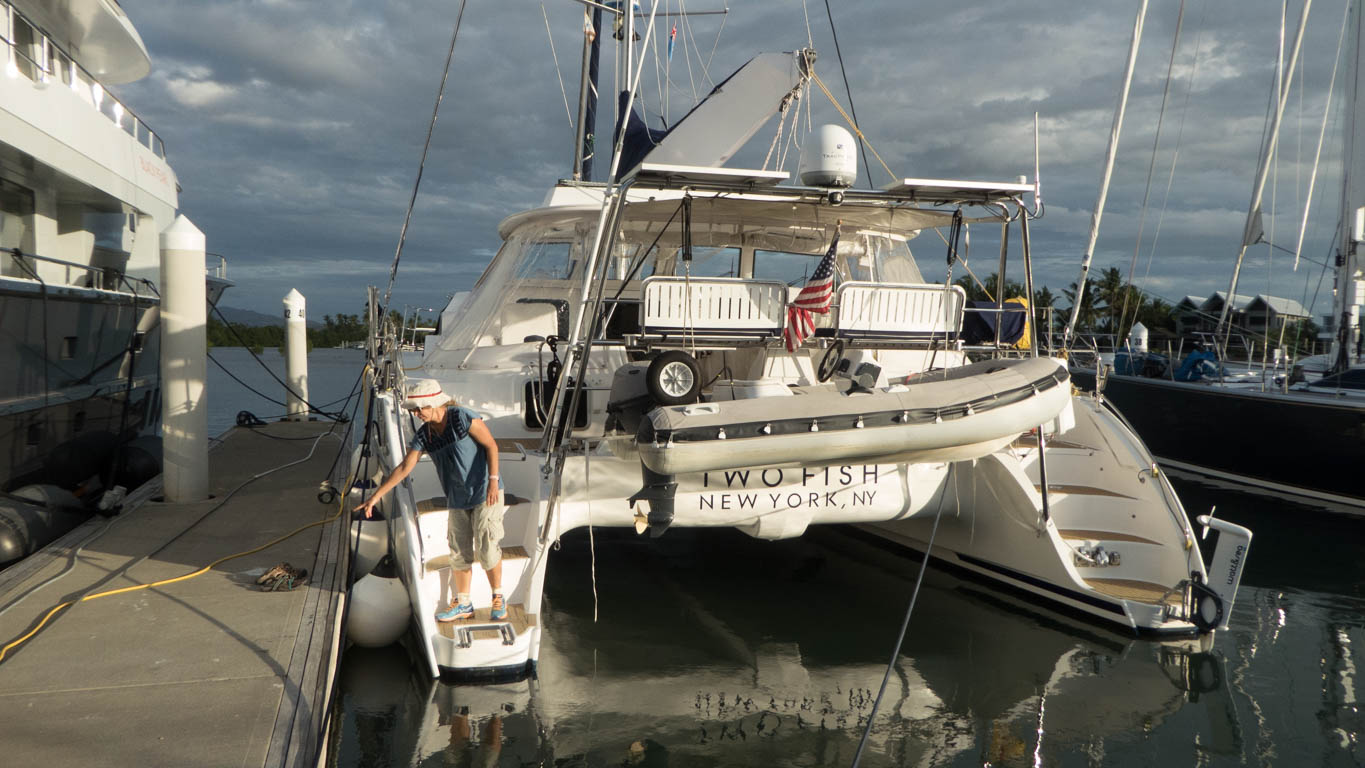
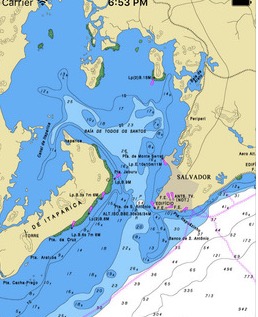
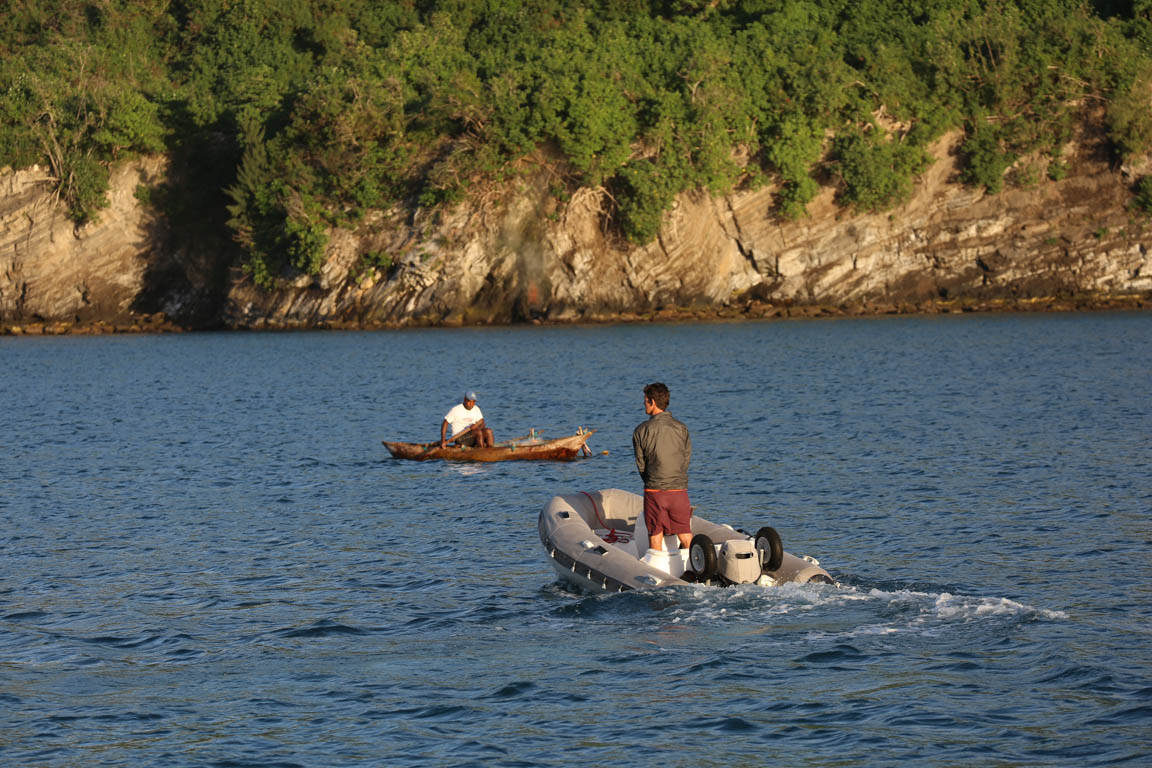
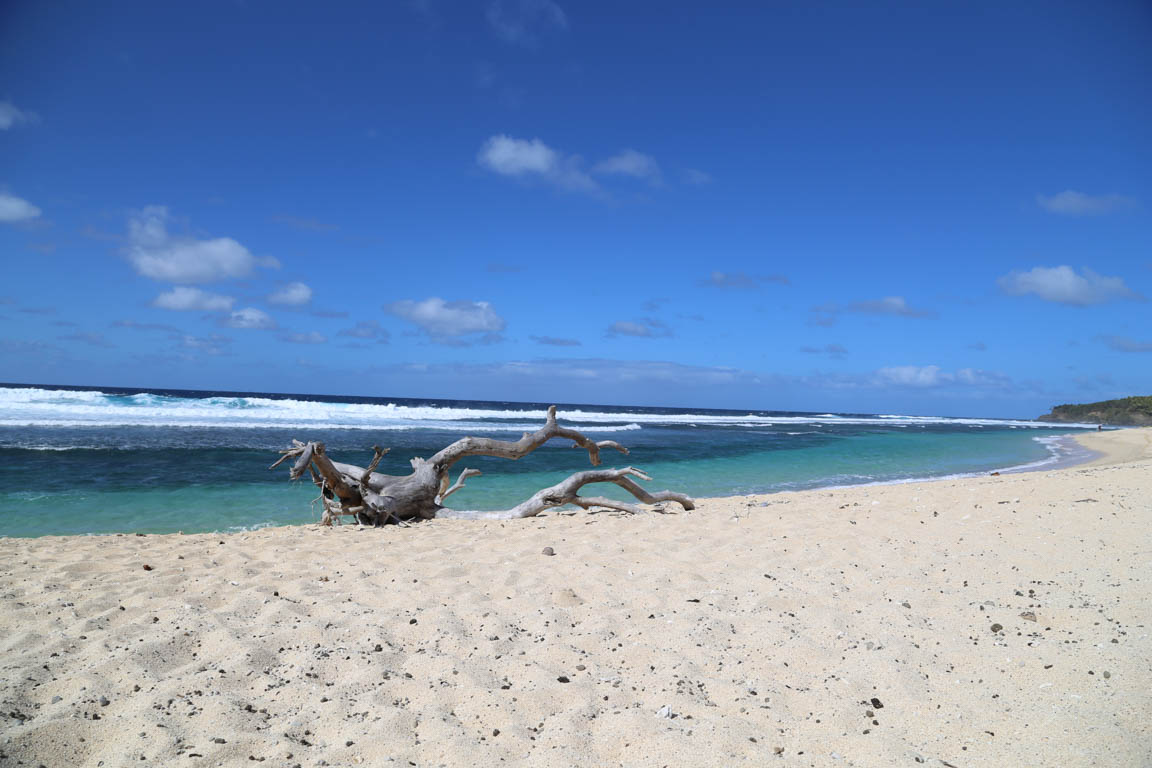
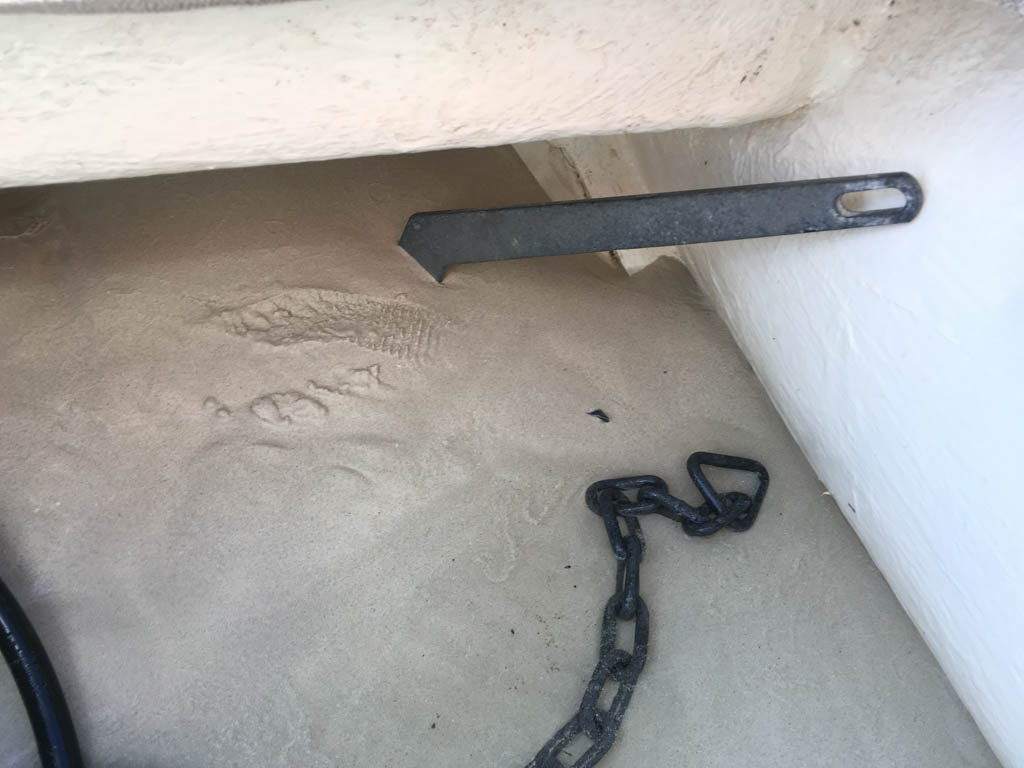
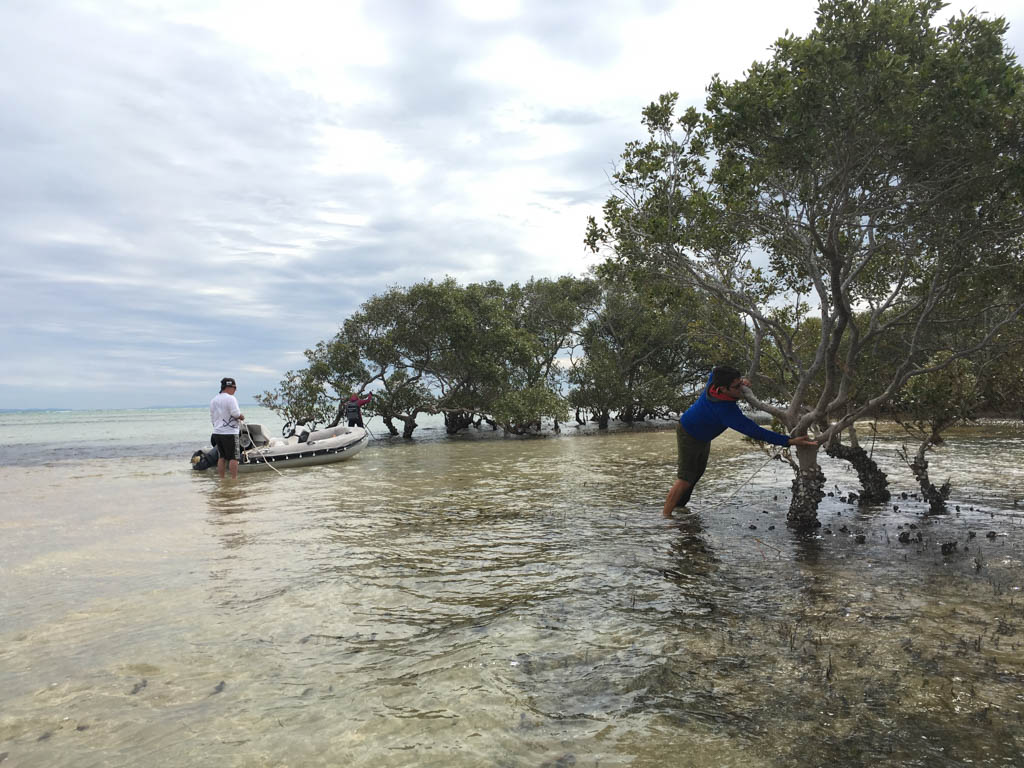
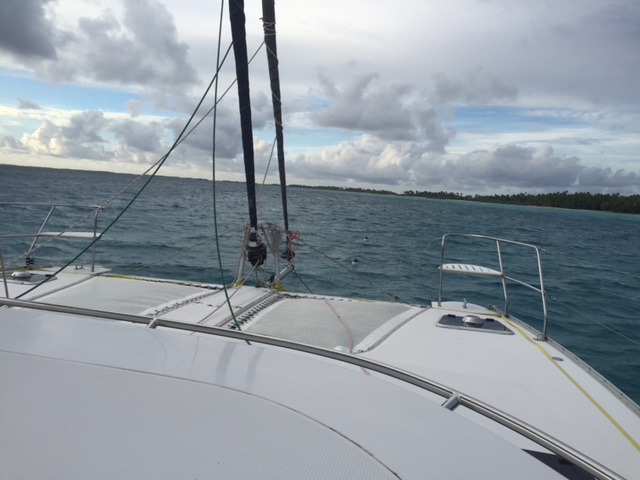
In a typical Caribbean anchorage there are vast areas of sand. The cruising guide will warn that a portion of the bay has coral, but that is usually broken shards of coral with a few tiny heads. In the Tuamotus, the bottom can be 70 or 80 percent coral. To anchor, you need to hover over a small spot of sand and then drop the anchor with precision. We add fenders to float the chain to protect the coral and avoid major fouling of our chain. We put our first fender at about 1.5 to 2 times the depth we are anchoring in. Thereafter, we add fenders every 10 meters. We tie the fenders on before launching the chain and retrieve them as they come up with the chain. A strong line for attaching the fenders will help support the large weight of the chain. Divers will find it close to impossible to adjust the fenders after deployment. The system works well, but not perfectly. I enjoy standing on the foredeck to see whether my chain has hooked a coral head. If all is okay, the fenders will be floating in a line. However, if a few fenders are submerged, all is not well with the chain. If this occurs, either with the engines or a swimmer we will try to fix the fouling. One time we were too slow, and a fender was gashed by the coral. In light air this rig can get confused. Look closely and you can see the fenders floating in front of Two Fish in the photo below.
Pros: Good for coral. Less likelihood of wrapping around coral heads.
Cons: In a big blow, I would rather be in a place with less coral so that the angle of my rode will not be altered by the floating fenders.
Stern Anchors
I will cut to the chase. I hate stern anchors but concede that they are useful in certain situations. My hatred of stern anchors is driven by three issues 1) they undermine the bow anchor by preventing the boat from pointing head to wind 2) the rode leading to the stern anchor can bend stern hand rails or, worse, catch the dinghy propeller, and, 3) I struggle with the deployment and retrieval.
Point number one can be addressed by using the stern anchor in places where the breeze is unlikely to be strong or shifty. Point number two could be fixed by adding two large U bolts to the inside of the sugar scoops at the stern. This would copy the bow bridle and eliminate any chance of the rode fouling parts of the boat. My final short coming could be addressed, like most of my fears, by more practice.
Unlike the bow bridle, the stern bridle needs to be easily adjustable. With the bow bridle, one can not raise or lower a bit of chain without first detaching the bridle. To change the main rode length we first raise 6 meters of rode, detach the bridle, adjust rode length, reattach the bridle, and then ease out 6 meters of chain. This would not work for a stern anchor since the strategy is usually to tighten the stern anchor to keep the boat from swaying. Instead a system has been created by clever boaters to have the rode (small amount of chain but mostly nylon) attach to the starboard stern cleat. To keep the rode centered in cross winds a second line that is tied to the port stern cleat is attached to the main rode with a carabiner. Clear as mud? I noticed American boats are not as well prepared for stern anchoring as European boats.
Grease the Propeller
Dedicated readers will remember the excitement we experienced when we ran low on propellor grease in Connecticut. Hoping to avoid another loss of control I decided to grease the props early and often.
Here are the steps I take to add grease underwater.
1) Prepare grease gun, hex wrench, new screws and grease nipple.
2) Remove existing grease point screws. Keeping your propellors clean of barnacles with help in this process. A wire brush might be required to expose the screw.
3) Carefully screw grease nipple into one side and leave other side open.
4) Attach grease gun. Hold connection firmly. For every 3 handle clicks rotate the propellor blades three times. This spreads out the grease. Stop inserting grease when old grease comes out the open hole.
5) Remove nipple and replace screws with new screws. Spend the two bucks on new screws and avoid stripping a very annoying screw. Job done.
I like the challenge of working under water and Gail likes the fact she can not hear me swear. During this job three sharks swam by and had no interest. One remora kept attaching to my leg. Despite many threats, the fish would not leave.
Genset Temps
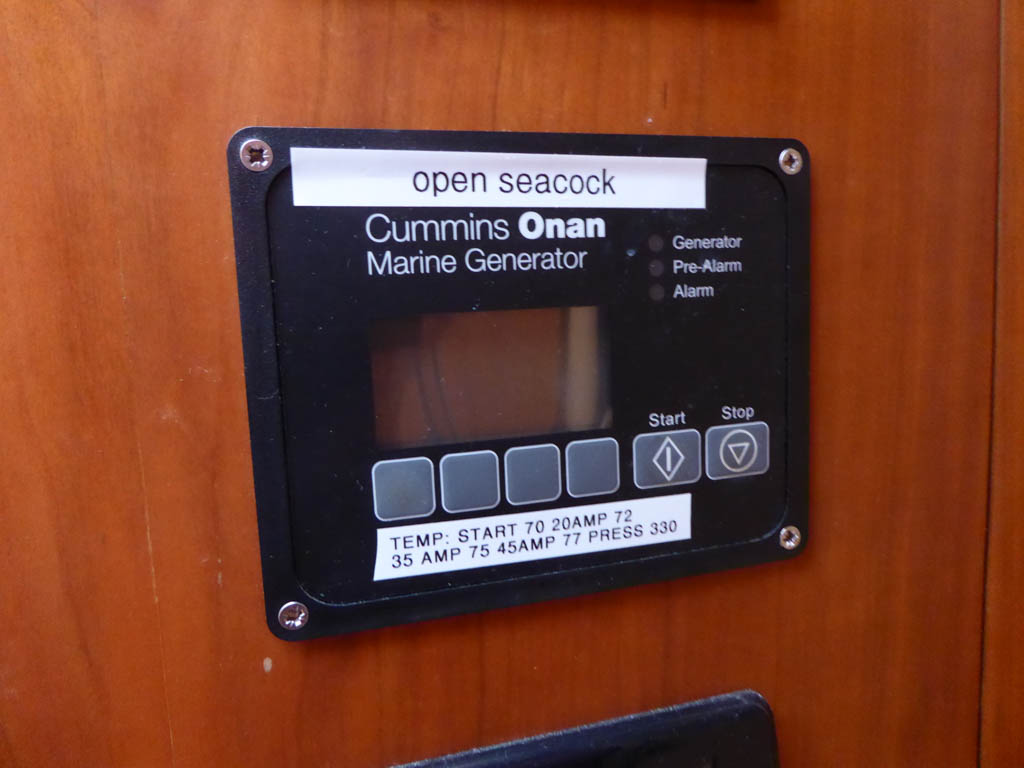
The Onan genset has a reputation for eating impeller blades. In order to monitor the impeller I track the coolant temparture by Genset load.
No Load (start up): 70 degrees
20 amps: 72 degrees
35 amps: 75 degrees
45 amps: 77 degrees
The temp can vary with sea temp, but hot coolant is a sign that it is time to check the impeller. This requires a bit of effort but after the first few times the process becomes second hand. I remove the hoses and check the heat exchanger for the blades while Gail systematically reconstructs the impeller on the salon table. Good spares for the genset are (gasket for the heat exchanger, spare water pump and spare water flow sensor). Friends with the same genset have had all of these fail. We are replacing the gasket and pump as preventive maintaince next week.

Continuing the topic of the Genset, I recently changed the oil and had another reason to curse the Onan engineers. The oil cap is located in a very annoying spot and the side panel is very difficult to remove. What were these guys thinking? A bit of Two Fish ingenuity and the oil filter was removed.
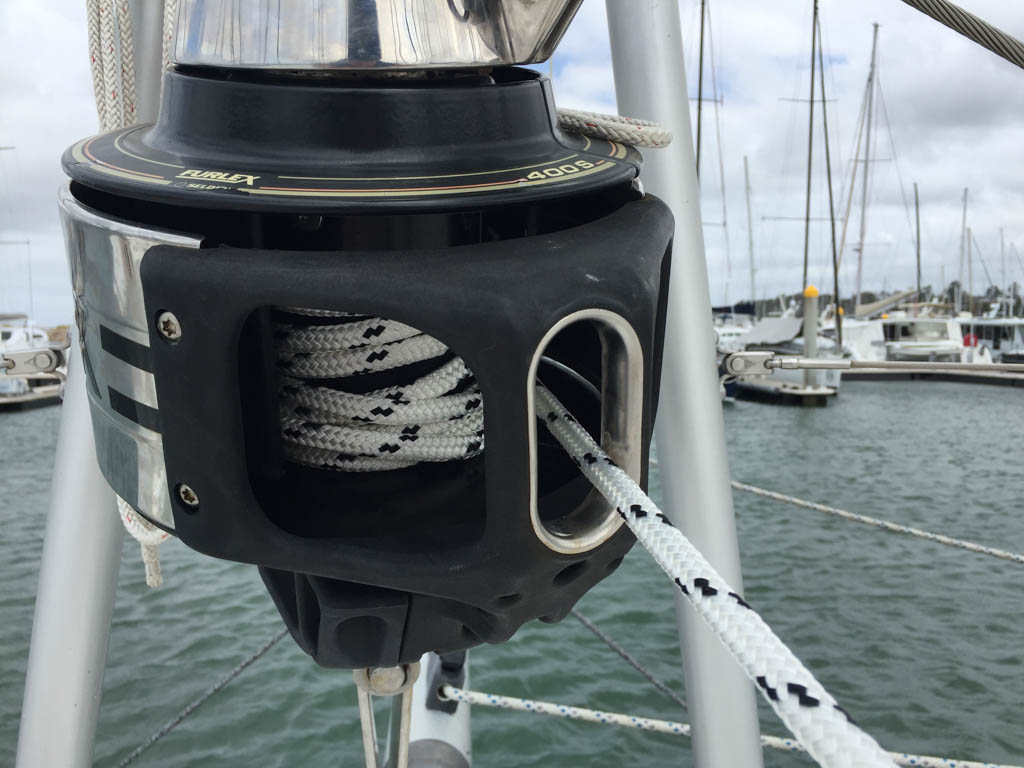
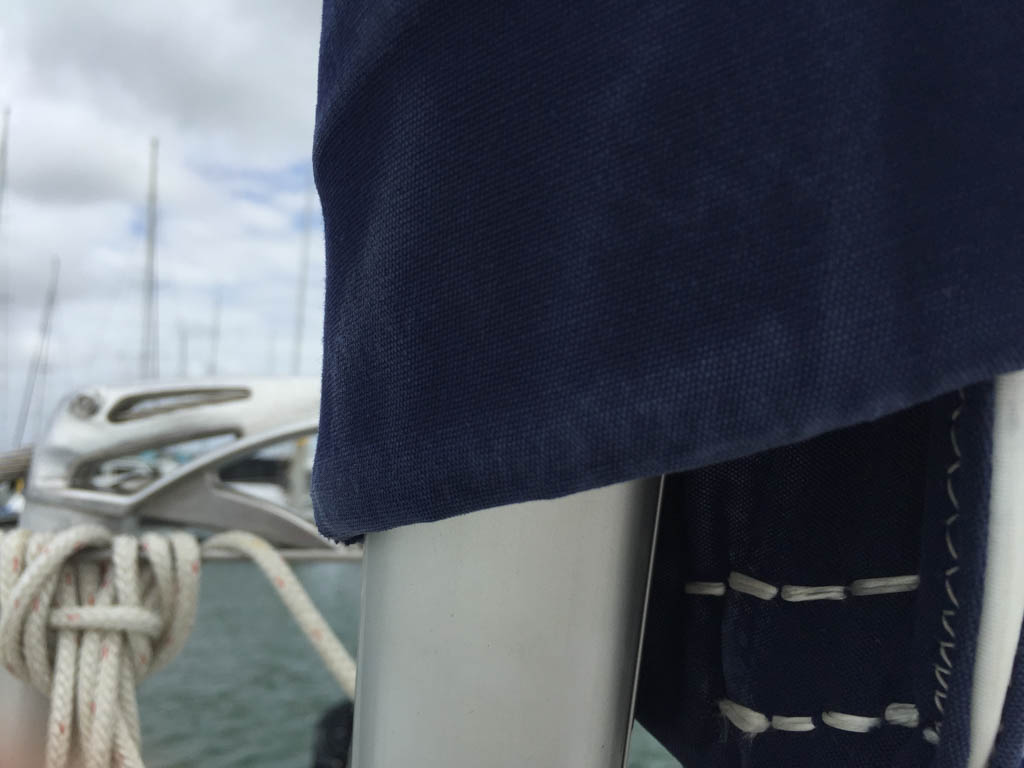
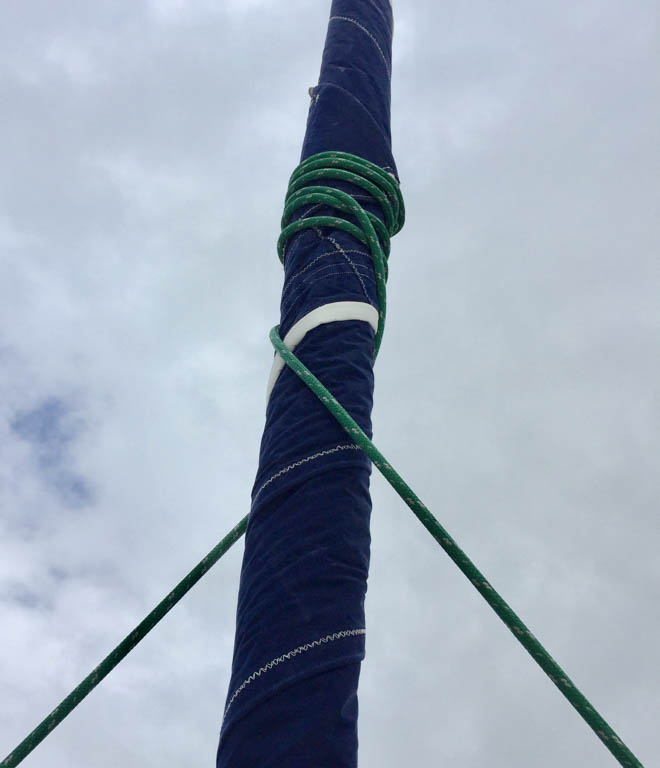
Self-tacking Jib

We have been asked whether the self tacking jib is a must-have on a new Antares. We have sailed with the jib very little but have realised that is a a very powerful tackle. I mentioned previously that the sheet for the self-tacking jib can be used as a back up anchor windlass. Two more ideas have come to mind 1) adjuster for the spinaker tack line, and, 2) adjuster to fly the tack from a windward hull. If on the fence, on buying the self-tacker, the flexiblity of having a powerful line on the bow might tip you in favor of buying the rig.
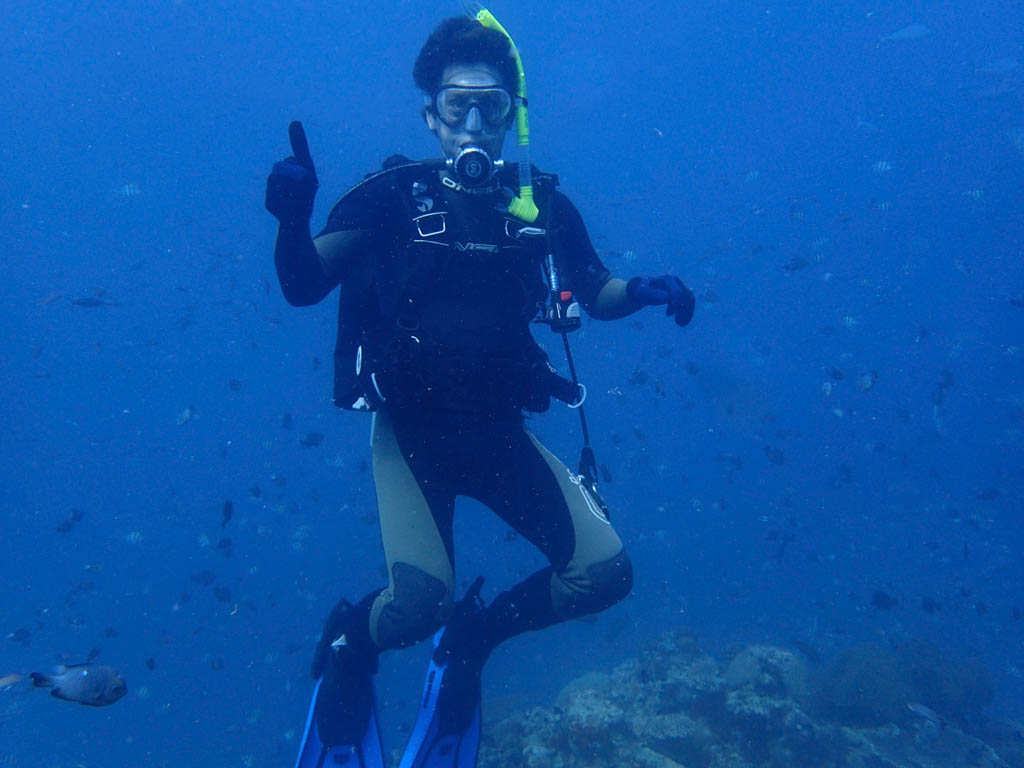
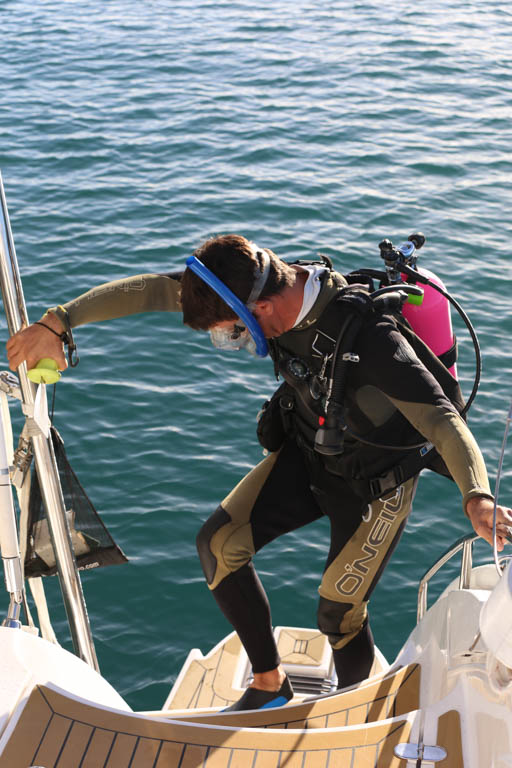
Dive Compressor
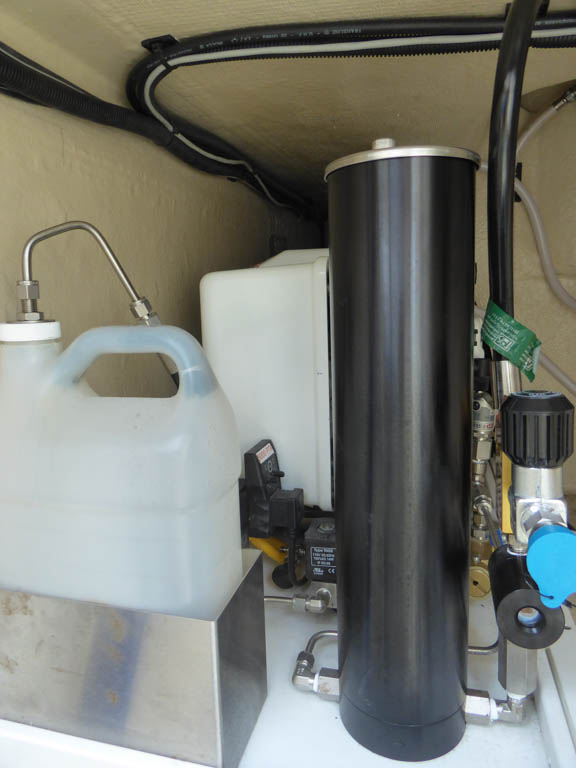
What a joy it is to have a dive compressor. I dove multiple times a day and refilled with the on board compressor. Only a few atolls have dive shops and they are not always willing to fill tanks. We sailed thousands of miles to be with the fishes and the dive compressor made it all happen. The compressor can fill up to 4 tanks at a time and turns off automatically. The tanks are easy to access since there is space in the rope lockers and the fill is located on deck, making filling easy.
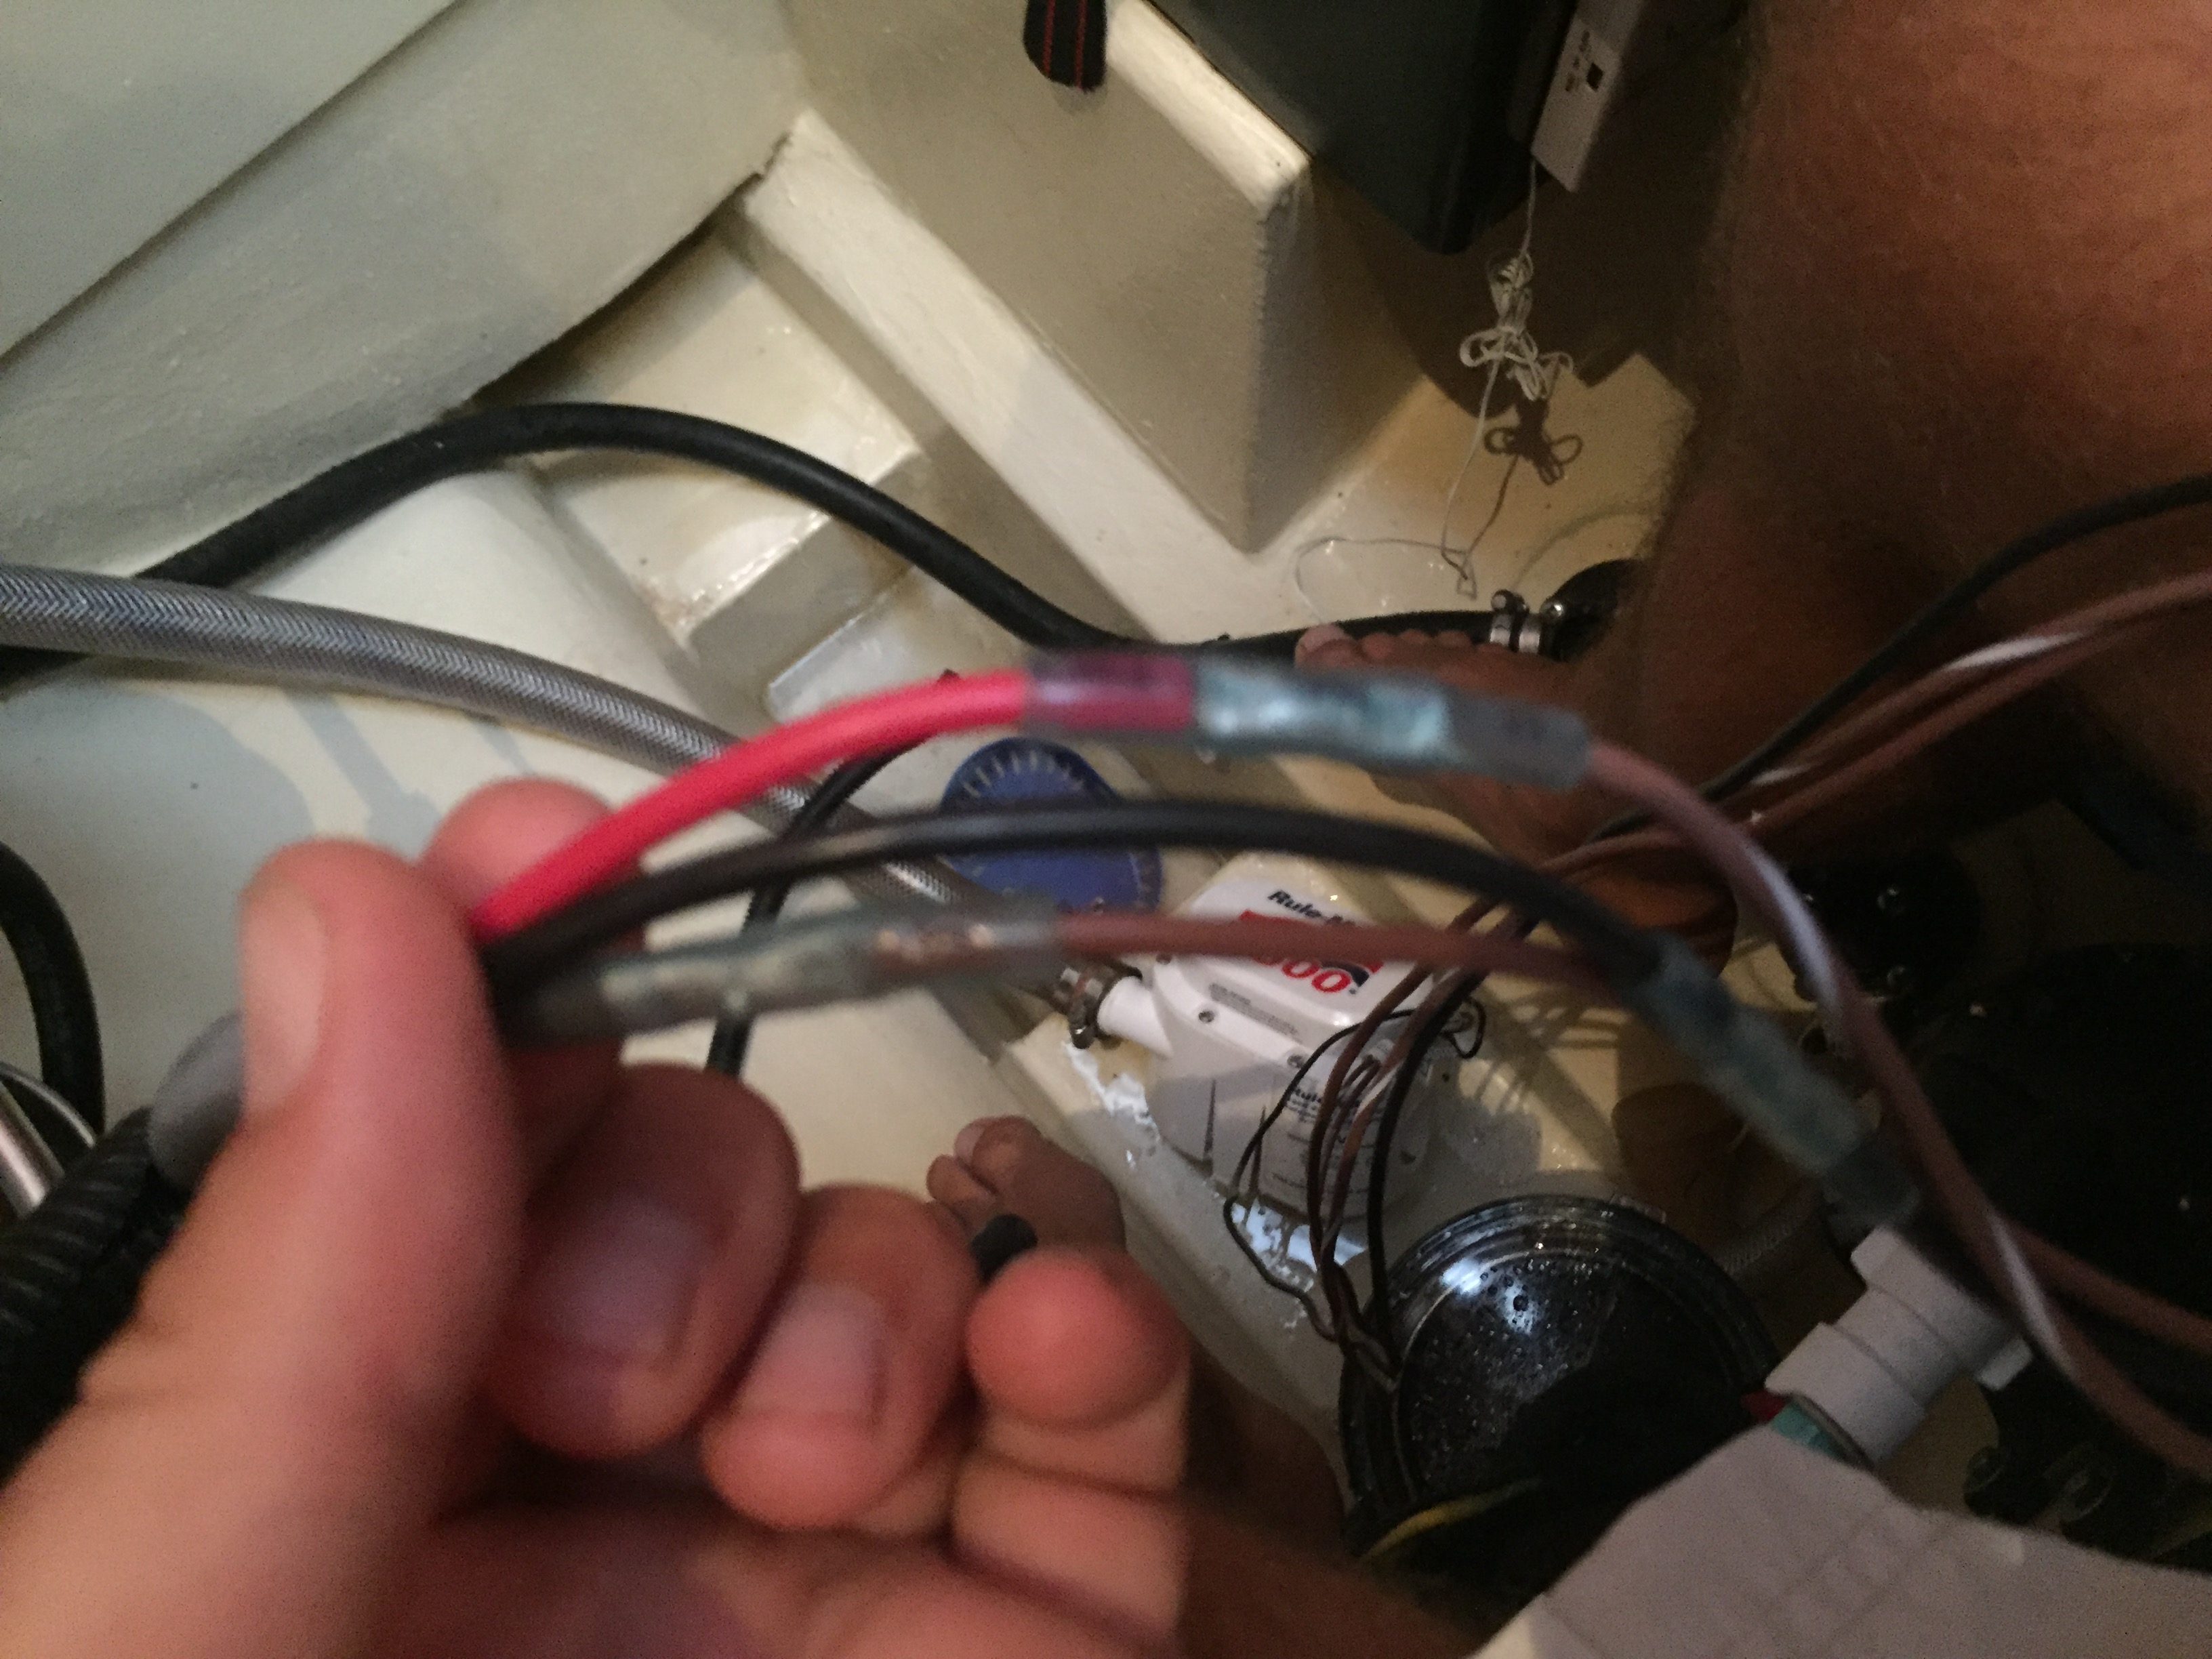
Bilge pump
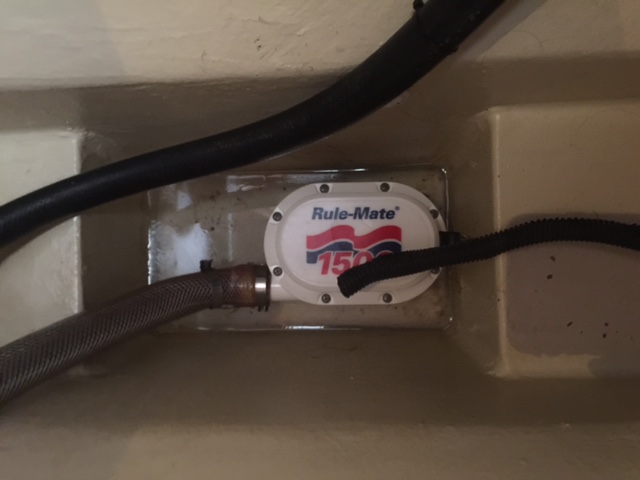
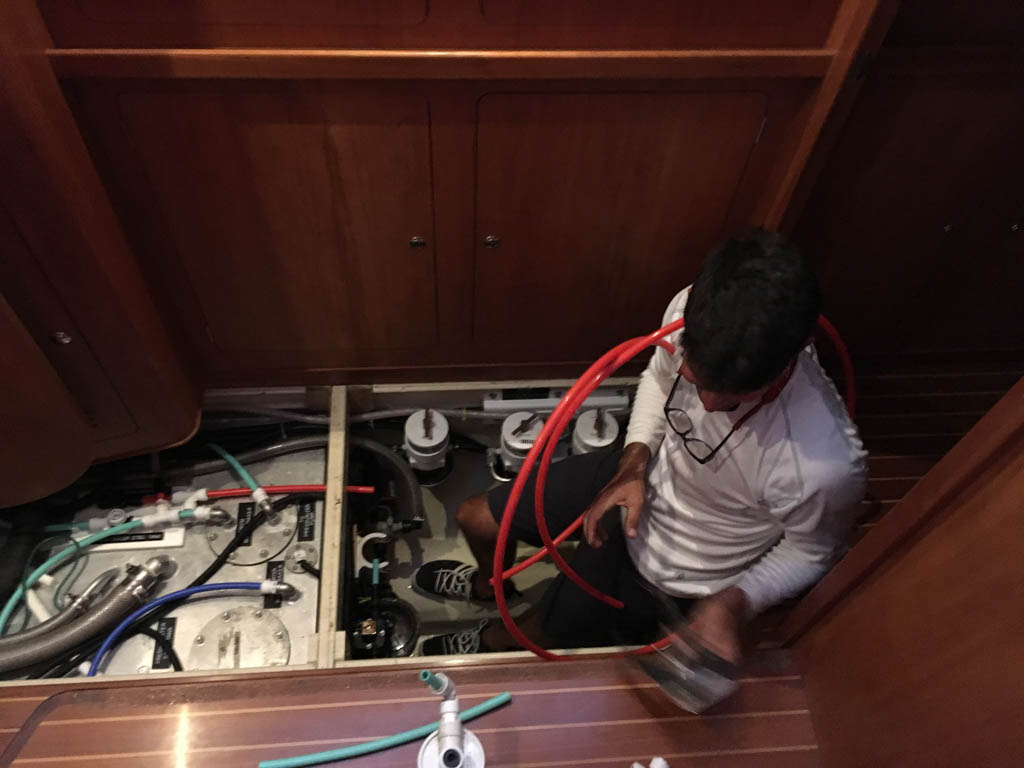
The bilge pump is key safety gear item on any boat. Whenever we have a hose, I test the pump by washing the bilge and allowing the pump to remove the water. Recently, the starboard bilge would only work in manual mode, even after a thorough cleaning. Before replacing the pump, we rewired the electricty for the sensor but still the pump was not working correctly. A quick shout to Gail and a new pump appeared. We cut the wires at the blunt splice and spliced in the new pump. I am new to splicing but here are a few take aways. Have a great splicing tool and a sharp wire cutter. Have a variety of blunt connectors. It is common that the gauge on the two sides might not match. Finally, buy the deluxe blunt connectors that have the heat shrink preinstalled. This will make the connection much stronger and keep it dry. Splices done by soldering seem to be much weaker. The best connection is by a bus bar, but this would not have been appropriate for this application.
Starter Batteries
Our boat has a very clever but sometimes complex (for me) battery switch system. Instead of the old switch where you can select house or starter or both, it does the work automatically. I find automatically safe but only if you understand how it works. Imagine that the starter battery is an island. Between the island and the house system is a combiner which joins the starter battery to the system when it will receive a beneficial charge (solar, engine alternator or genset); it will disengage the battery when there is a load. This protects the battery, but hides its condition. If you start the engine on a sunny day the solar power will show that the batteries are in great shape. The only proper way to gauge the battery’s status is to isolate the battery for a few hours and then test the voltage or, better yet go to an auto store to have the battery bench tested. The Tuamotus did not have auto parts stores so I tried the former and my starter batteries indicated that they needed to be replaced. I decided to pre-order some batteries in Tahiti and during my visit to the Tuamotus, I used the genset to start the engines. Very easy trick when necessary. Start the genset on its separate starter battery. Ensure battery combiners are engaged and genset is producing 12 volts. Check engine starter batteries for a voltage in excess of 13 volts. Start engines. Turn off genset. If one engine is already running, then no genset is required as the alternator on the running engine will start the other engine.
The ten minute job of installing the new batteries took much longer since the positive terminal did not fit the post, the battery was too high and the strap got stuck. After a few hours the job was done and now the engines start up instantly. Good to replace stuff early.