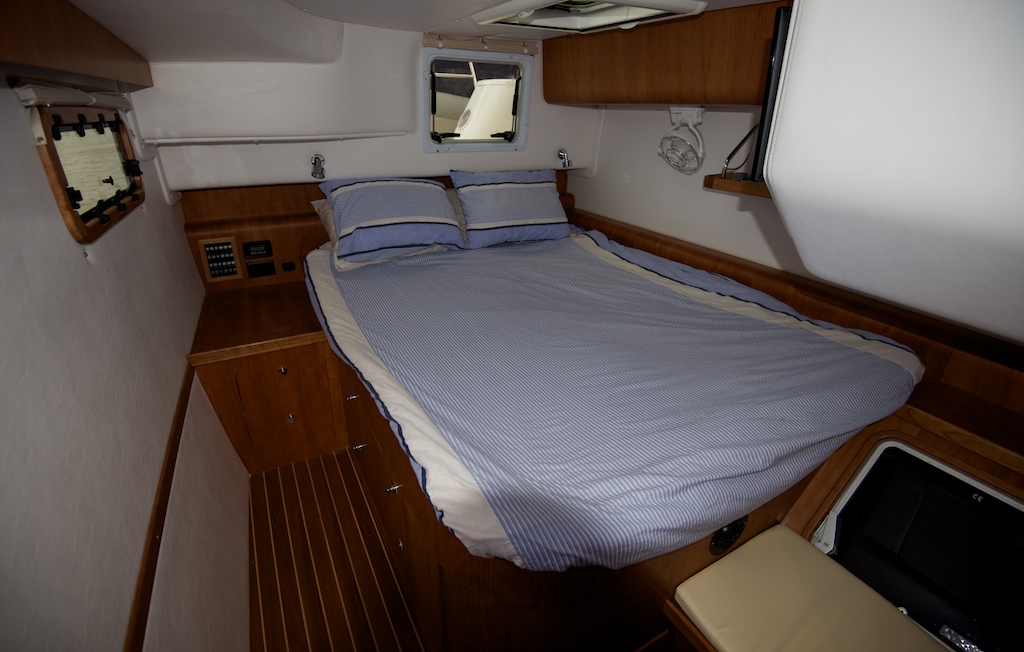
After an enjoyable and busy shakedown cruise in Uruguay, I have some thoughts on the sailing part of the sailboat. This post will be full of uneducated preaching on sail handling, so I am eager to hear corrections and comments from sailing veterans. My target audience for this post is small. If you are not a sailor, then this post will seem pompous and needlessly technical. If you are an accomplished sailor, then you will be able to correct this post in my attempt to teach others. So, I am looking for that one person who is massively interested in sailing but knows less than me.
The Antares has fewer lines than a comparably-sized race boat. No topping lift for the spinnaker pole, no jib cunningham, no twing lines and only 4 halyards. The boat moves we need to execute are simple, but we need to be able to do them with one or two crew and in 40 knots. A dumb move on a Laser in high winds results in a swim but on a large cruising yacht you may lose a finger or two. Cruising is all about slow and steady. Do it right every time. To strengthen our skills, we invited Michael Domican of the BVI to tutor us for two weeks. His sailing resume is impressive: for the past 12 years he has taught catamaran sailing and prior to that he trimmed the mainsail on the 12 meter UK challenger for the America’s cup. He is an amazing teacher and we can not thank him enough. If you are looking for help on how to sail the boat safer, faster and more comfortably, give him a call. This post is my memory of his lessons. Any of the smart stuff is credited to Michael and any stupid stuff is credited to my poor memory.
So, imagine you have just motored out from your anchorage location and are ready to enjoy the breeze on a nice, sunny day….
The first sail to go up is the Main Sail and typically with the motors running so as to help keep control of the boat.
Process for raising the Main Sail
- The sail needs to be free so “Release the Corners” (Vang off, Reef #1 and #2 off (if raising to full Main), and add a bit of slack to the reef lines at the mast for good measure)
- Sail Ties off. (sounds simple but easy to forget)
- Topping lift. Before sailing I like to leave it attached to the stanchion out of the way unless the conditions are vang abusive (choppy and light air). It just is another hazard for raising the main and I hope to get my ideal twist with vang, sheet and traveler. I put it back on when not sailing to avoid stressing the vang.
- If you frapped the halyard while anchored, quickly remove the slack from the main halyard.
- Traveler should be on centerline UNLESS this is being done while hove to. If hove to, move the traveler to align with mainsail. Up to this point, you can take your time as not much is going on to unsettle the boat. After this, don’t be maniacal but don’t daydream either.
- Release the mainsheet – In light air, you may need to manually pull on it a bit near the mast.
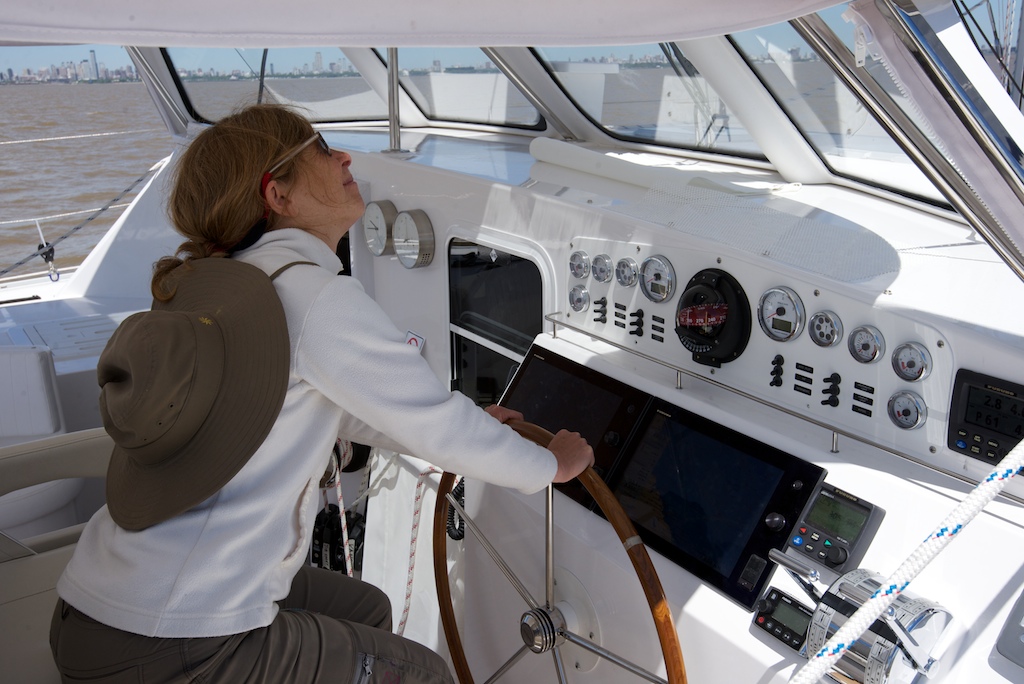
- Tips on holding a boat head to wind. This is crucial when raising the sails. Use the boom to determine if you are head to wind. Skip this if you are hove to. Holding a catamaran head to wind is all about your engine control skills. It is easier to stay head to wind while maintaining some forward momentum, but often to avoid the prospect of raising the sail in lumpy seas, you are in a protected harbor with limited sea room. If you go blasting forward at 2 knots you will crash into the pier. Try these tricks to be a pro:
- Lock out the wheel with the rudders straight. Do not use it at all. Stop it – I just saw your hand creep back to the wheel. Use your engines to steer.
- Make sure to have a good view of the boom, windex, other boats and the water. All are great ways to see where the breeze is coming from, assuming there is no current. Try not to use the electronics.
- To adjust the boat head to wind use forward on one engine and reverse on the other. Now look at the background behind the forestay and see how quickly your are turning. Too much power and you will turn quickly and need to over-correct Too little and you are not turning at all. Next, line up a reference point on shore with a nearby stanchion. Are you moving forward or backward? If moving forward then your next throttle adjustment might be only a reverse on the appropriate engine. If you can’t find a good lateral reference point on shore, watch the bubbles on the water surface.
- Practice “holding station” a bunch as this is great skill for raising sails, docking, and being boarded by the Prefectura (the spanish Po Po).

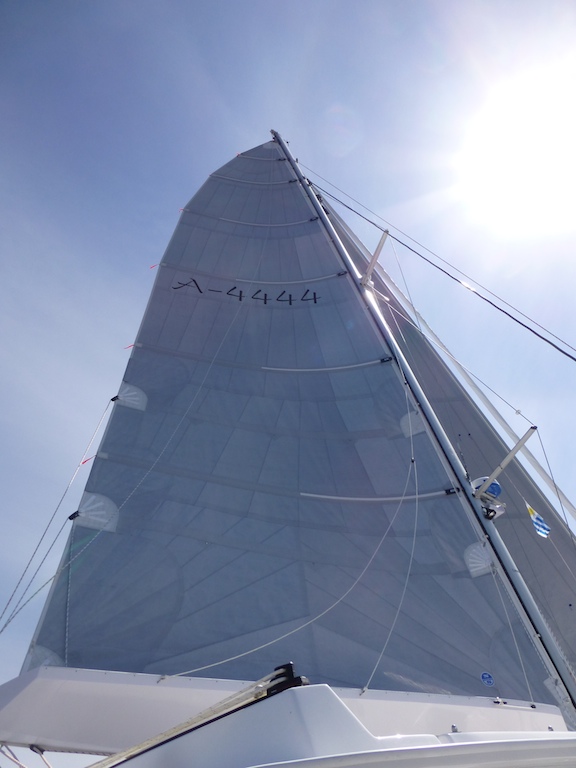
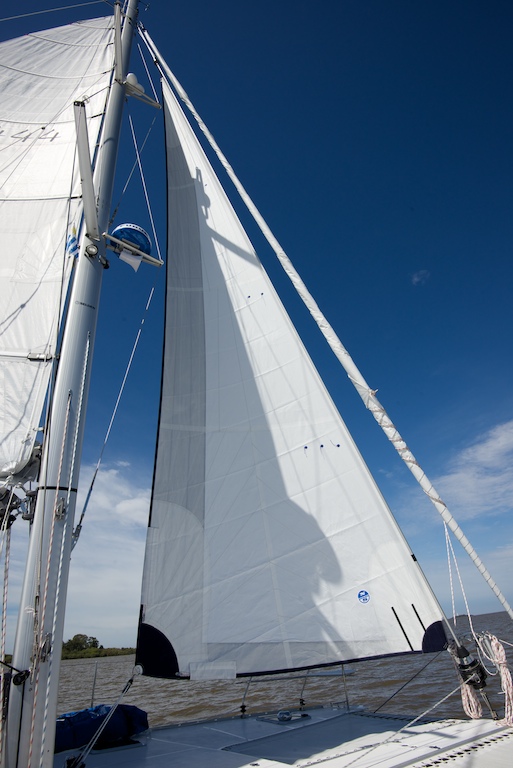
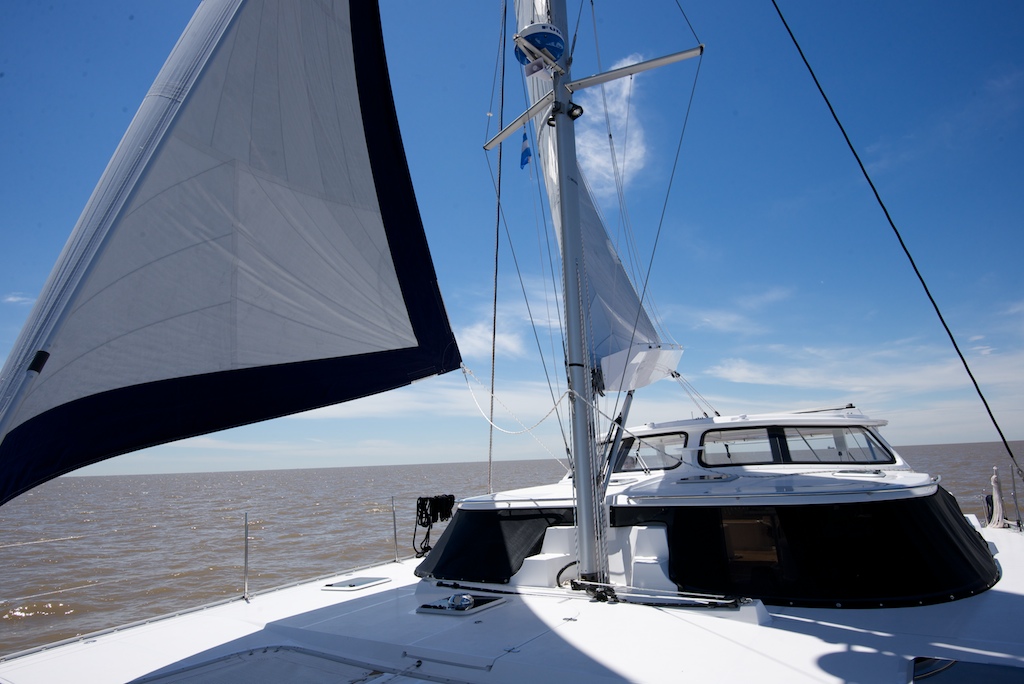
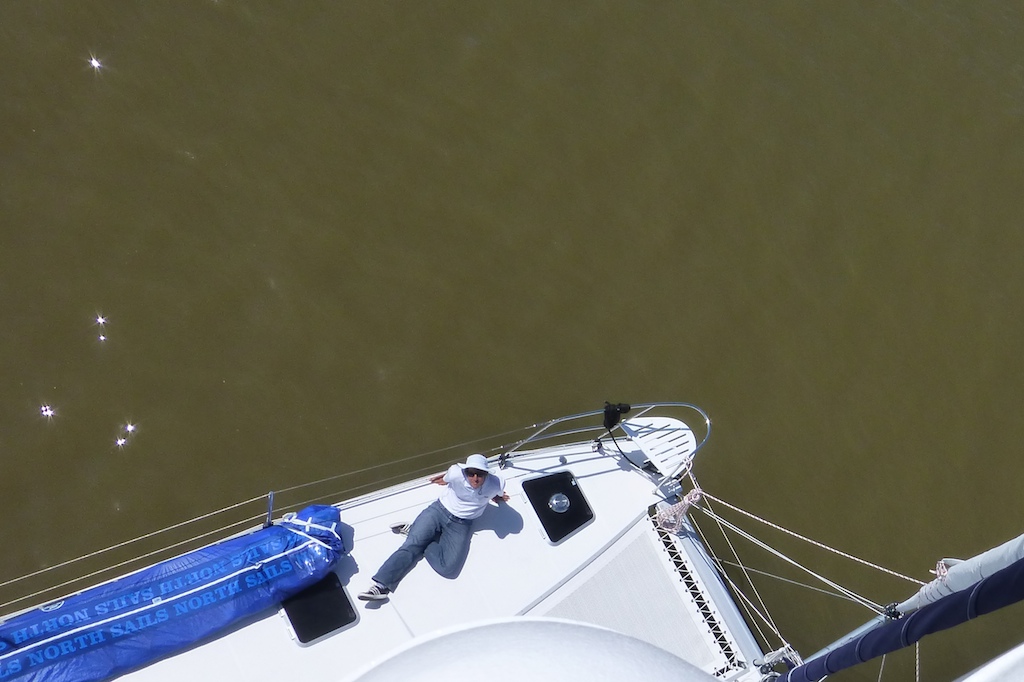
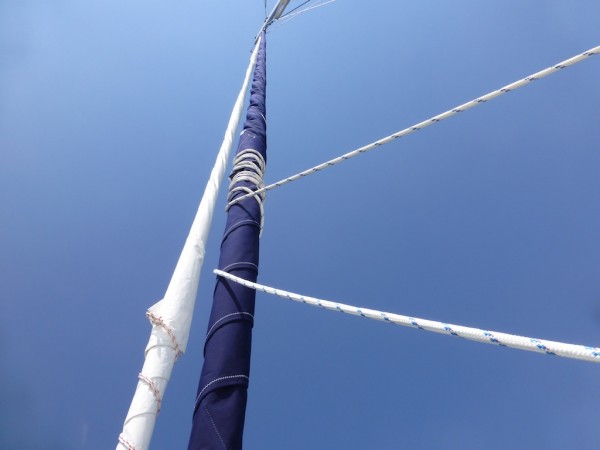
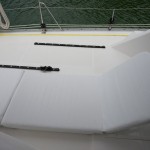
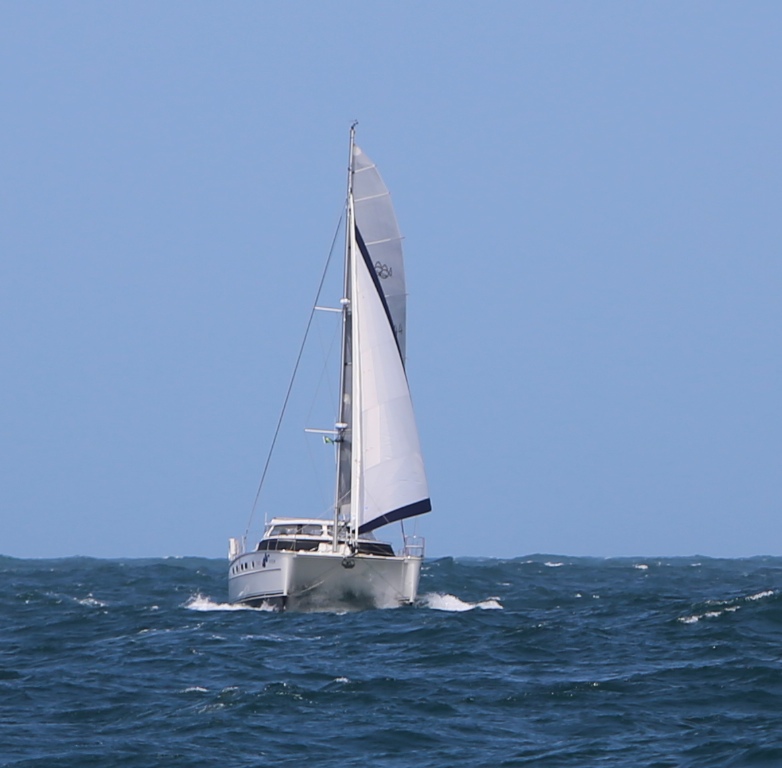
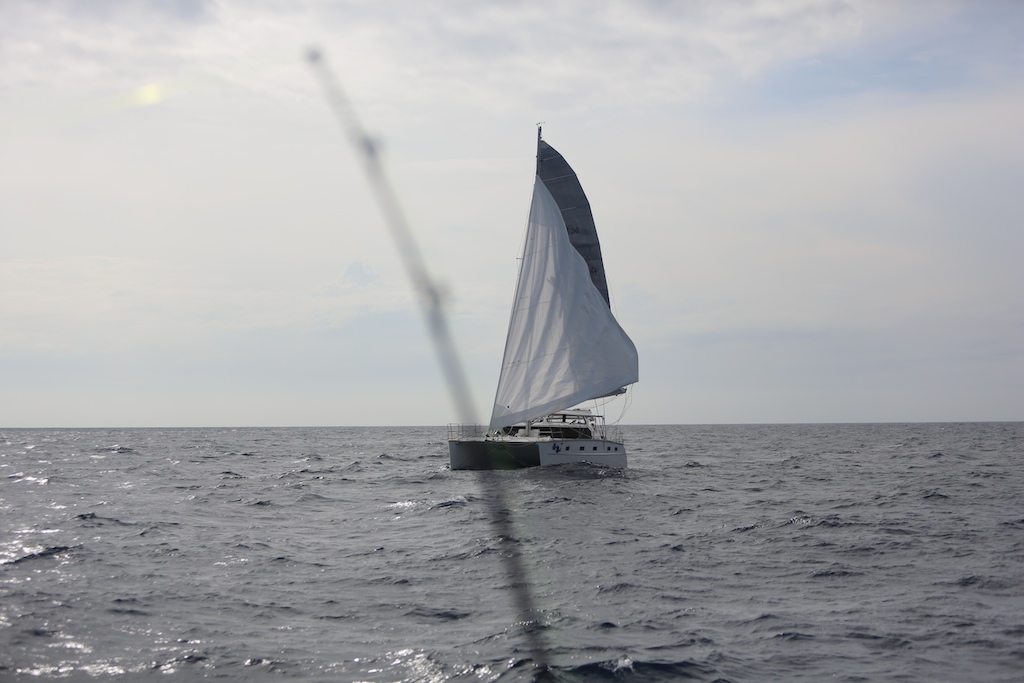
Full Main – Two Fish Logo coming soon – Notice reef Blocks sewn in leech
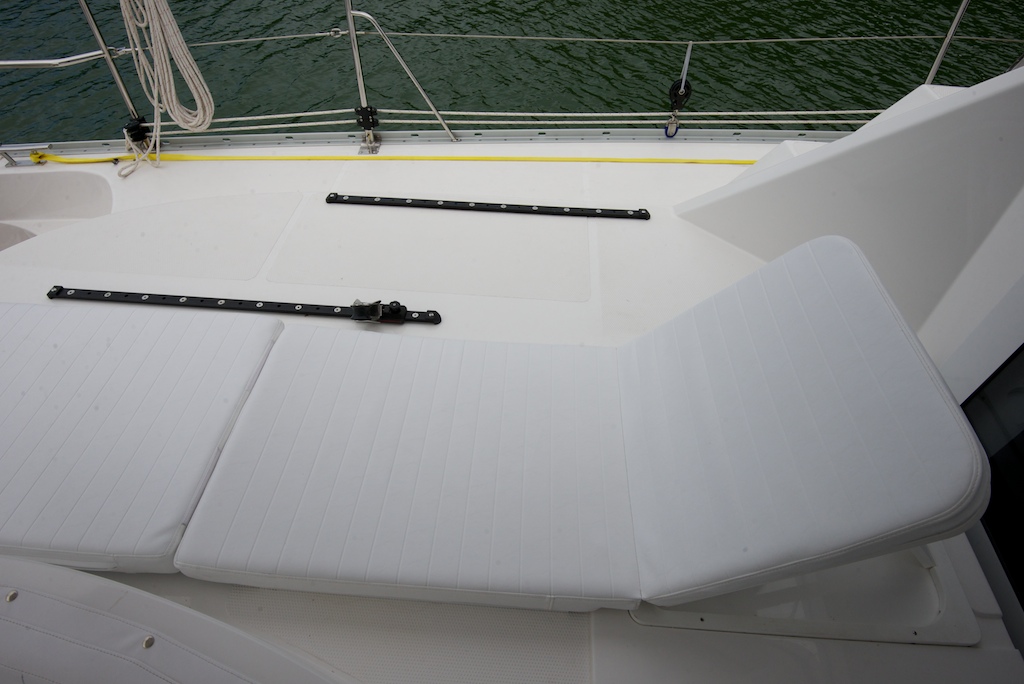
- Holding the boat head-to-wind, raise the Mainsail. I like to use “power Jason” at first, instead of the power winch. I do this to ensure nothing is jammed – the power winch has no subtlety, the two gears are up and rip. Then I use high gear for the first 90% and low gear for the last 10%. Keep your eyes on the sail. First, make sure you are actually raising the main, not using the spin halyard in a mistaken effort to remove a stanchion – a costly move for you, but fun for others to watch. Then make sure the Main clears the lazy jacks. Now watch that reef two is coming out cleanly. Did you last sail the boat double reefed and forget to release the clutch? The reef lines sometimes like to hook around the end of the Park Avenue boom. The next hazard to watch for is reef one. A few feet later, I switch to low gear on the power winch. The helm person can see the luff better and can help get the right luff tension for the current wind speed. Too taut and the luff has an odd fold. Way too taut and the ripping noise will be a clue that you made a mistake. Note from Gail – I am too short to see what is going on with the sail while standing by the winch. I like to stand on the aft bench, holding on to the stainless, and use my foot to control the power winch.
- Your Main will now look like a sail from a polynesian vessel. The vang ram will be forcing the boom 2 feet higher than its proper position. Trim the mainsheet, which will initially act like a Vang and you can now bear away to your proper course. Now remove the slack from the vang line. The Vang over-raises the boom because of the design of its peak power point. When compressed it can handle more loads but when not under load, this creates a bit of the Kon Tiki effect.
- One more check that the reef lines are not causing troubles and remove any slack in them with a light hand.
- You can now shut off your leeward engine and get ready for a head sail. With only the full main up, the boat has a decent amount of weather helm so it is important to keep your windward engine running until a head sail is rolled out.
Head Sail Unfurl / Furl
- Rig the Genoa or Code Zero (sometimes called a Screecher) sheets and choose the Jib Car position. Typically, the Genoa sheets go inside the shrouds and the Code Zero sheets go outside the shrouds. Wrap both sheets with two wraps around their appropriate winch and remove slack.
- To unfurl a head sail, it is easy to just pull on/grind the sheet. But you will create a future problem at the furling drum. While furling sails are an established technology, you still need to keep your drum under control: always have friction or light resistance on the furling line when unfurling. When the sail is going out, line is going in the drum and can you can create overrides and/or have bunched up line if there is no resistance.
-
-
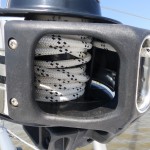
Untidy furling drum – Danger
-

-
Tidy Furler
You are trying to create a tidy-looking drum. Might be worth checking on your drum once and a while. If it gets bunched or wrapped you could be unable to furl. That would suck since it most likely jam half way furled and in a big breeze. Your only option is cut the sail as dropping the halyard would do nothing.
-
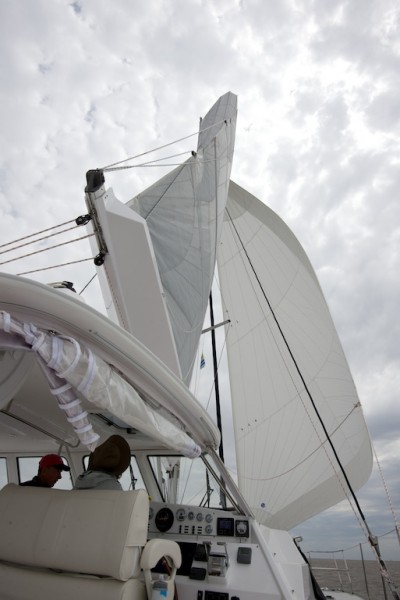
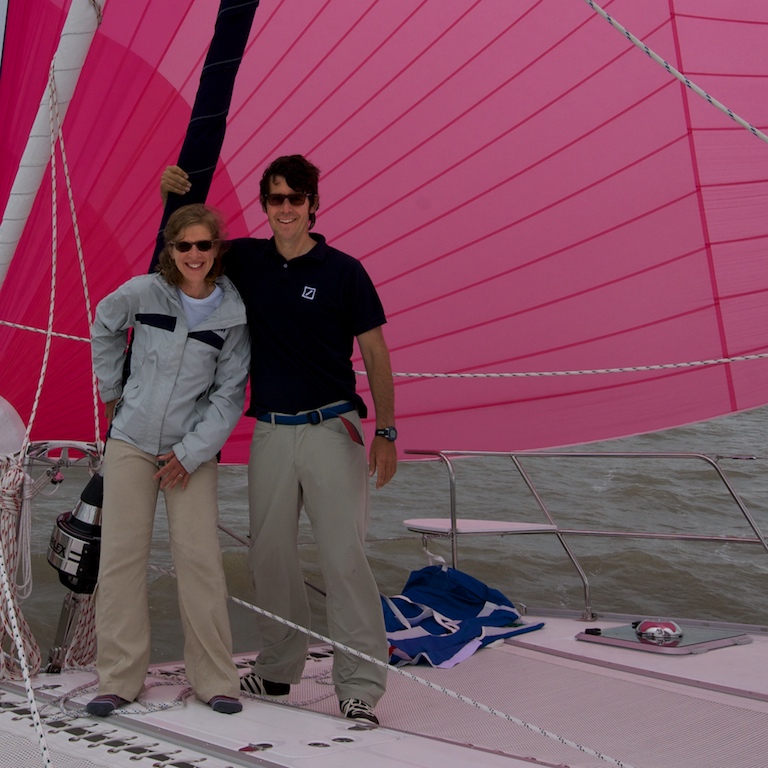
Code Zero
The Code Zero does not have a drum to store the furling line; the headstay is turned via a code zero furler – a simple mechanism that looks like a pulley at the foot of the sail. Before furling or unfurling, check the lines and the code zero furler to make sure the lines are taut and the line is well seated in the furler. Don’t just look forward, walk all the way to the furler. (We learned this the hard way). In the cockpit, there are two lines at all times. One short and one long. There is no labeling, but it is easy to remember, in all cases pull hard on the short one and lightly ease the long one. For example, to unfurl, pull the short end and keep light friction on the long one while someone is using the working code zero sheet to unfurl the sail. After unfurling, your formerly short line is now long and the long line is short. To furl, pull the short one and keep friction on the long one. Easing needs to be controlled to keep the lines neat but the sail not fully loaded. Even with sailing deep downwind, furling the code zero can require some strong pulling. The factory supplies you with a pennant line that allows one to lead the Code Zero furling line to the aft power winch. I would use this as a last resort. The Code Zero is furled with the shiny side hidden because the other side has UV protection. If you don’t keep tension on all lines, it is easy for the line to exit the furler. If this happens you can drop the code zero on the deck by releasing the halyard. This is not a bail-out option for the Genoa/Jib. Then, fold in the pole and rethread the furling line. Cowboys may wish to climb out on the pole to fix it quickly, but this is not recommended by the chief safety officer.
- Be kind when you rewind, do it off the wind! If you are steering 140 degrees apparent wind then the loads on the system are very small. You will get a nice furl and will have a sail set up for action the next time you need it. One person uses the helm side power winch to bring in the furling line for the Genoa/Jib. The other person creates symmetric friction on the two sheets. I like both sheets with 1 wrap on their respective winches while I am holding the two sheets while standing by the toe rail. I then have a great view of the sail and can ensure that it is wrapping up neatly. At the end I allow the clew/sheets to wrap 3 times to keep the genoa nice and closed in case of a storm. If you are sloppy during this step you have a chance that a storm wind might pry open your genoa. Not a good thing. Then flake the sheets and tie them to the seagull striker.
-
Furled Headsails – Code zero (sloppy) Genoa (clean)
How tight should you furl? A really tight furls sounds great but it is hard on the genoa or code zero to be compressed. The furl should be not too tight but neat so that there are no gaps for a storm to attack. If you furl extremely tight then you most likely you are furling the sail under load. The winch is strong but this is a bad habit that will catch up with you.
- Another check is that the furling line should have 4 wraps on it when the sail is furled. Those extra wraps are there for when you do furl under load. Stuff does happen where you do not have sea room and need the sail away ASAP. If you have more than 4 wraps your drum might get crowded when unfurling the jib.
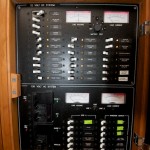
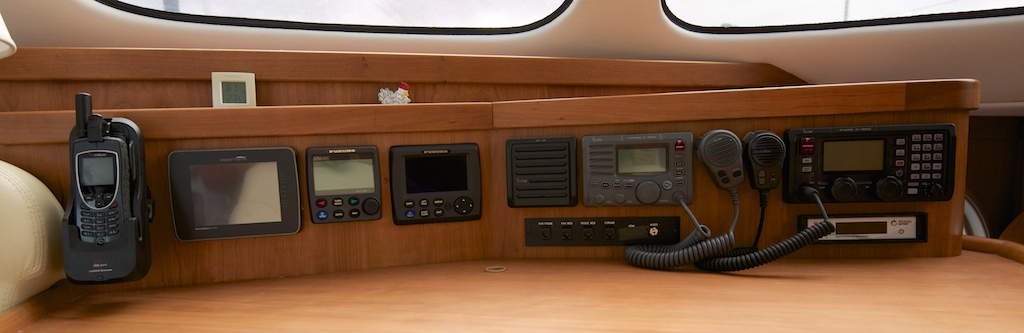
- Shut off engines and put the morses in correct position. What is that? It depends on your propellers-folding or feathering. Volvo props and Gori props are folding props-these fold backwards while under sail and centrifugal force opens them when under power. If you have folding props, leave the morses in Neutral or Reverse (according to the Volvo manual). Remember to take them out of gear first. Max-Props are feathering. These have a mechanism to rotate the edge into the water flow while under sail. When under power they rotate into different positions for forward and reverse. If you have Max-Props, once the engines are both in neutral and powered off move the morses to max reverse to stop the blades from spinning. Wait a minute and listen for a change in sound. Your props are now feathered. Then move the morses to max forward to avoid the genoa sheets from getting fouled in them during a tack.
- One last note: to Reef the Genoa, just furl it in to the desired point rather than furling it in all the way. Your sails might have guides taped on them to help you determine a good first reef and second reef point for these. After a while, you will get a feel for the size of the sail that you are looking for. The Furlex manual also has some tips on reefing. They propose you unfurl the full sail and then furl back to the reef point to create a tighter luff for sailing. This tight furl would not be good for storage but gives the sail a finer entry which is useful when sailing to weather.
Reefing the Main
Single Reef in the Main
- There are two ways to skin this cat. One is to be head to wind and the second is to heave to. As the latter is more likely let us discuss this process (who wants to be head to wind in 30 knots with the genoa/jib banging when you can heave to instead?).
- Heave to by either tacking into it or grinding into it.
- Tacking into heaving to is to tack but let the Genoa/Jib back-wind by not releasing the jib sheet. After the tack, while the main is eased, turn the helm to be in opposition of the jib’s force (For example, if you are on starboard tack, you tack to port. The main is on port tack but the jib is has remained trimmed on starboard, trying to pull the boat more to starboard. Turn the wheel fully to port and lock the wheel. Note from Gail – a simple unsanctioned way to think of it is if you turned the wheel to starboard to tack into heave to, when the jib is backwinded turn the wheel fully in the opposite direction, to port).
- The grinding into process does not require a tack; the lazy sheet is ground and the working sheet is eased, such that the sail is now backwinded to windward. The tacking-into hove-to technique on the Antares is kinder on the Genoa as the radar and diamond strut get in the way of grinding into it. Either way, this maneuver should be done with a reefed Genoa to allow a better balance of your center of effort and less Genoa interaction with the radar. You still need to turn the wheel in opposition to the Genoa/Jib pull.
- Now the boat should be calmer and stable while drifting slowly under hove to. Ease the main halyard looking for your mark on the halyard that indicates your first reef while also watching the sail. Ease one foot past the mark and cleat off the main halyard.
- Slowly sheet in the first reef line. Ensure that the reef line is not caught on the aft portion of the main tamer. Then watch as the tack will be pulled down first. After this is completed the clew will start to be pulled down. Keep stopping to make sure you have this in clear view to avoid damaging the sail. When both reef points are snug, engage the reef #1 stopper.
- Add main halyard tension to ensure a flatter sail shape than when under full main. Also, when trimming this sail in high winds you may want to induce more twist to spill wind.
- To exit hove to, unlock helm and begin steering while the jib is trimmed properly. To release the jib and avoid a violent thrashing of the sheet, employ an incremental process. First, ease 3 feet on the backwinded sheet. Trim in all the slack on the old lazy sheet (soon to be the working sheet). Then go back to the backwinded sheet and ease 3 more feet. Trim in again on the new working sheet. Yup, just keep doing this until the jib is back in its correct spot.
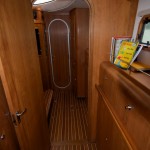
The Jib

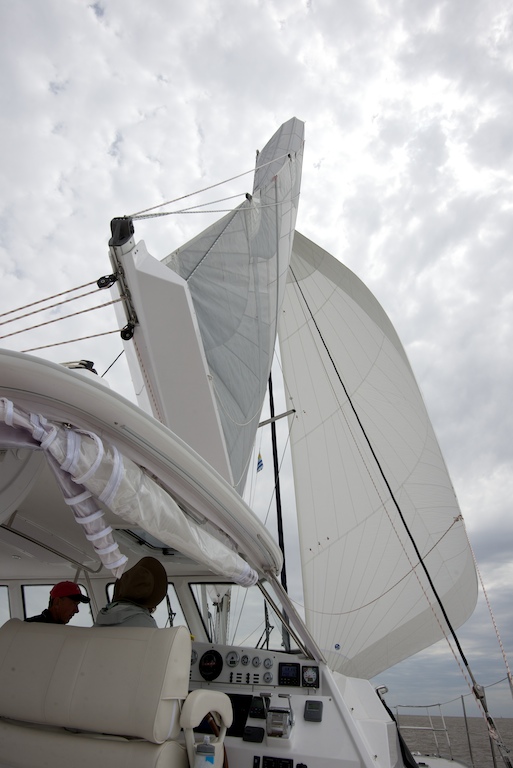
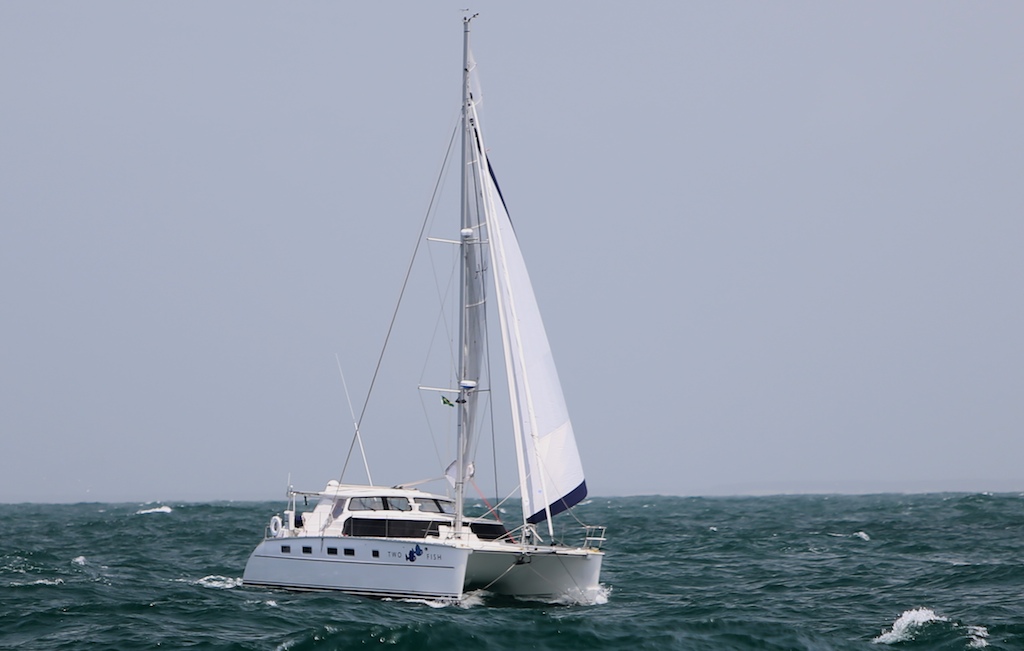
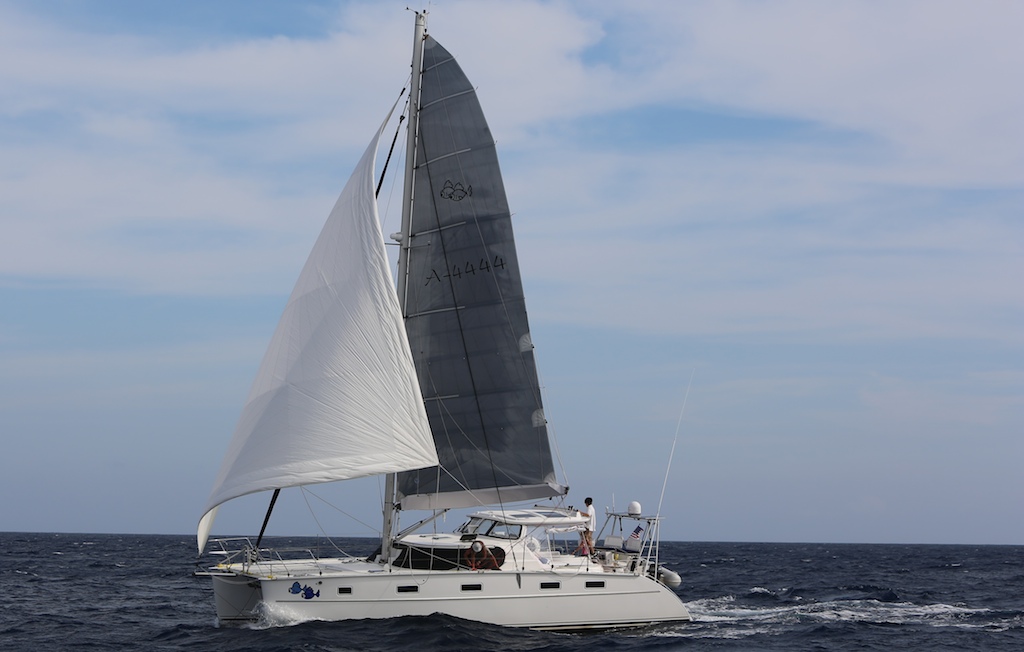
Jib (smallest headsail)
I love this underused sail in the Antares arsenal. As you can see it is about one-third the size of the full Genoa. Many owners have told me about sailing in 40 knots with just a scrap of the Genoa unfurled; it is great to know that the Genoa can handle such strong wind. But my preference would be to have the Jib up in those conditions because: it is made from a sturdier cloth that loves the big breeze, the luff is much thinner than the furled genoa, and, the cut of the sail is flatter.
The only problem is that you must have the forethought to change from the Genoa to the Jib before the breeze gets too strong. We did a few sail changes in easy conditions, but with a strong breeze and green seas I can imagine this might be a bit more action-packed. The Jib is also auto-tacking which is great for short-handed crew. Since the mainsheet and jib sheets are controlled very close to the helm, one person can have plenty of control of the boat. The cost of the auto-tacking configuration is the process for heaving to. You either have to go forward and move a stopper that will prevent the jib sheet from auto-tacking or lead a temporary line from the jib blocks aft that will restrain the jib from auto tacking. A bit more forethought. I am not a legend in the forethought arena. Gail will need to help on this one.
The jib sheet is attached to the clew via a harken shackle. This shackle does not have a captive pin so be careful when attaching or detaching the jib sheet for this smaller sail. (and carry some spares).

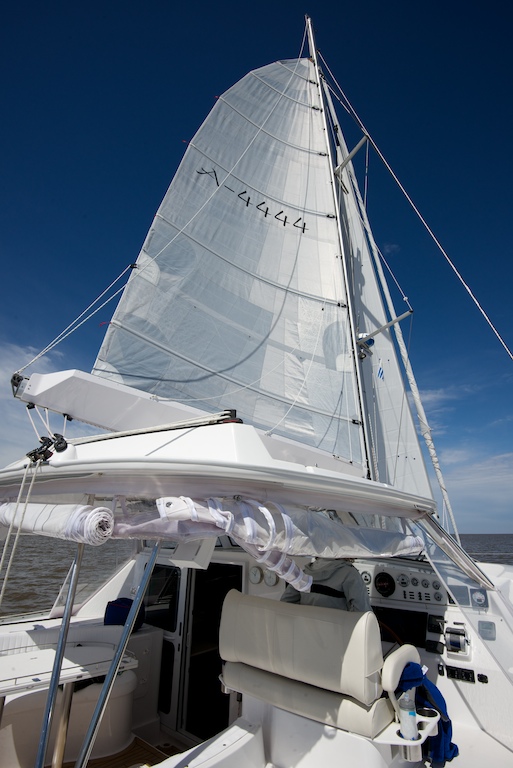
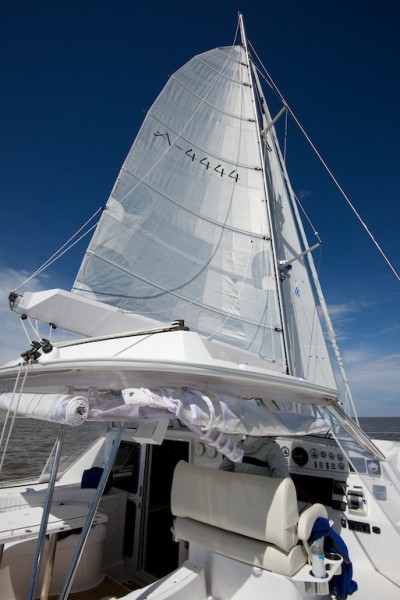
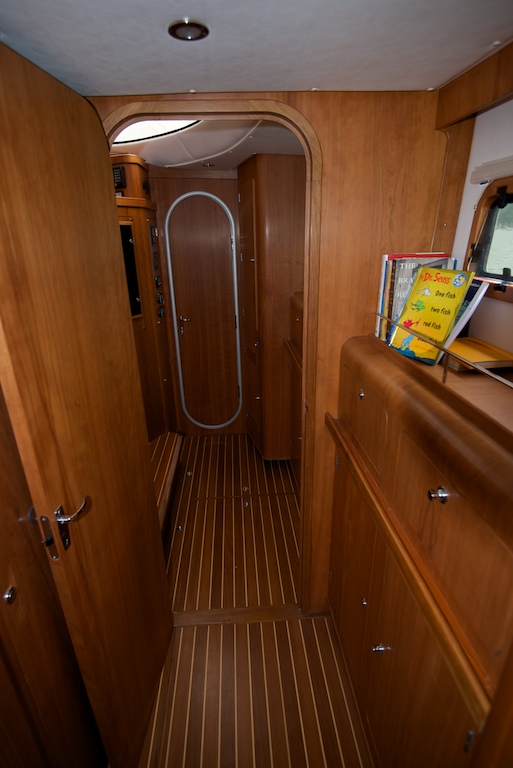
Raising Genoa
Dropping and Raising Headsails
- Dropping – Try to be off the wind so as to use the main sail to block the breeze and make the job easier.
- While the sail is not loaded, ease 2 feet of Genoa halyard. Use the genoa sheet during this process to keep sail close to the boat and to not drop it into the water (keep it inboard of lifelines).
- Crew detaches the bottom shackle and and gets the sail out of the headstay groove. Crew signals for more halyard drop. Drop as quickly as the crew can consolidate the sail onto the trampoline. When the head swivel arrives, tie it to the dolphin striker using a sail tie-down.
- Detach shackle from head of sail and attach to swivel.
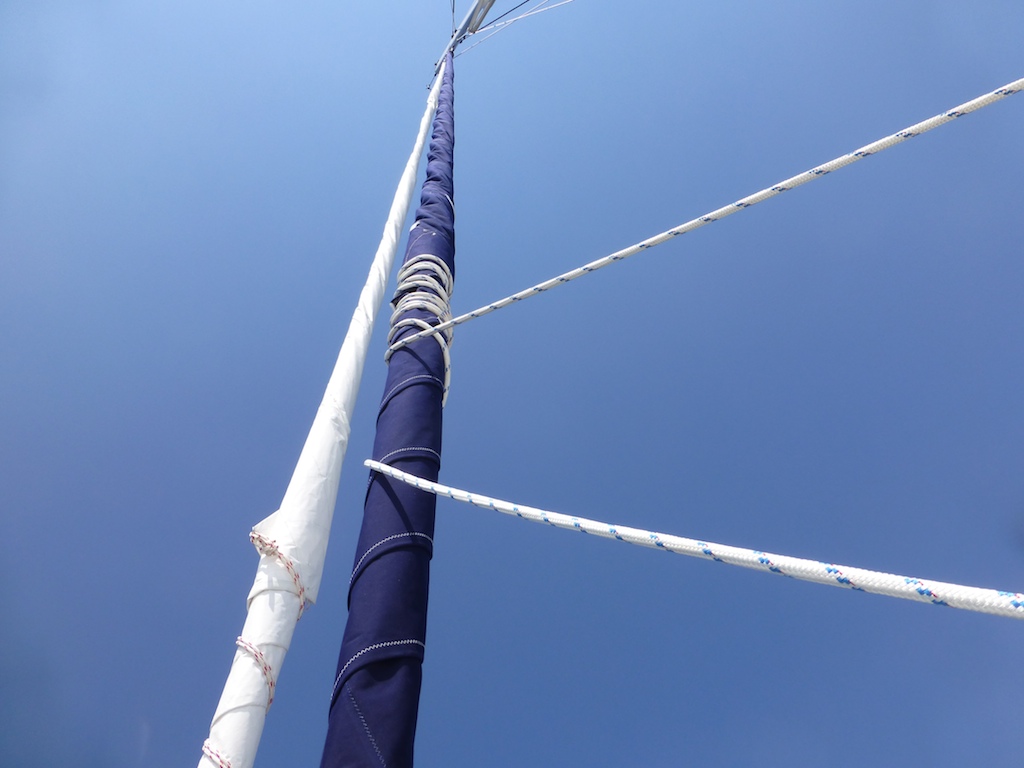
- Flake sail and place into sail bag. If you are dropping the Genoa, then tie the long sail bag to stanchions, to avoid loss of bag.
- Raise a new sail by repeating the above process in reverse order. Make sure the sheet is already cleated in on the appropriate side at loose trim.
You may want to take a break and get a drink now but I am almost done writing.
Tacking
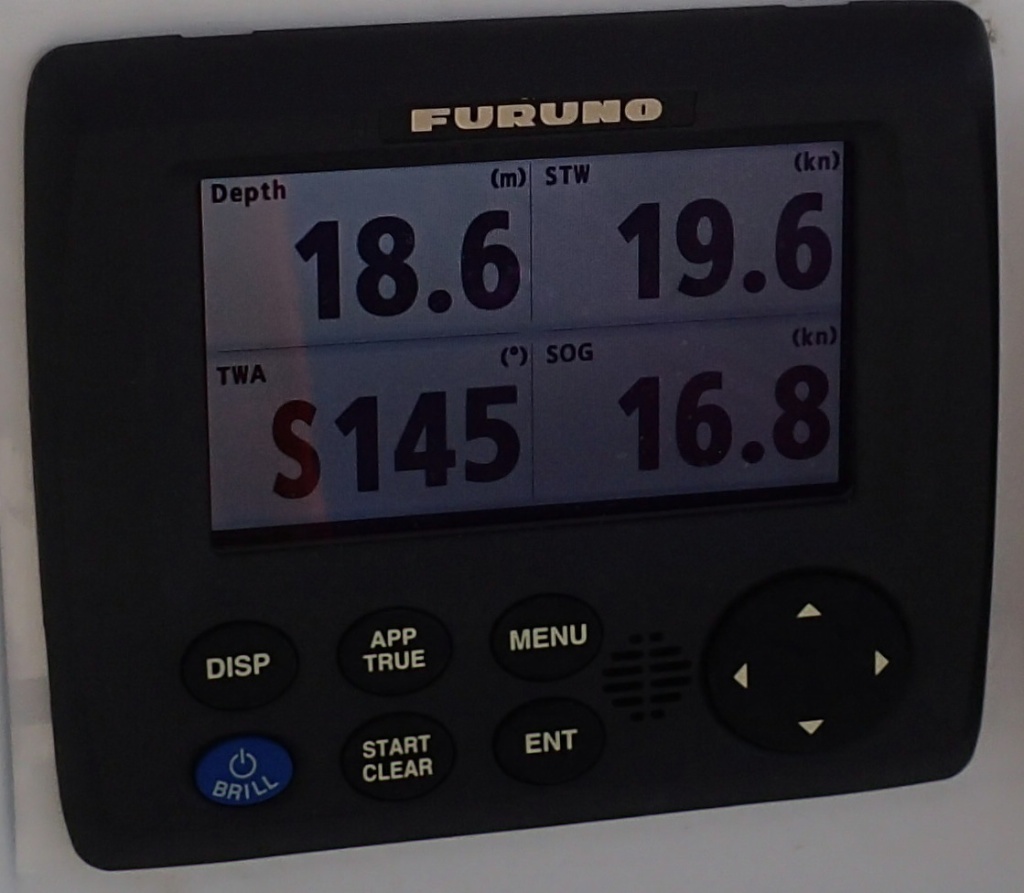
It is more fun to hand steer the boat during a tack or gybe but when short-handed it might be better to let the autopilot take charge, if you have an autotack feature. Press the turn button and 4 choices should appear (two tacks and two gybes). The tacks (port to starboard and starboard to port) are programmed to go fast since catamarans like to get caught in irons. I programmed a wide tacking angle of 110 degrees. This will not win races, but will make it easier to keep the boat moving. Furuno autopilots are polite and wait 10 seconds to start the tack after the button is pressed.
Solo tack plan for a Genoa
- Ensure sheets are prepared for a tack. Remove figure 8 coiling of sheet off the active winch. Flip the pile so the bitter end is on the bottom to ensure a cleaner release. Ensure that the lazy sheet has two wraps and that the winch handle is near by.
- Make sure that where you are tacking to is clear. Check for other boats and chart for any issues. Even if using the auto feature at the helm, think about where you will be pointing at the end.
- Instruct Furuno to tack the boat. (Push the button, fortunately there are no Siri’s in sailing)
- Walk safely to the active sheet.
- Release the sheet when the headsail has some quantity of back-winding. Less for windy days and more for light air days. When releasing the sheet, first remove sheet from the stripper and keep 4 wraps on winch until you see the backwinding. Then, remove wraps briskly while ensuring your hand is clear of the winch and you have a clear running sheet.
- Sheet in on the new sheet while the winch has two wraps as the sail is crossing over.
- Add two more wraps and put the line through the stripper (shiny metal part) before the sail loads up.
- Winch in to the appropriate trim. If you are human, utilize low gear(counter-clockwise) when high gear (clockwise) doesn’t work anymore.
- Return to helm and check again that you are on a good course and have no obstructions.
- You may want to adjust the traveler to fine tune the Mainsail.
Tacking the other head sails
The three headsails require slightly different techniques. The auto-tacking jib requires nothing as long as the jib sheet car stopper is placed in the correct location for the new tack. If so then turn the wheel when it is safe to go. It would be odd to tack the code zero since it is an off wind sail and you would probably be gybing it. The alternative to gybing it is to furl it, gybe the boat and then unfurl it on the new gybe.
Gybing
The risk during gybing is to gybe too quickly, thus damaging the traveler and/or other gear.
- Ensure the course you are gybing to is clear. Check for other boats and look at the chart to find any other issues.
- Center the traveler and make sure both traveler controls are not slack.
- Instruct Furuno autopilot to gybe the boat. There will be a 10 second delay if you have programmed that into your Furuno autopilot.
- Make sure to select gybe NOT tack. The boat will turn much slower for a gybe
- Start trimming in the main sheet. The goal is to have the main near centerline when the apparent wind angle is greater than 140. Too early and you are fighting the boat, too late and you will not have time for your next maneuver.
- Remove the mainsheet from the stripper and be ready to allow the sail to ease when it gybes. Watch the leech of the main sail. IGNORE THE JIB. It most likely will gybe earlier but do not concern yourself with this sail until much later.
- POW!! Main is over but the movement was not violent because the main started at mid-ships and was eased as it changed sides for a “soft” landing. Do not ease too far or you will cause a violent impact with the shrouds.
- Now clean up the jib by using the technique used for exiting the backwinded jib. Ease 3 feet on the old active sheet and then trim in on the new sheet. Repeat until you have proper sail trim.
- Adjust trim on main sheet and traveler for optimal sail shape. Keep an eye out for shrouds chaffing the main.
A long post by me, mostly written as a review for Two Fish but hopefully, a few of our Do’s and Don’ts will help you avoid some of our previous mistakes.


")